DIY Painted and customized T-shirt
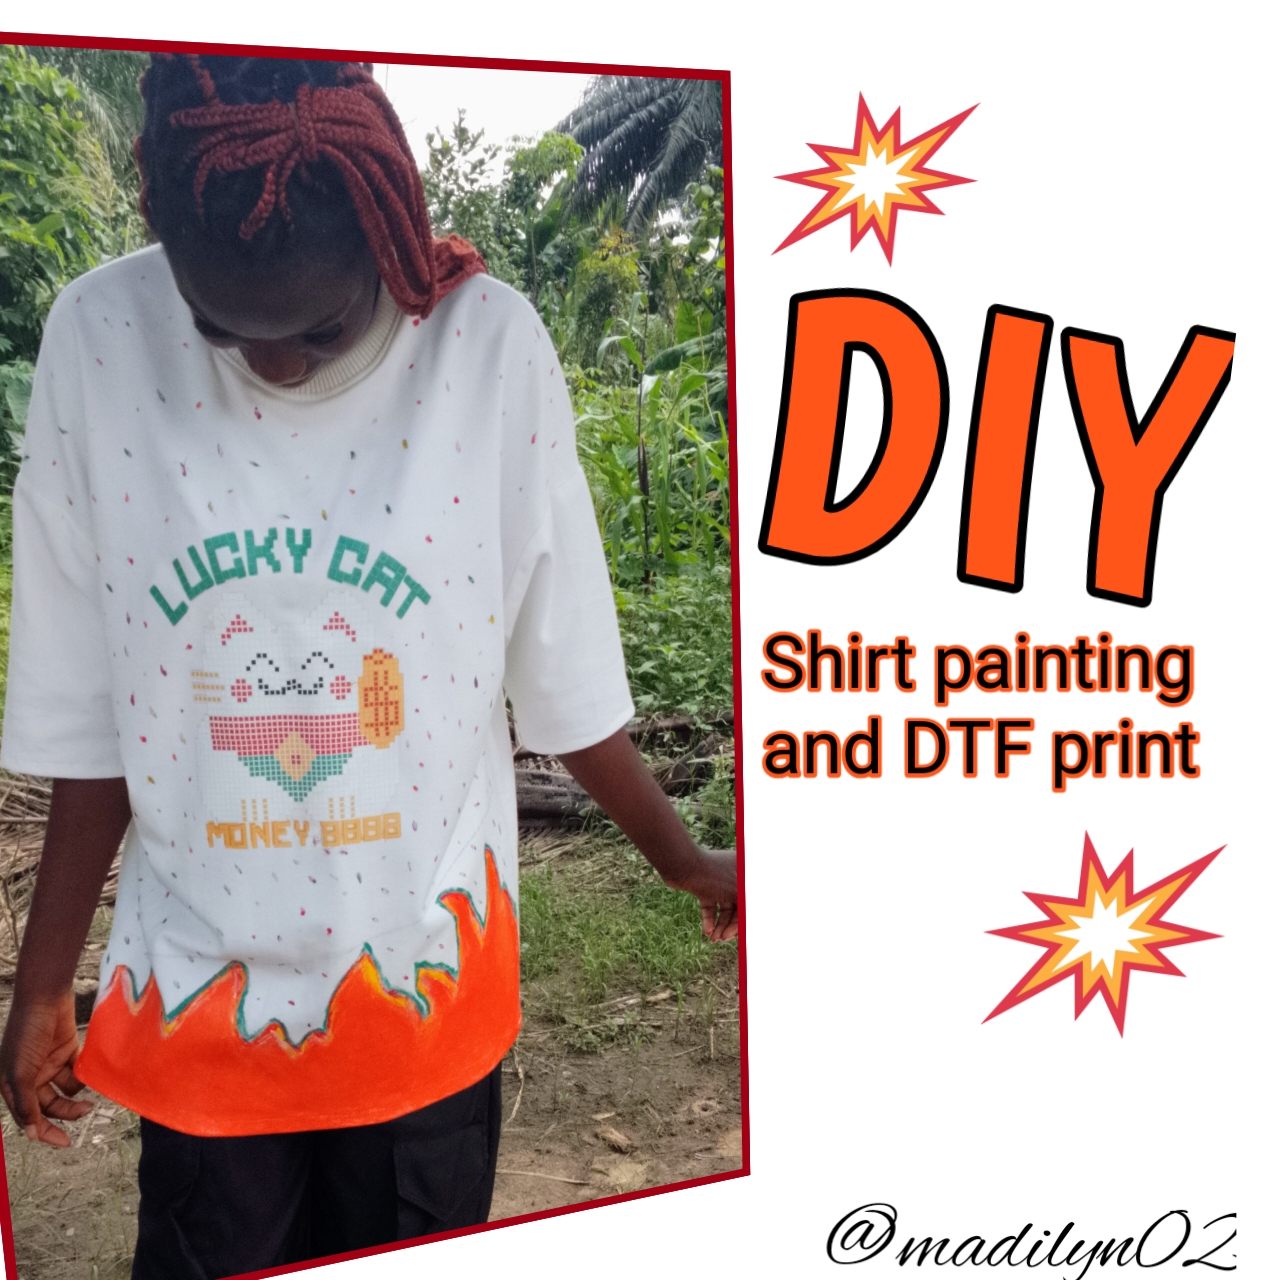
I'm happy to finally learn Tshirt branding and painting from the online course I took recently. And today I want to share with you all my first work as practical for what I learnt from the course.
After teaching we were asked to make a T-shirt, customize and paint on it. Now the challenge of this assignment was the exact prints and the exact colors of paint to put to match it, and also I never painted before so the nervousness was there.
Here's a little video where I summarized the whole thing, so if you don't want to read everything I wrote you can just watch the video it might explain a few things:
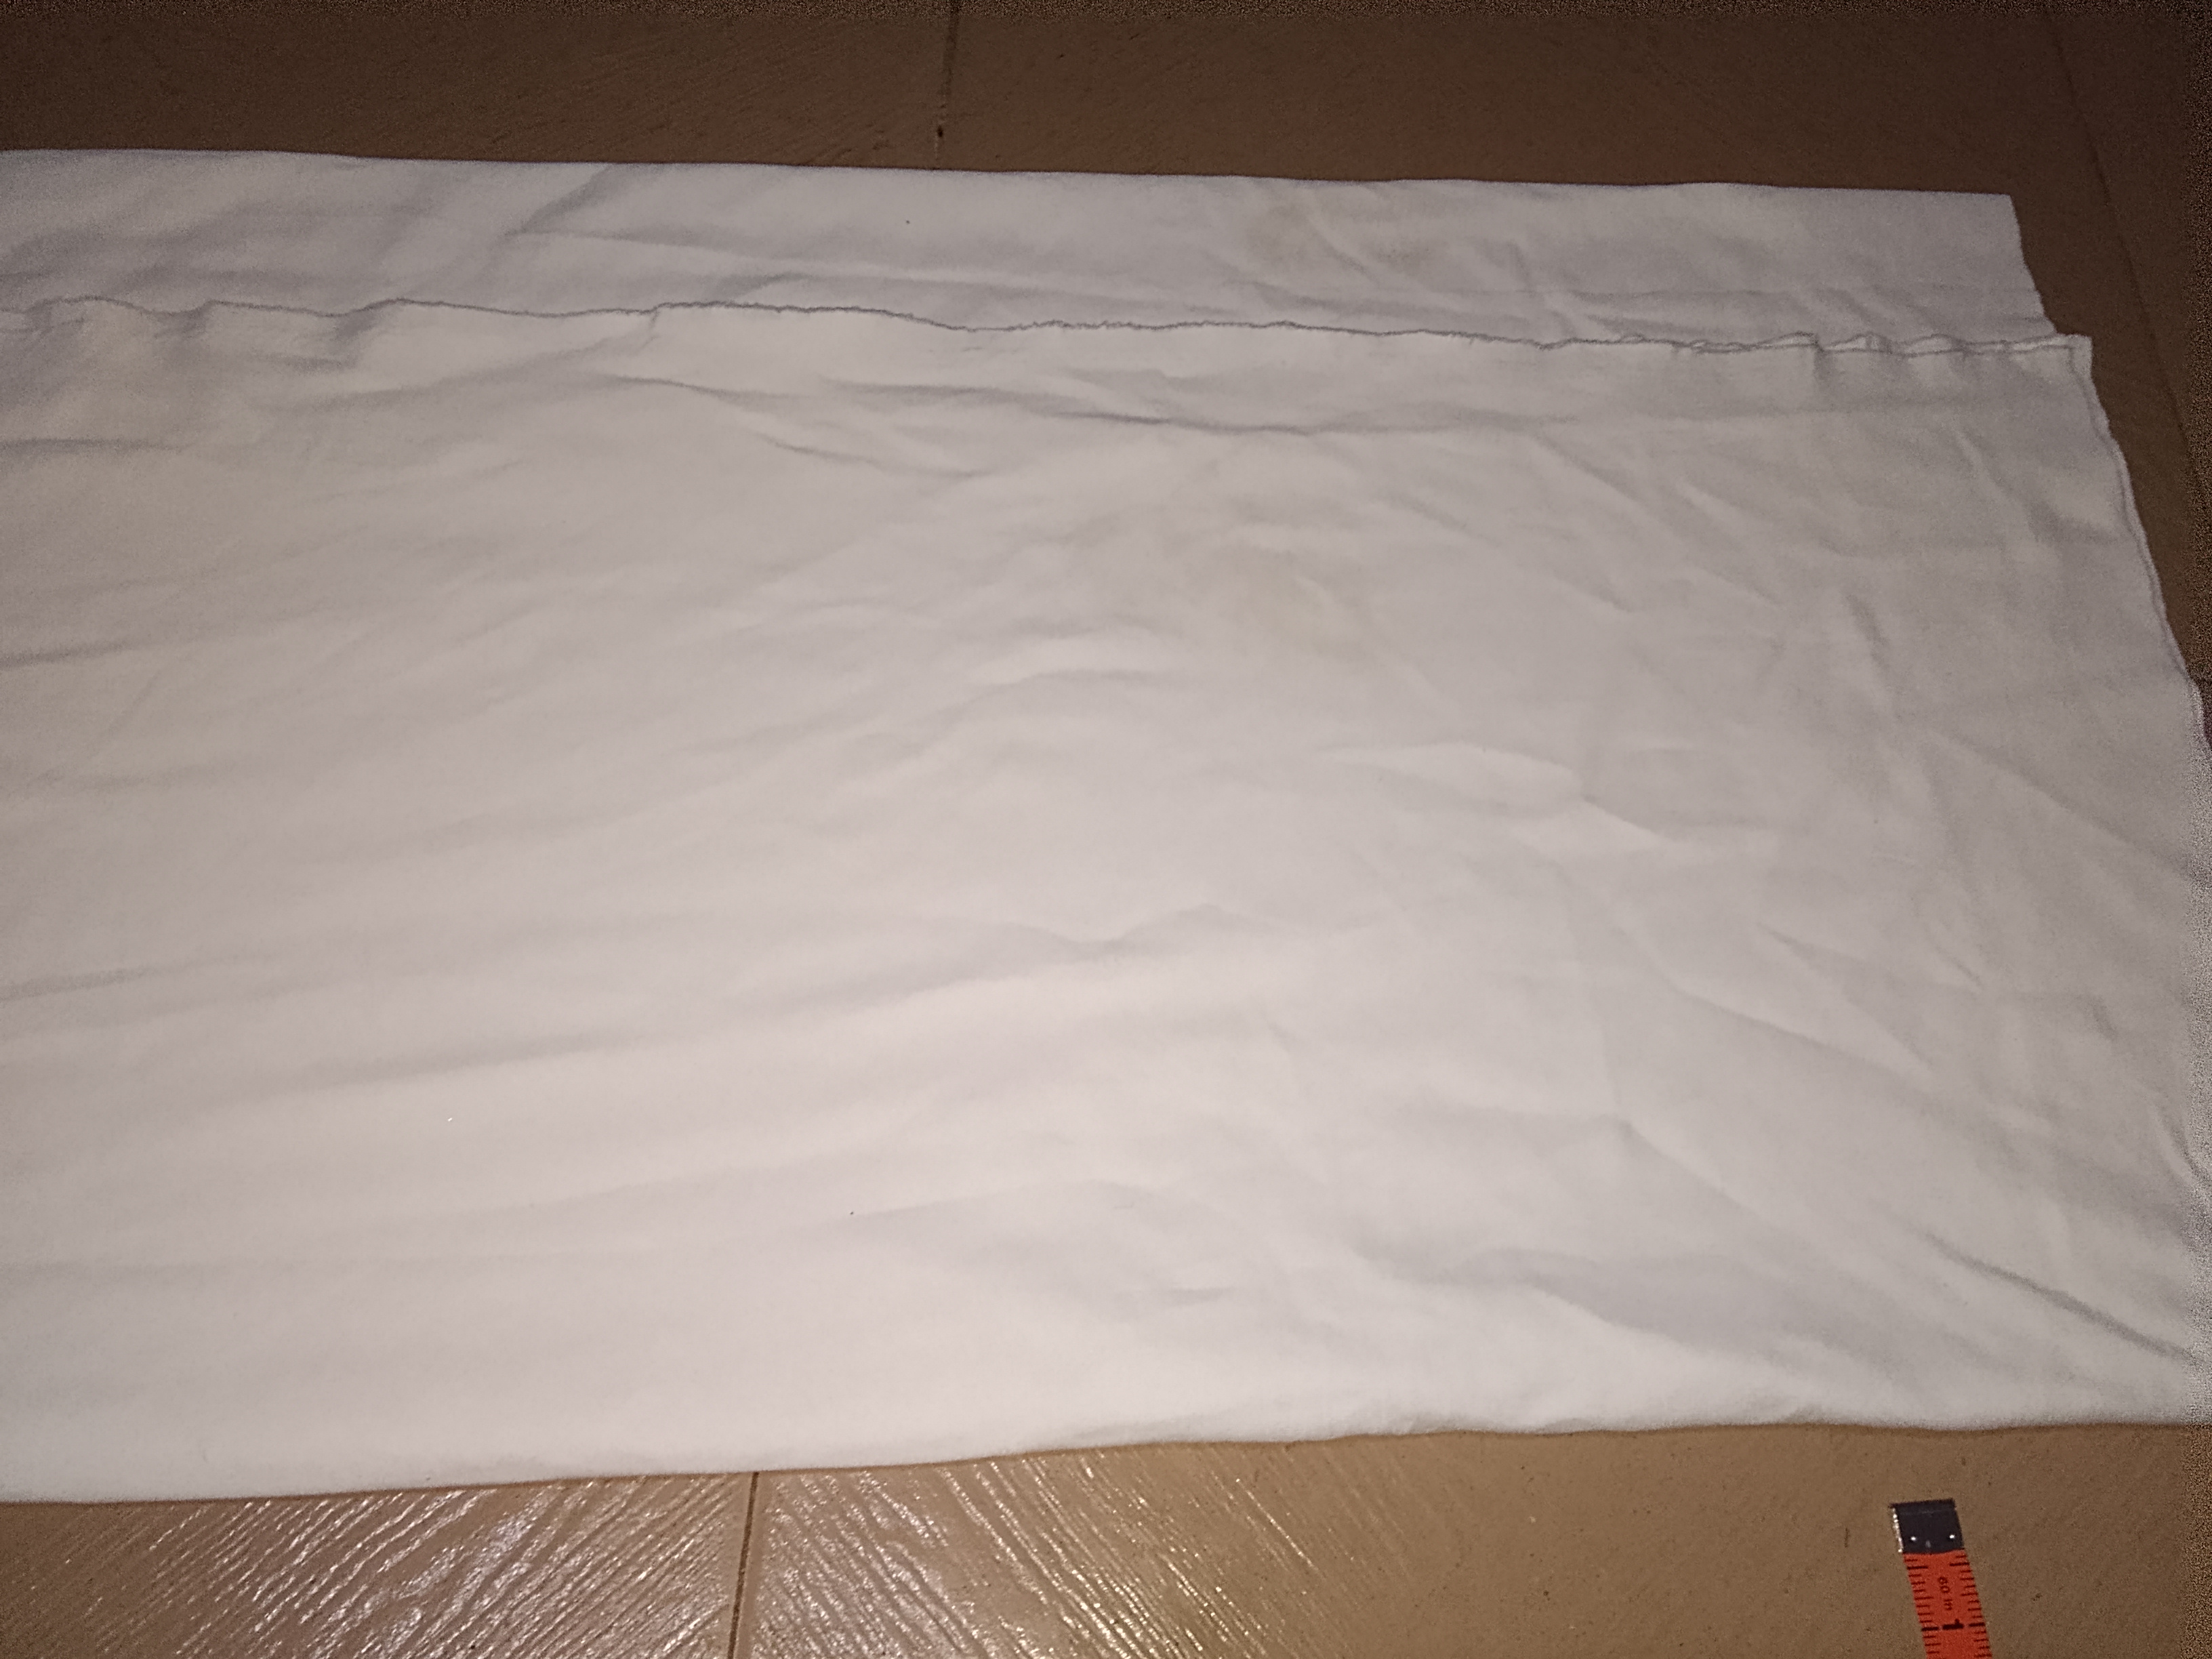
For the T-shirt making, I needed to get the fabrics buy the paints, and then buy a DTF print, here they sell already printed out designs at the market. So below you can see the fabrics and the paints after getting them from the market.

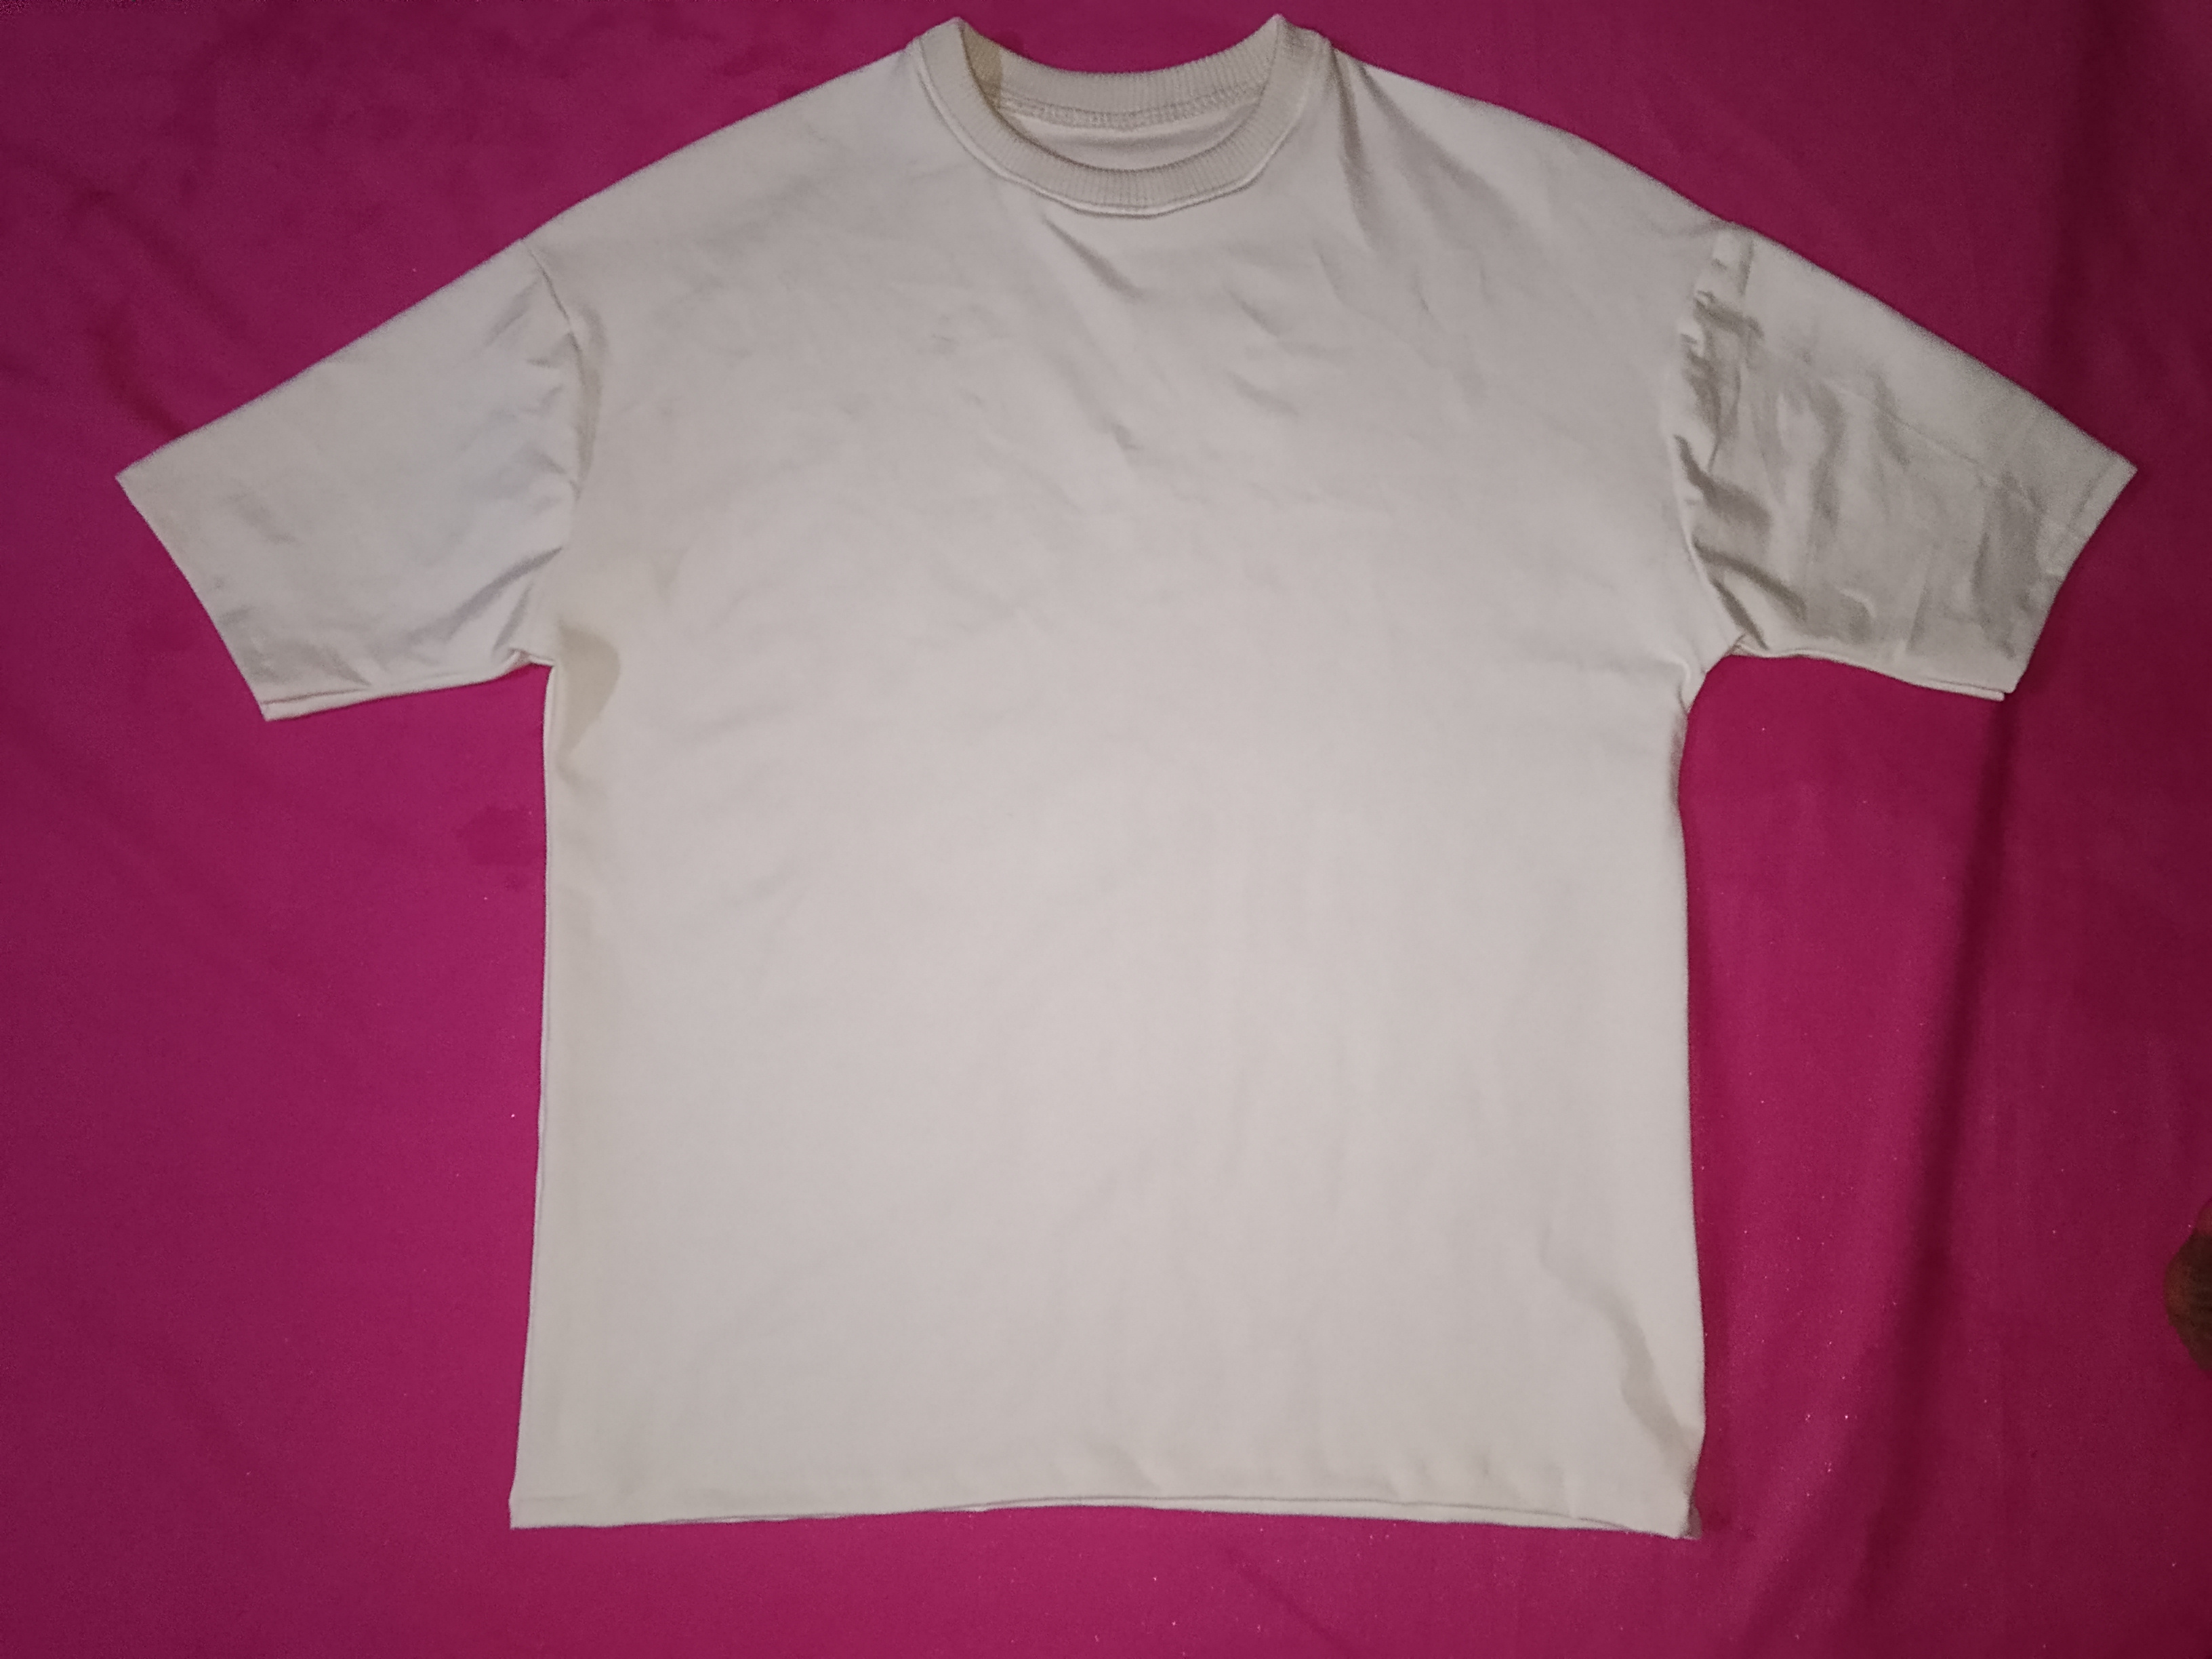
So I laid out the white Cotton fabric and input the measurements I'm working on.
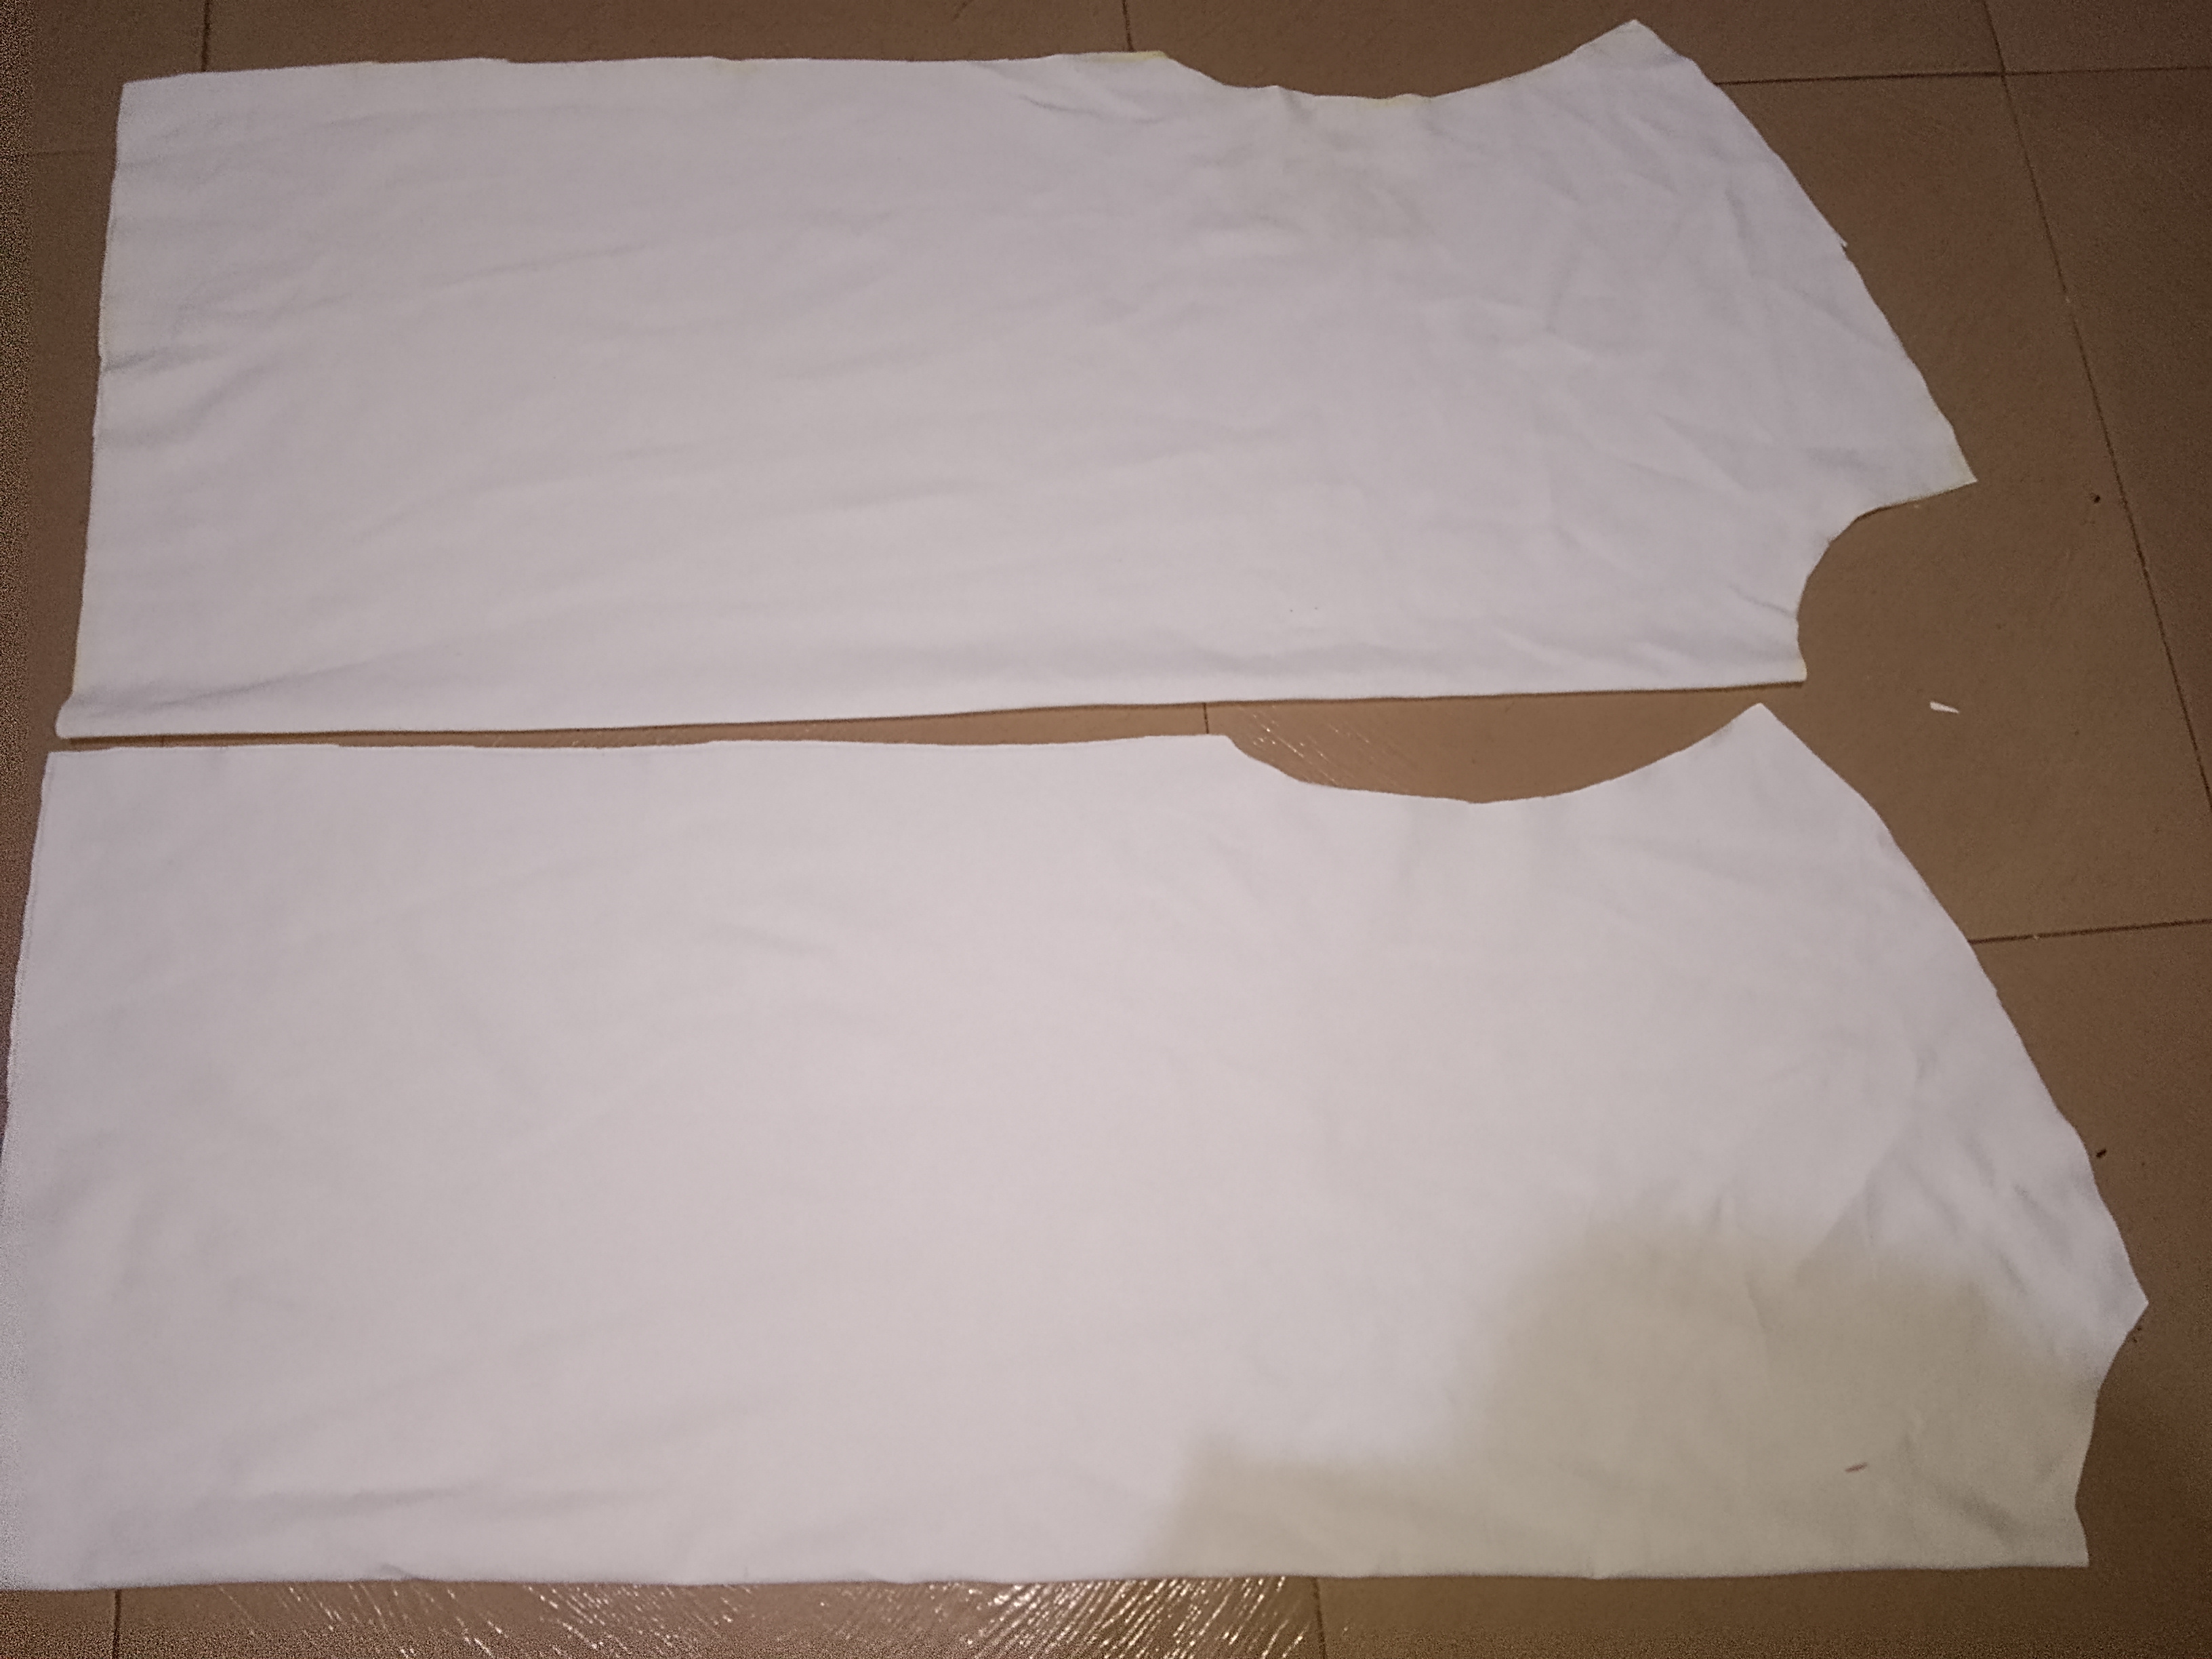
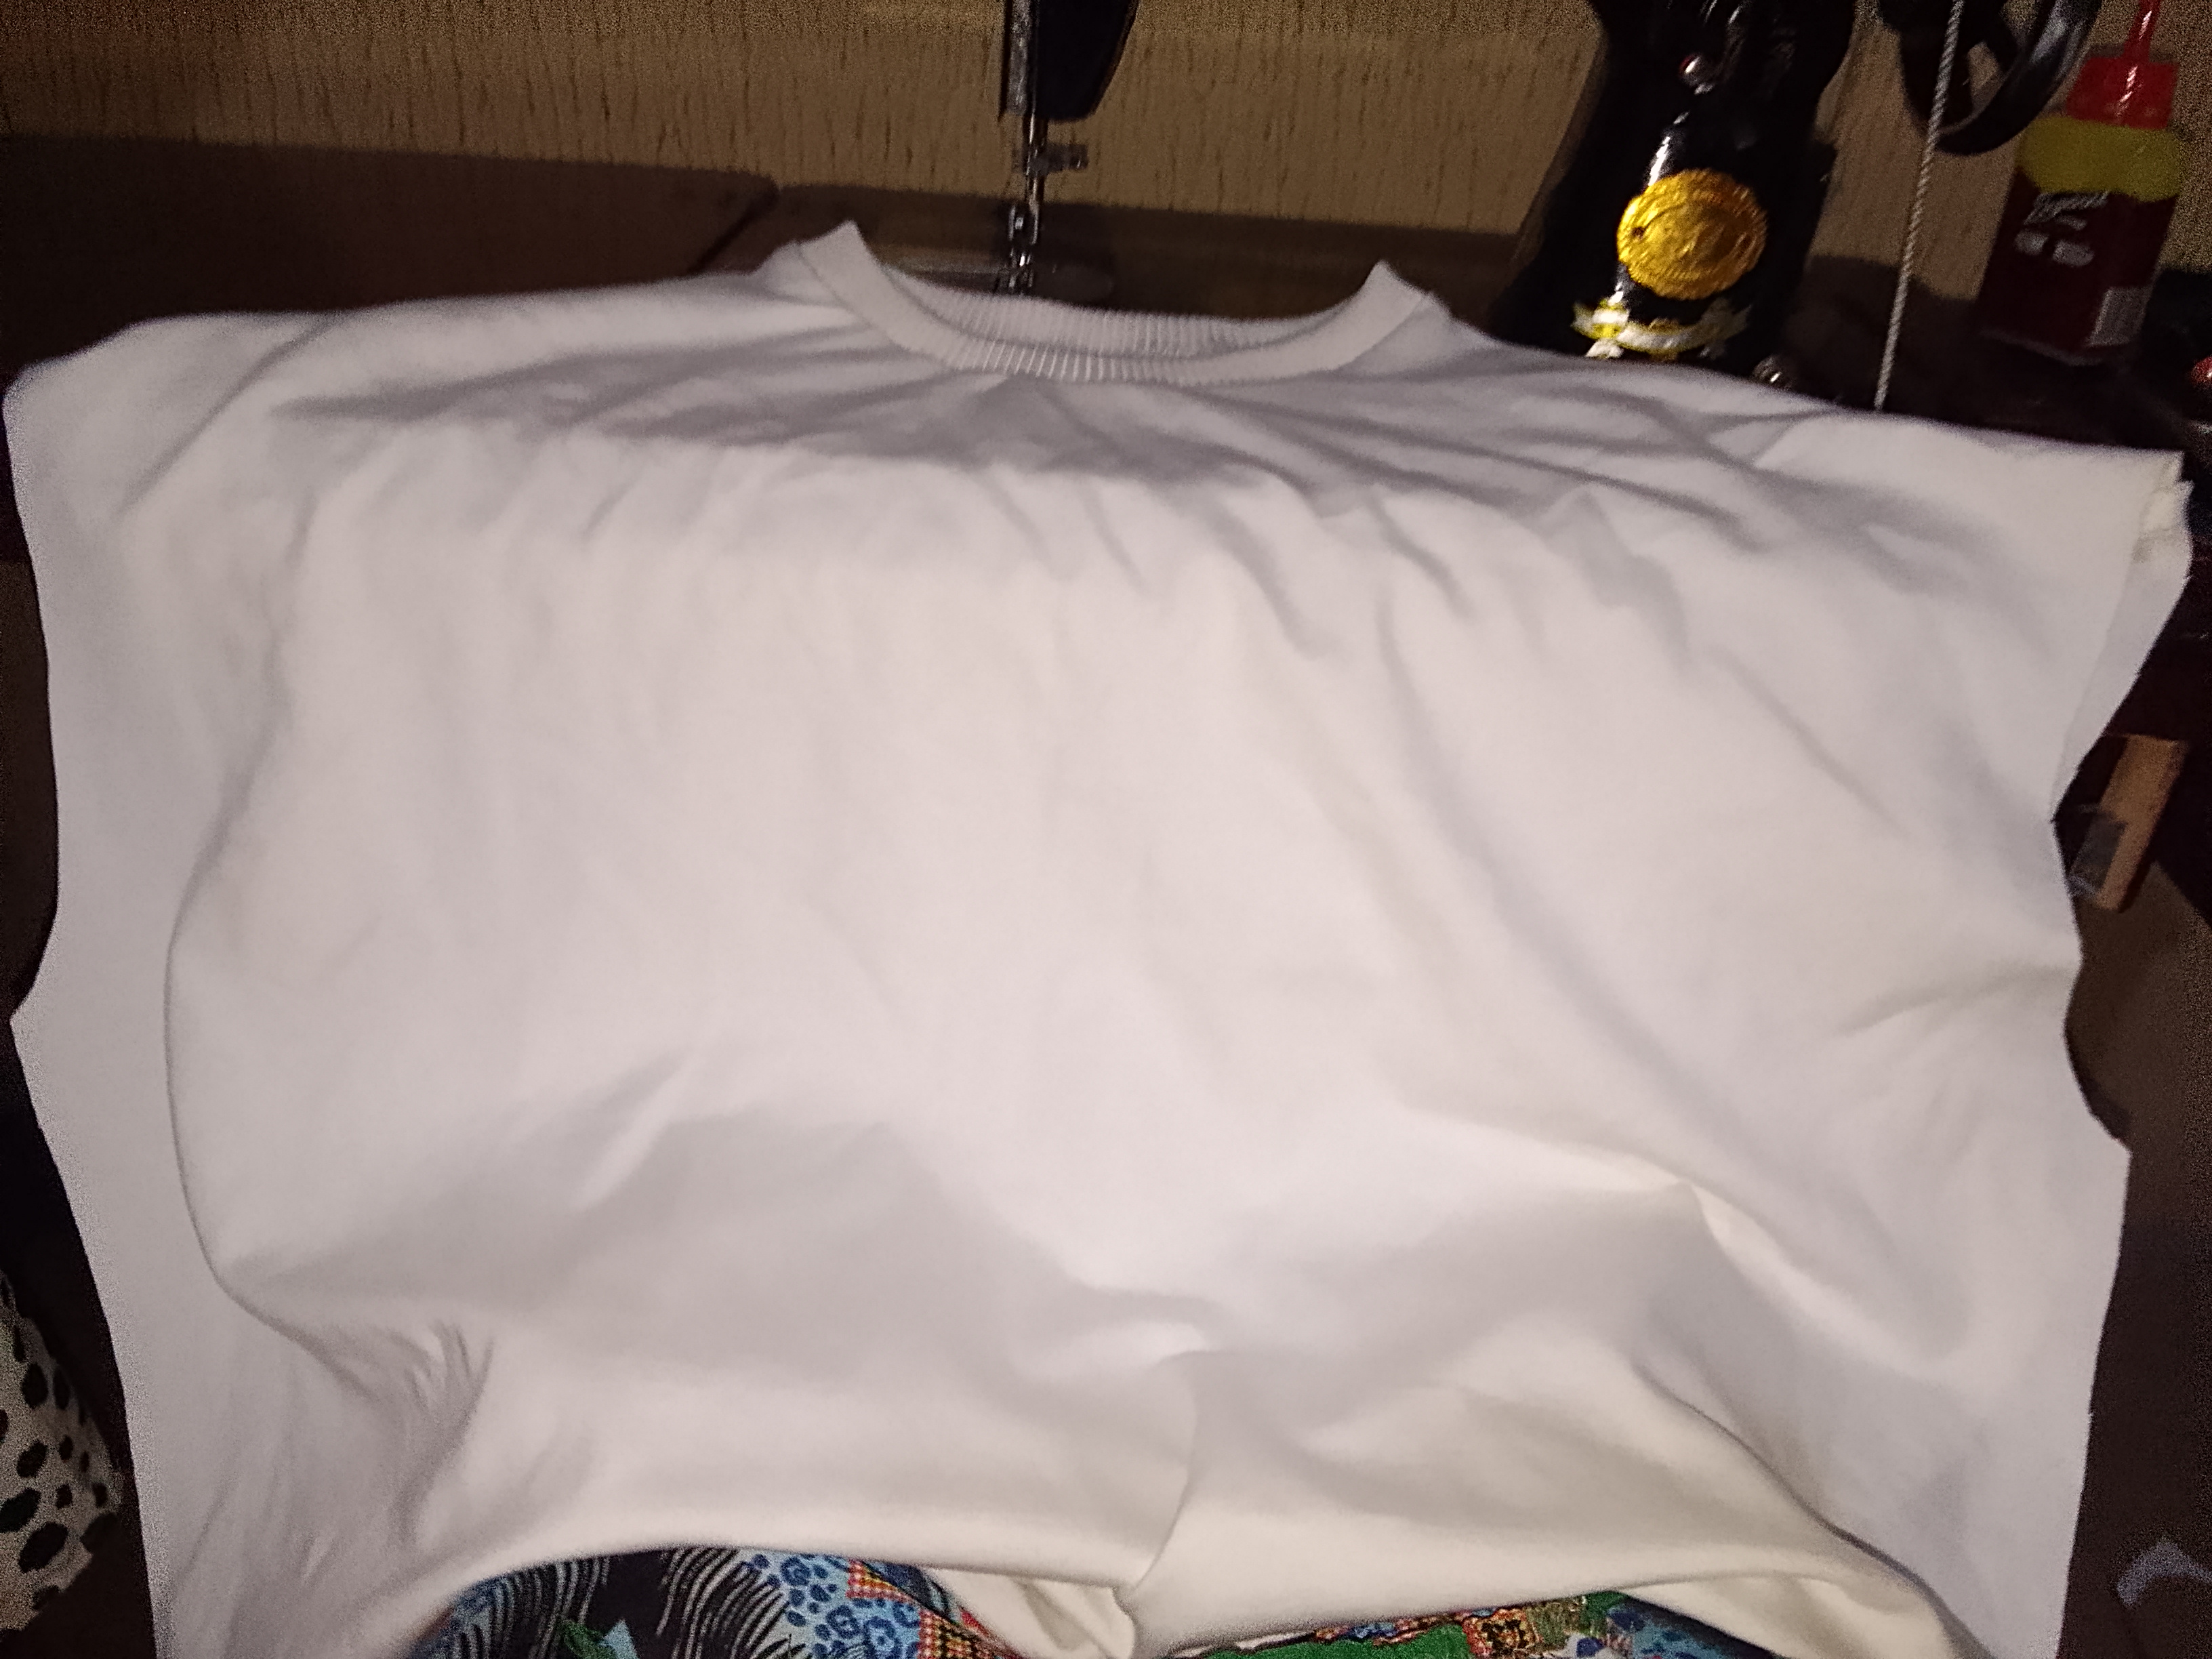
After cutting everything including the sleeves and the neck band, I went to sew on my machine. First started with the shoulder joining, then the neck rib, then the sleeves and finally the sides. I then hem the down of the T-shirt and it was done.
 |  |
|---|
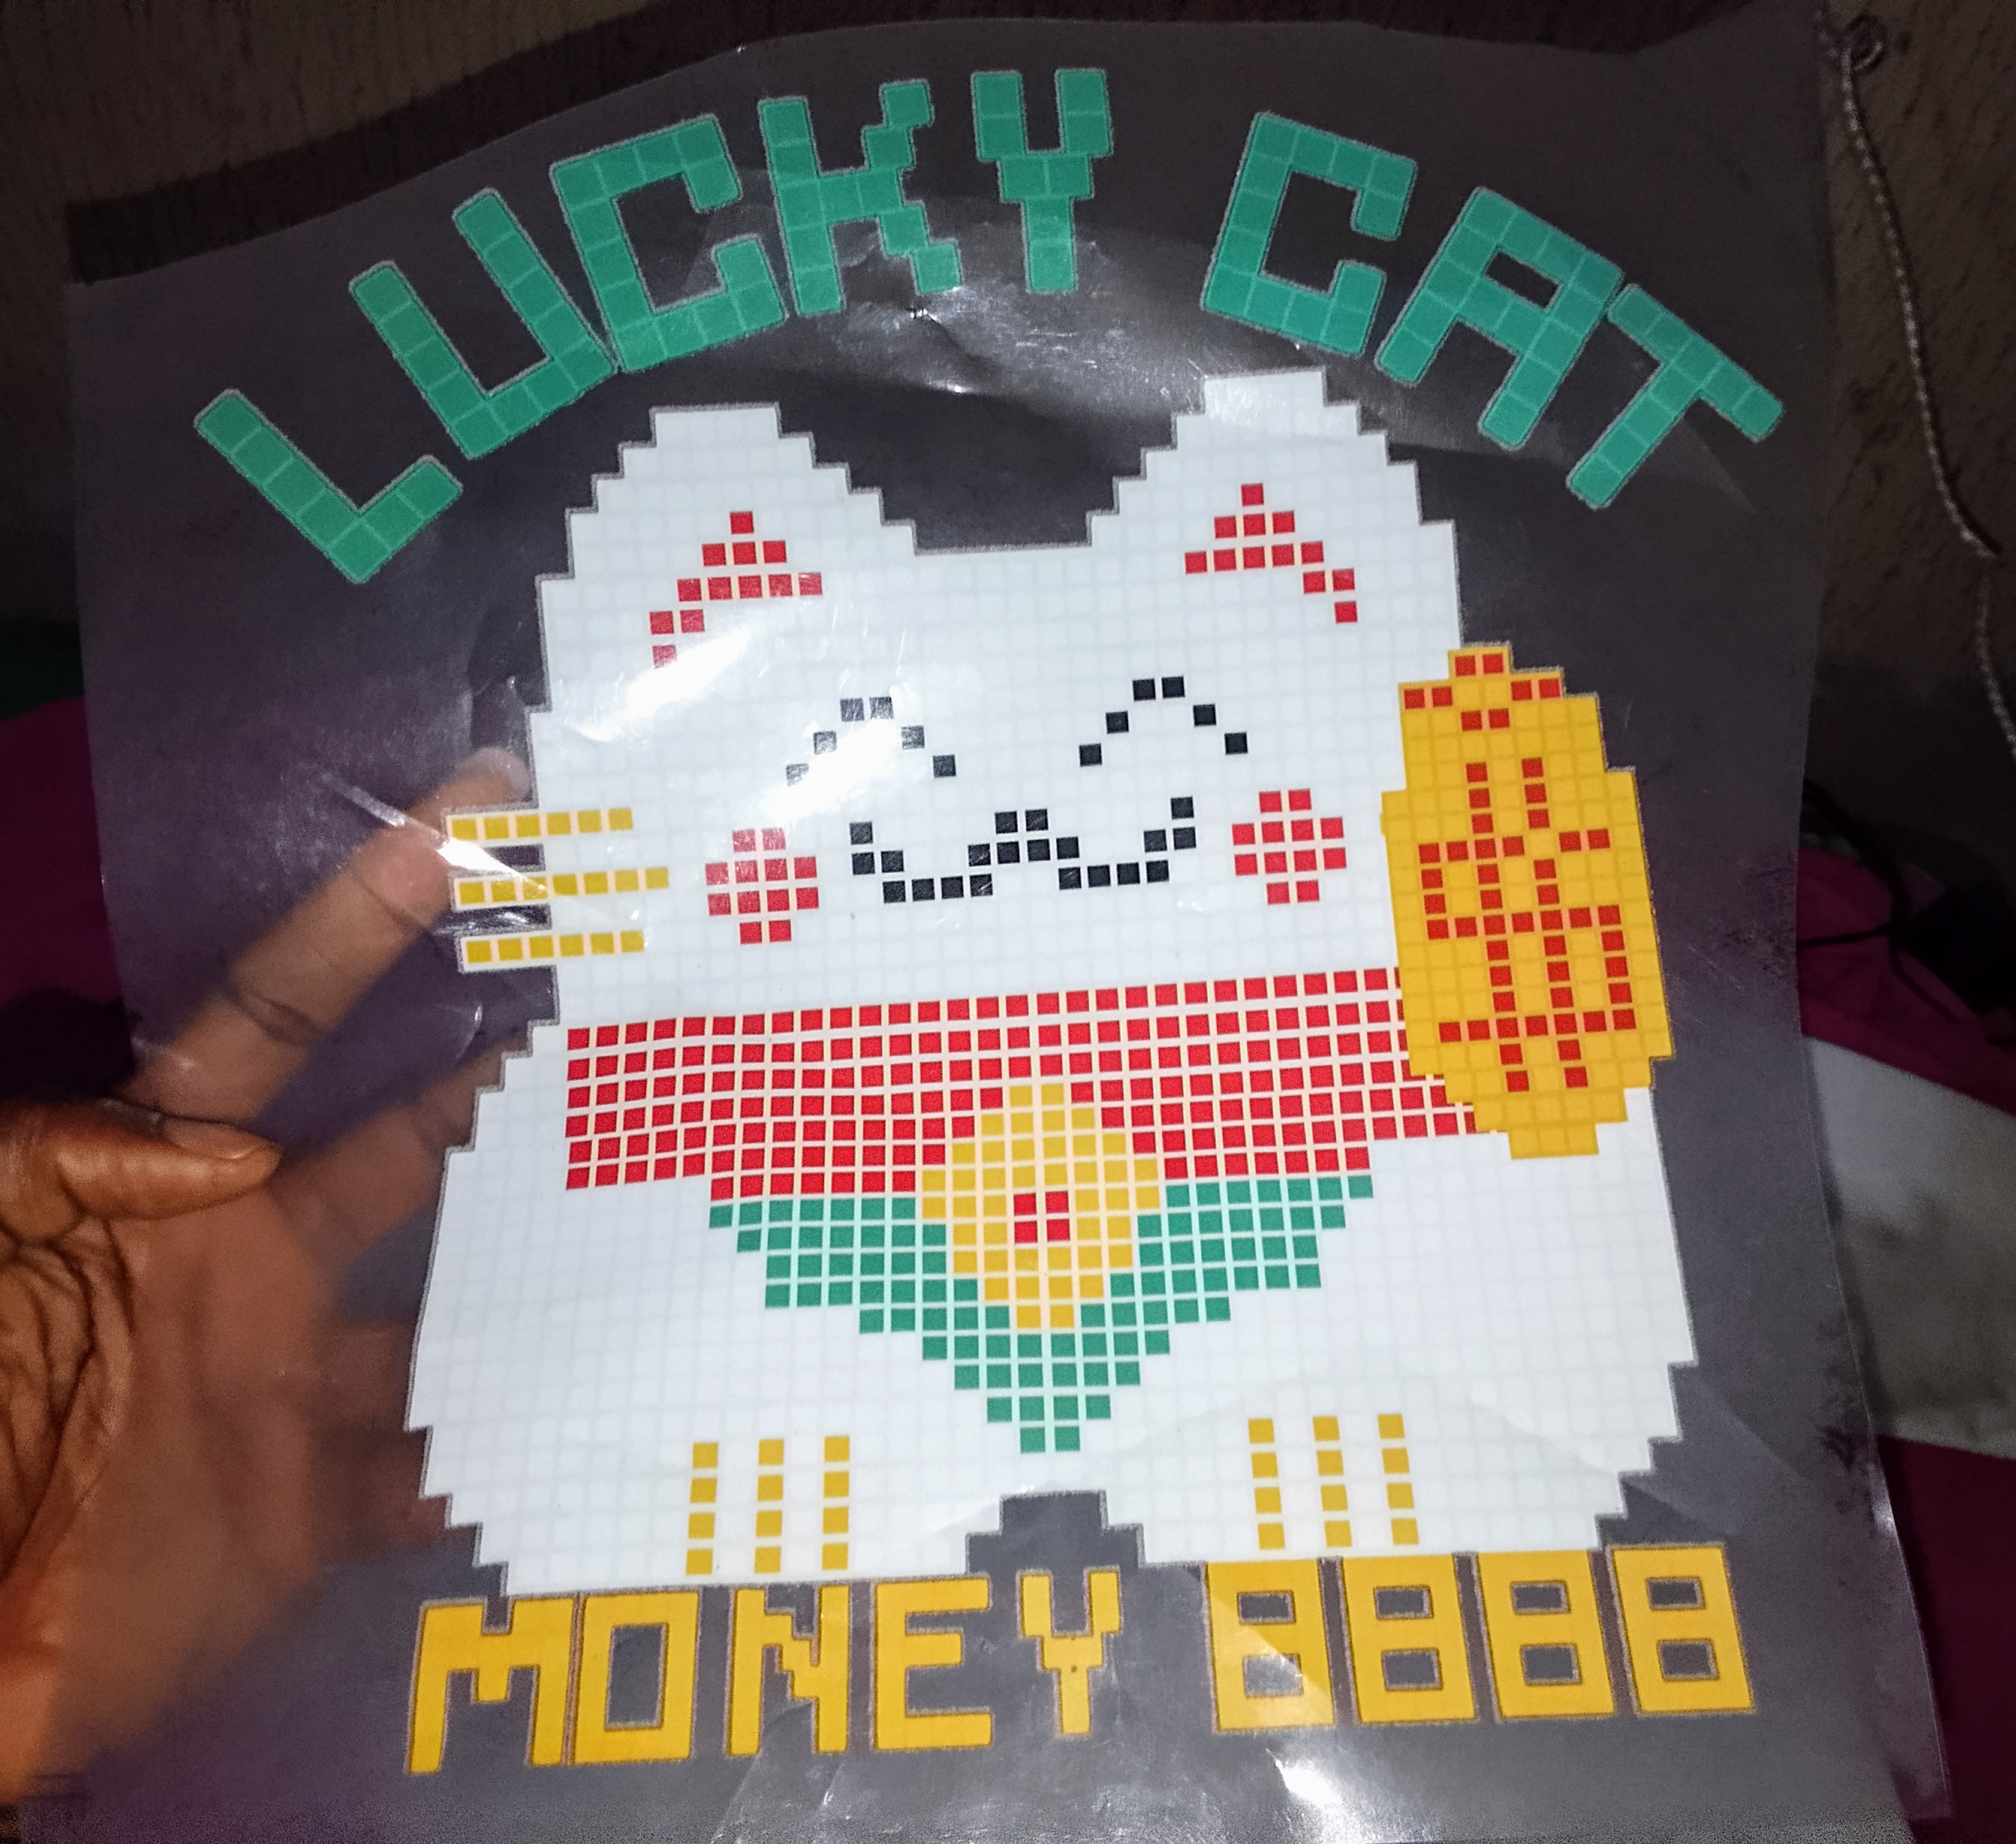
When I was done I got the DTF ready for transferring it to T-shirt.
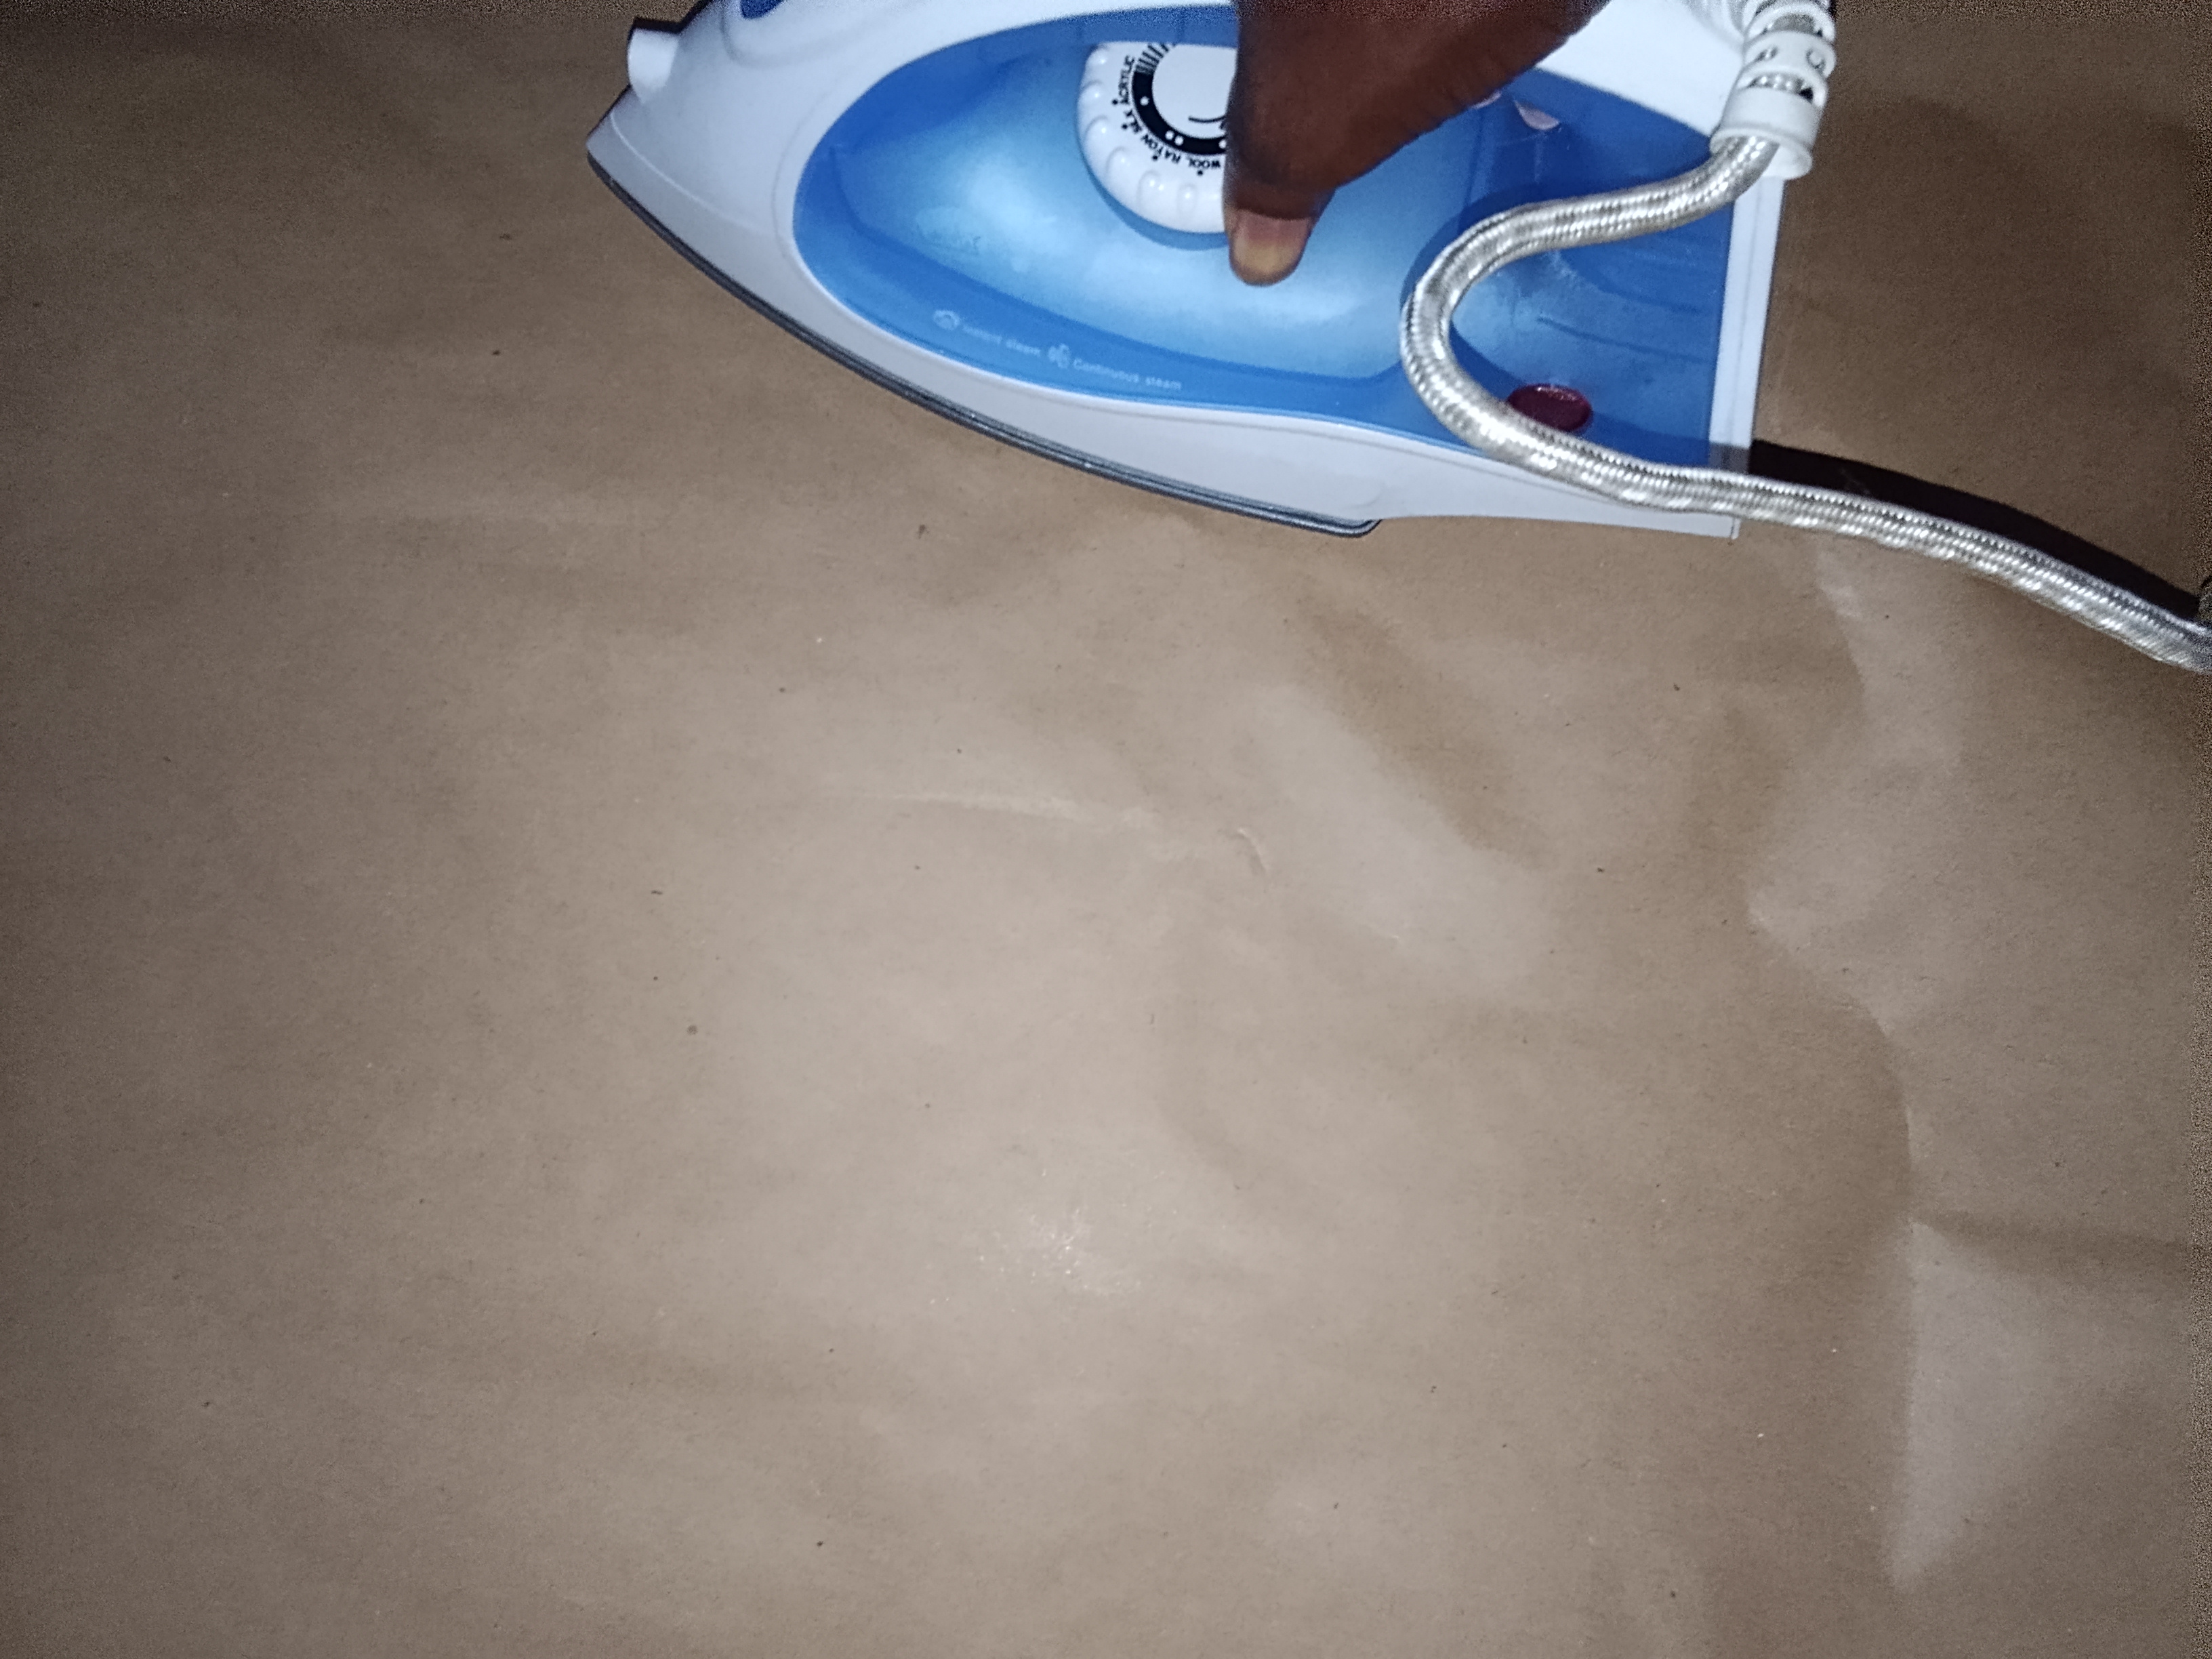
How to transfer DTF prints to your T-shirt is very easy to do from home and with just a pressing iron.
- Pre-heat the iron
- Place the print on the area you want to attach it to the shirt
- Place a piece of cloth of Teflon sheet to avoid burning it
- Apply the heat using the pressing iron or heat press machine
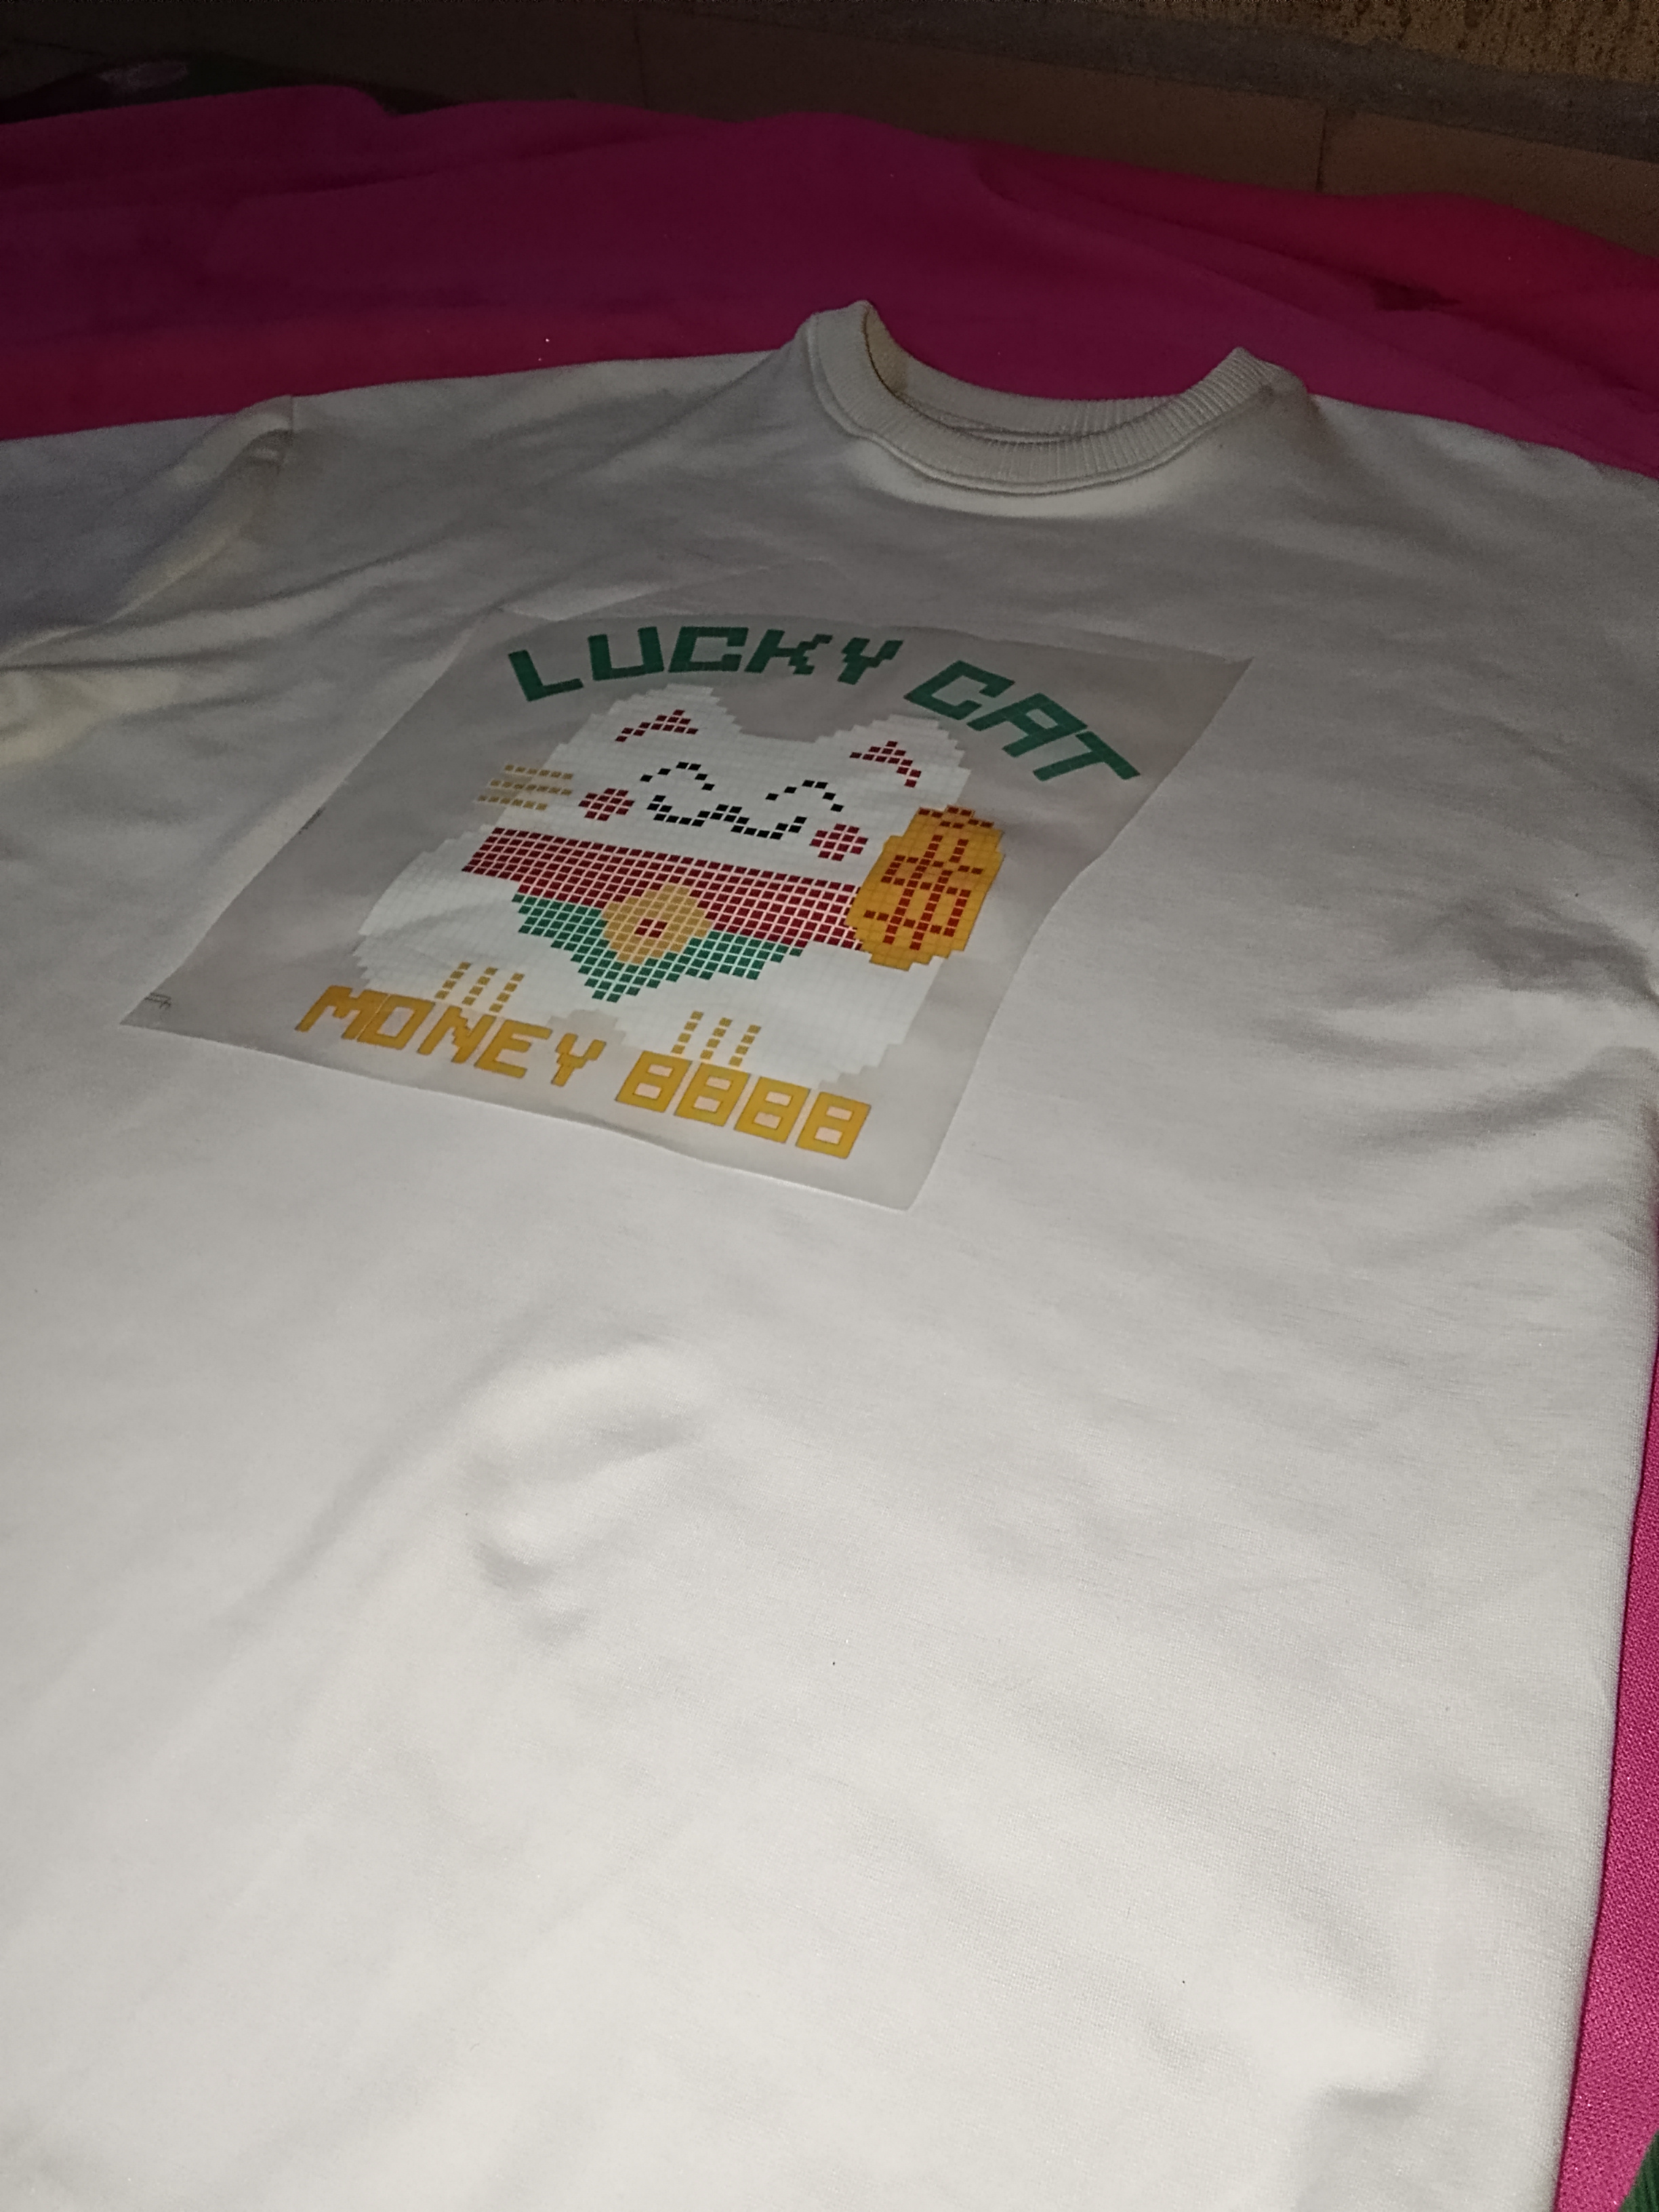
Take off the print gently from the edge to ensure the print is properly transferred to the fabric. If not just keep applying heat.
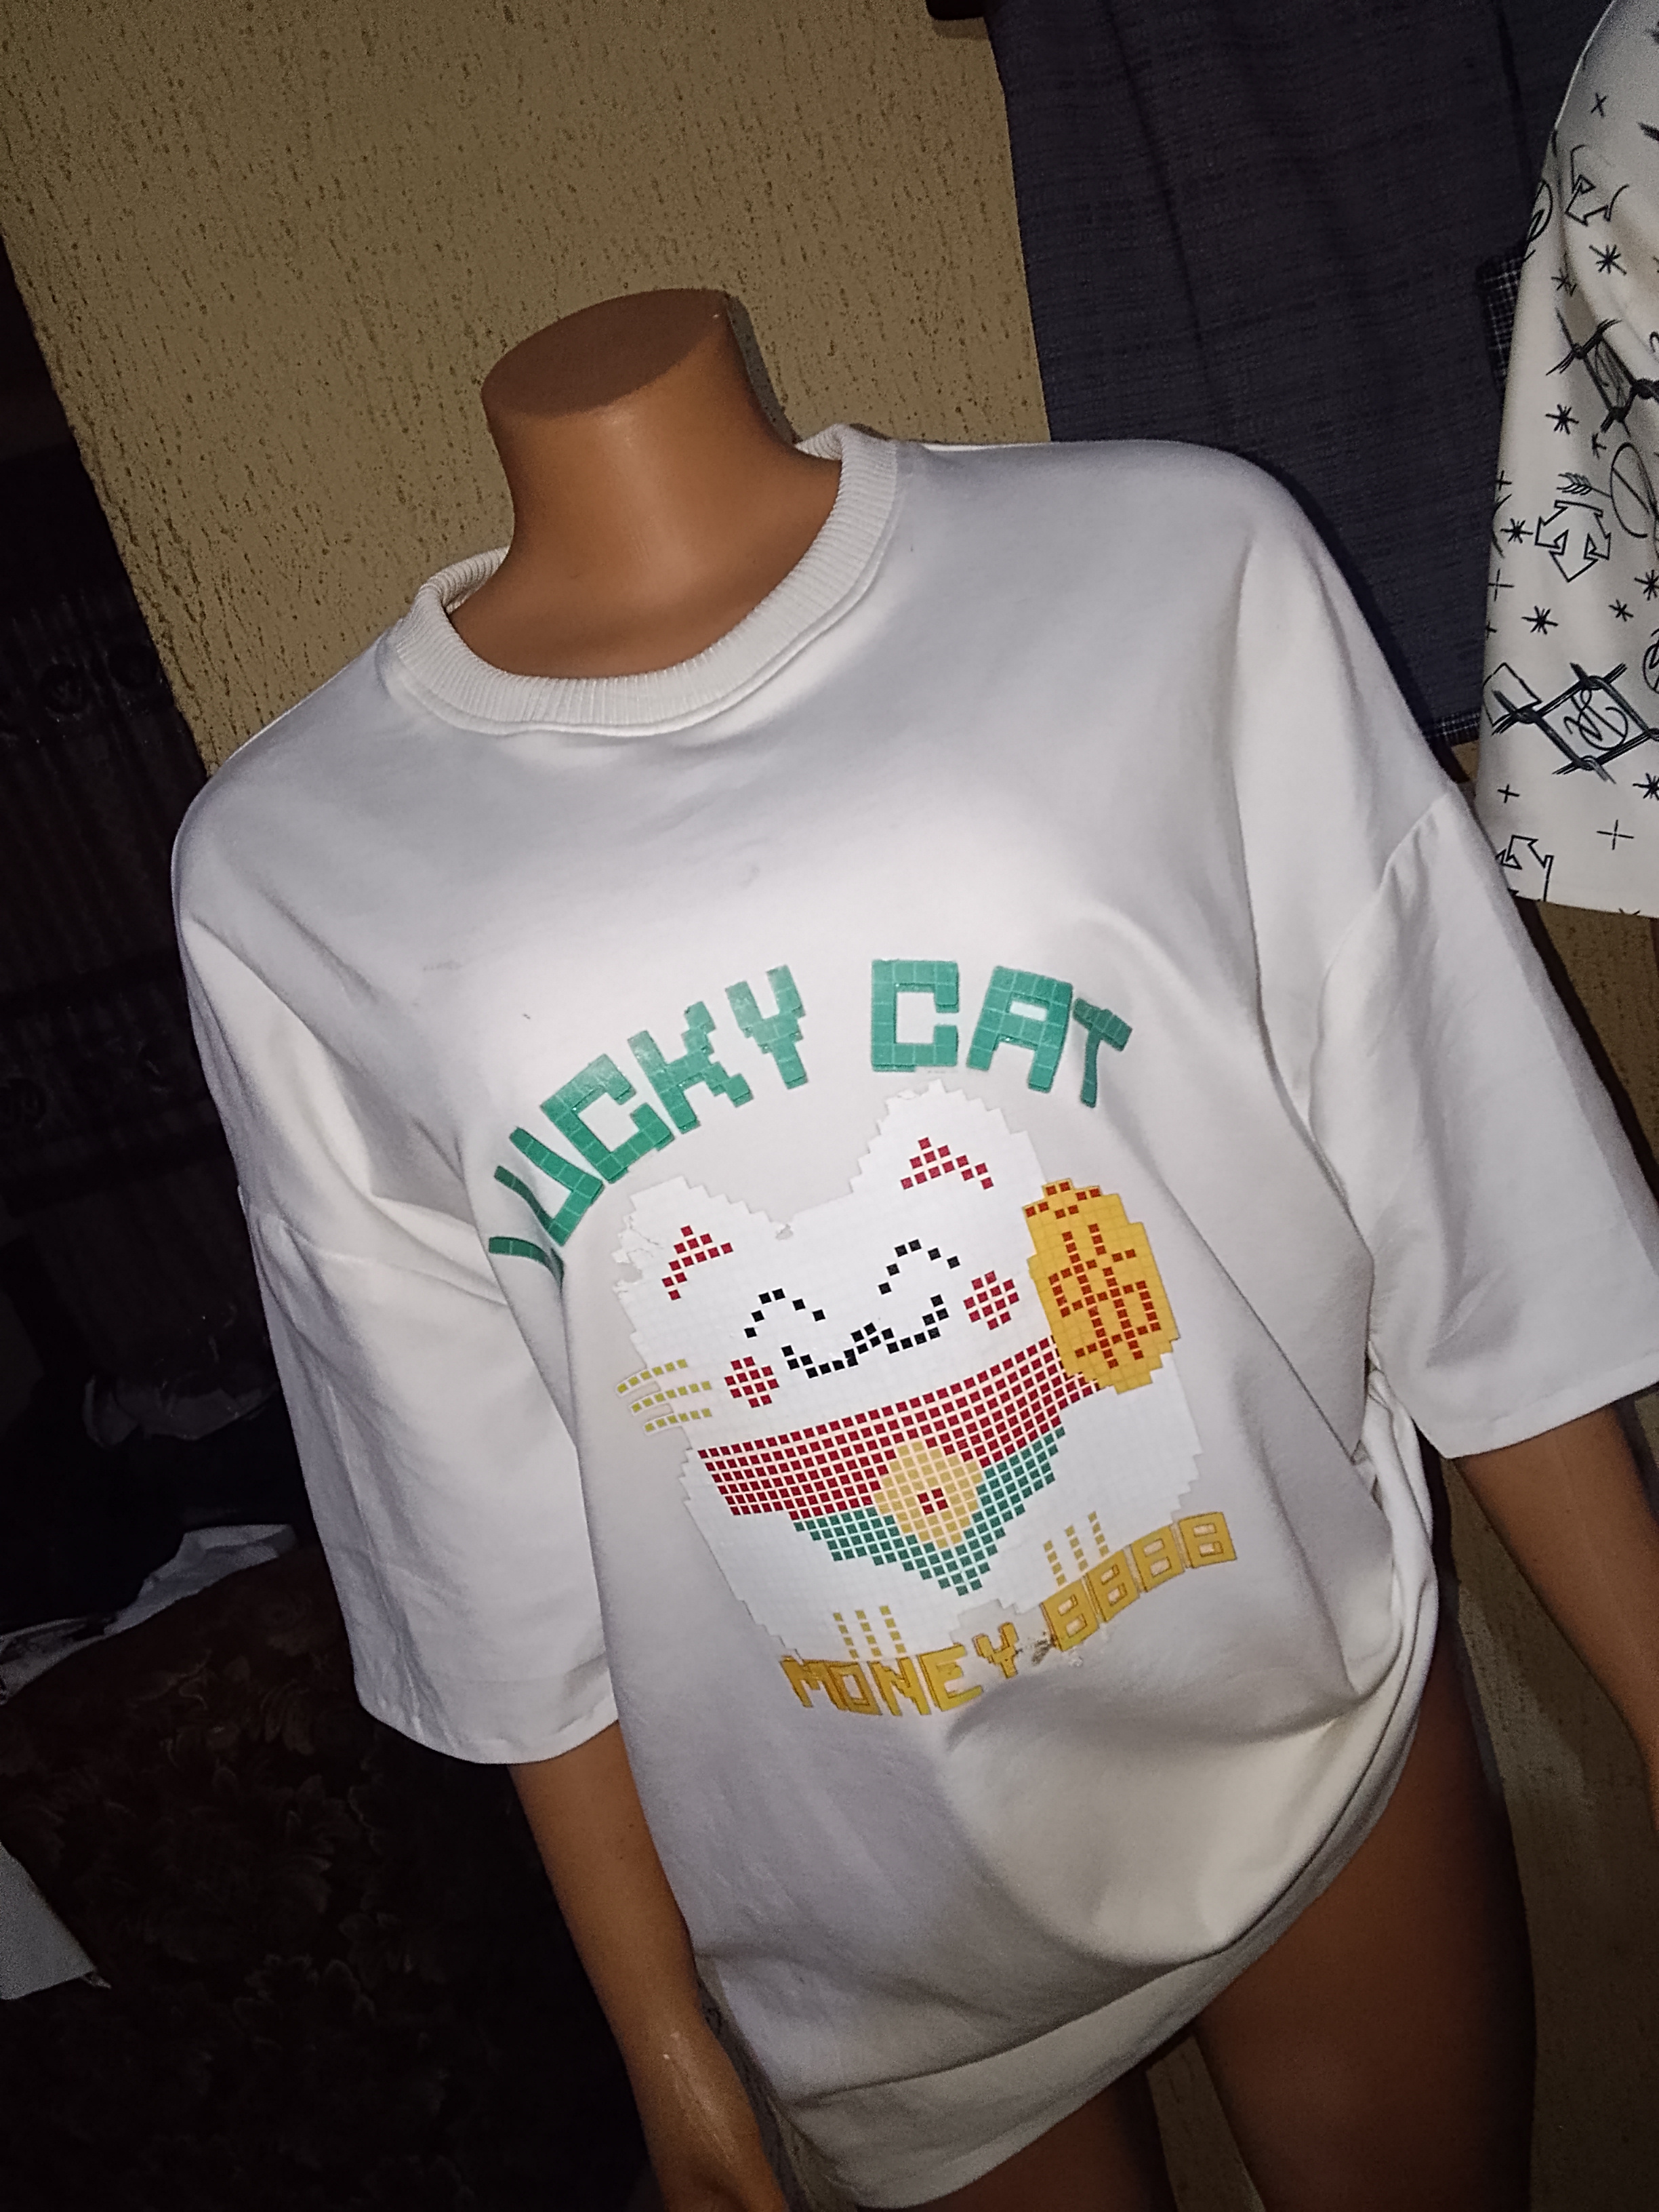
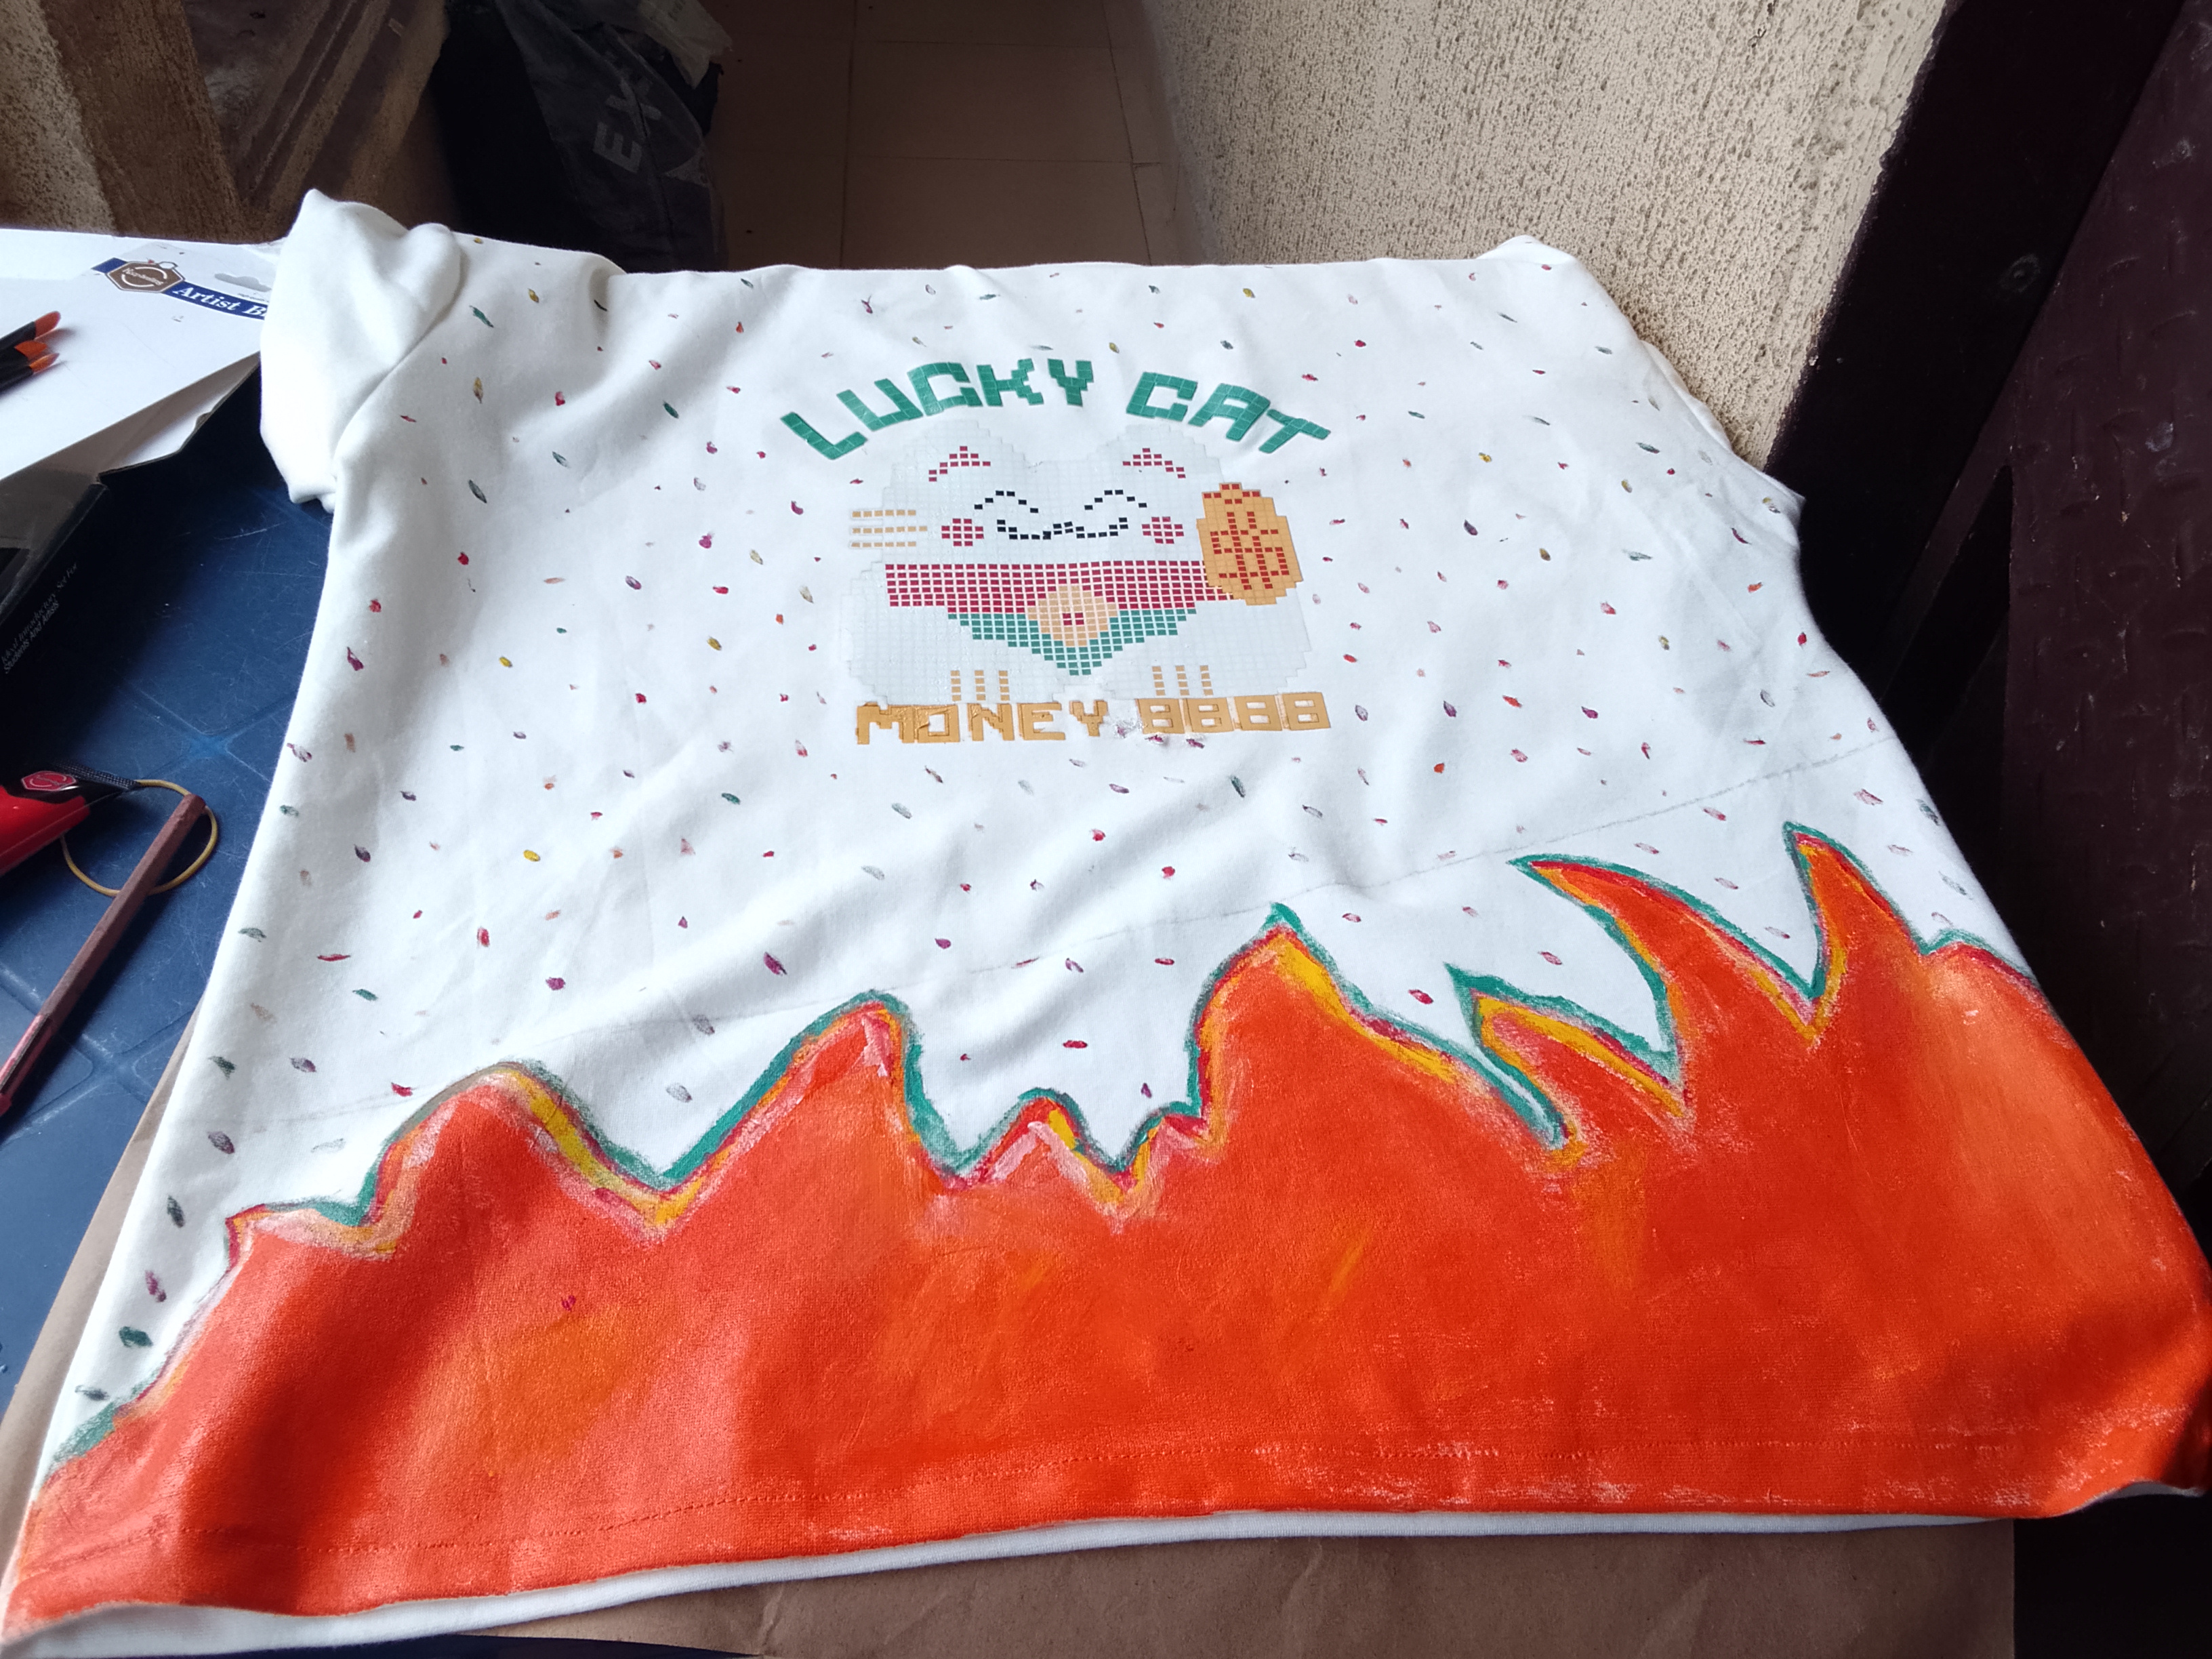
After applying the print, this is how the T-shirt turned out below:
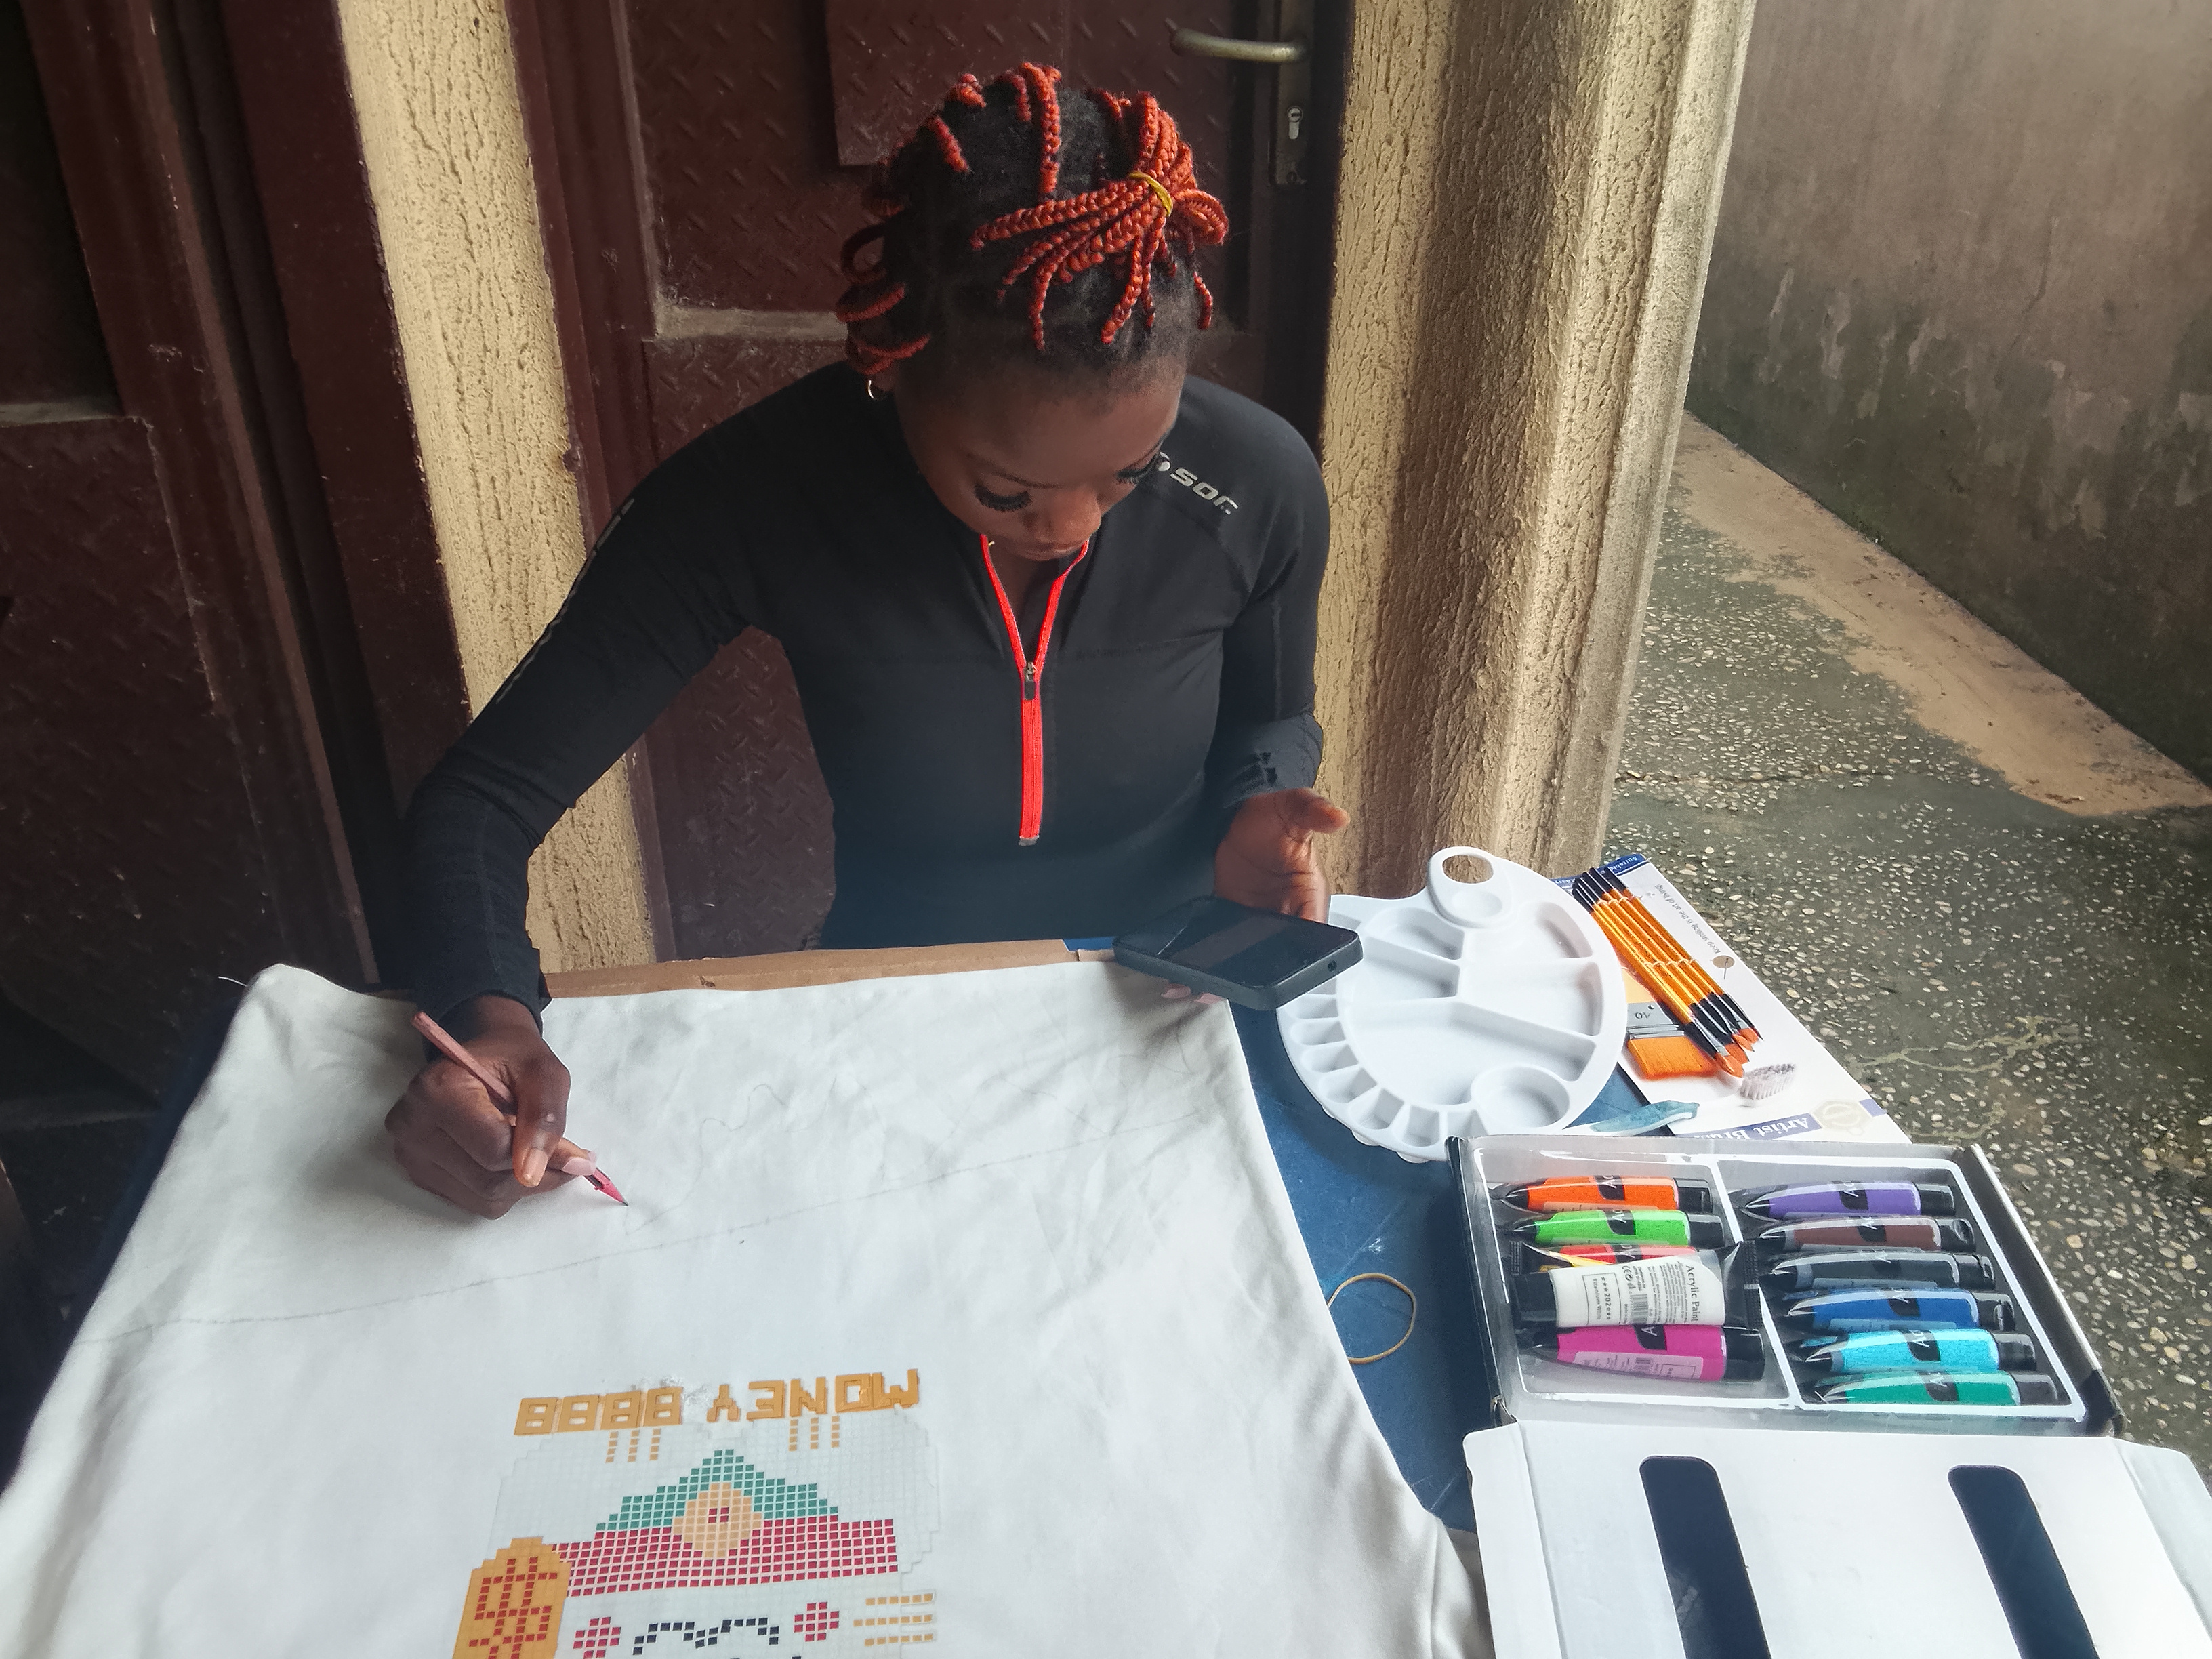
Then below I laid it out to start the painting:
I used acrylic paint for this project which works perfectly for fabric but there are a lot more fabric paints we can get.
- Start by sketching what you want to paint on
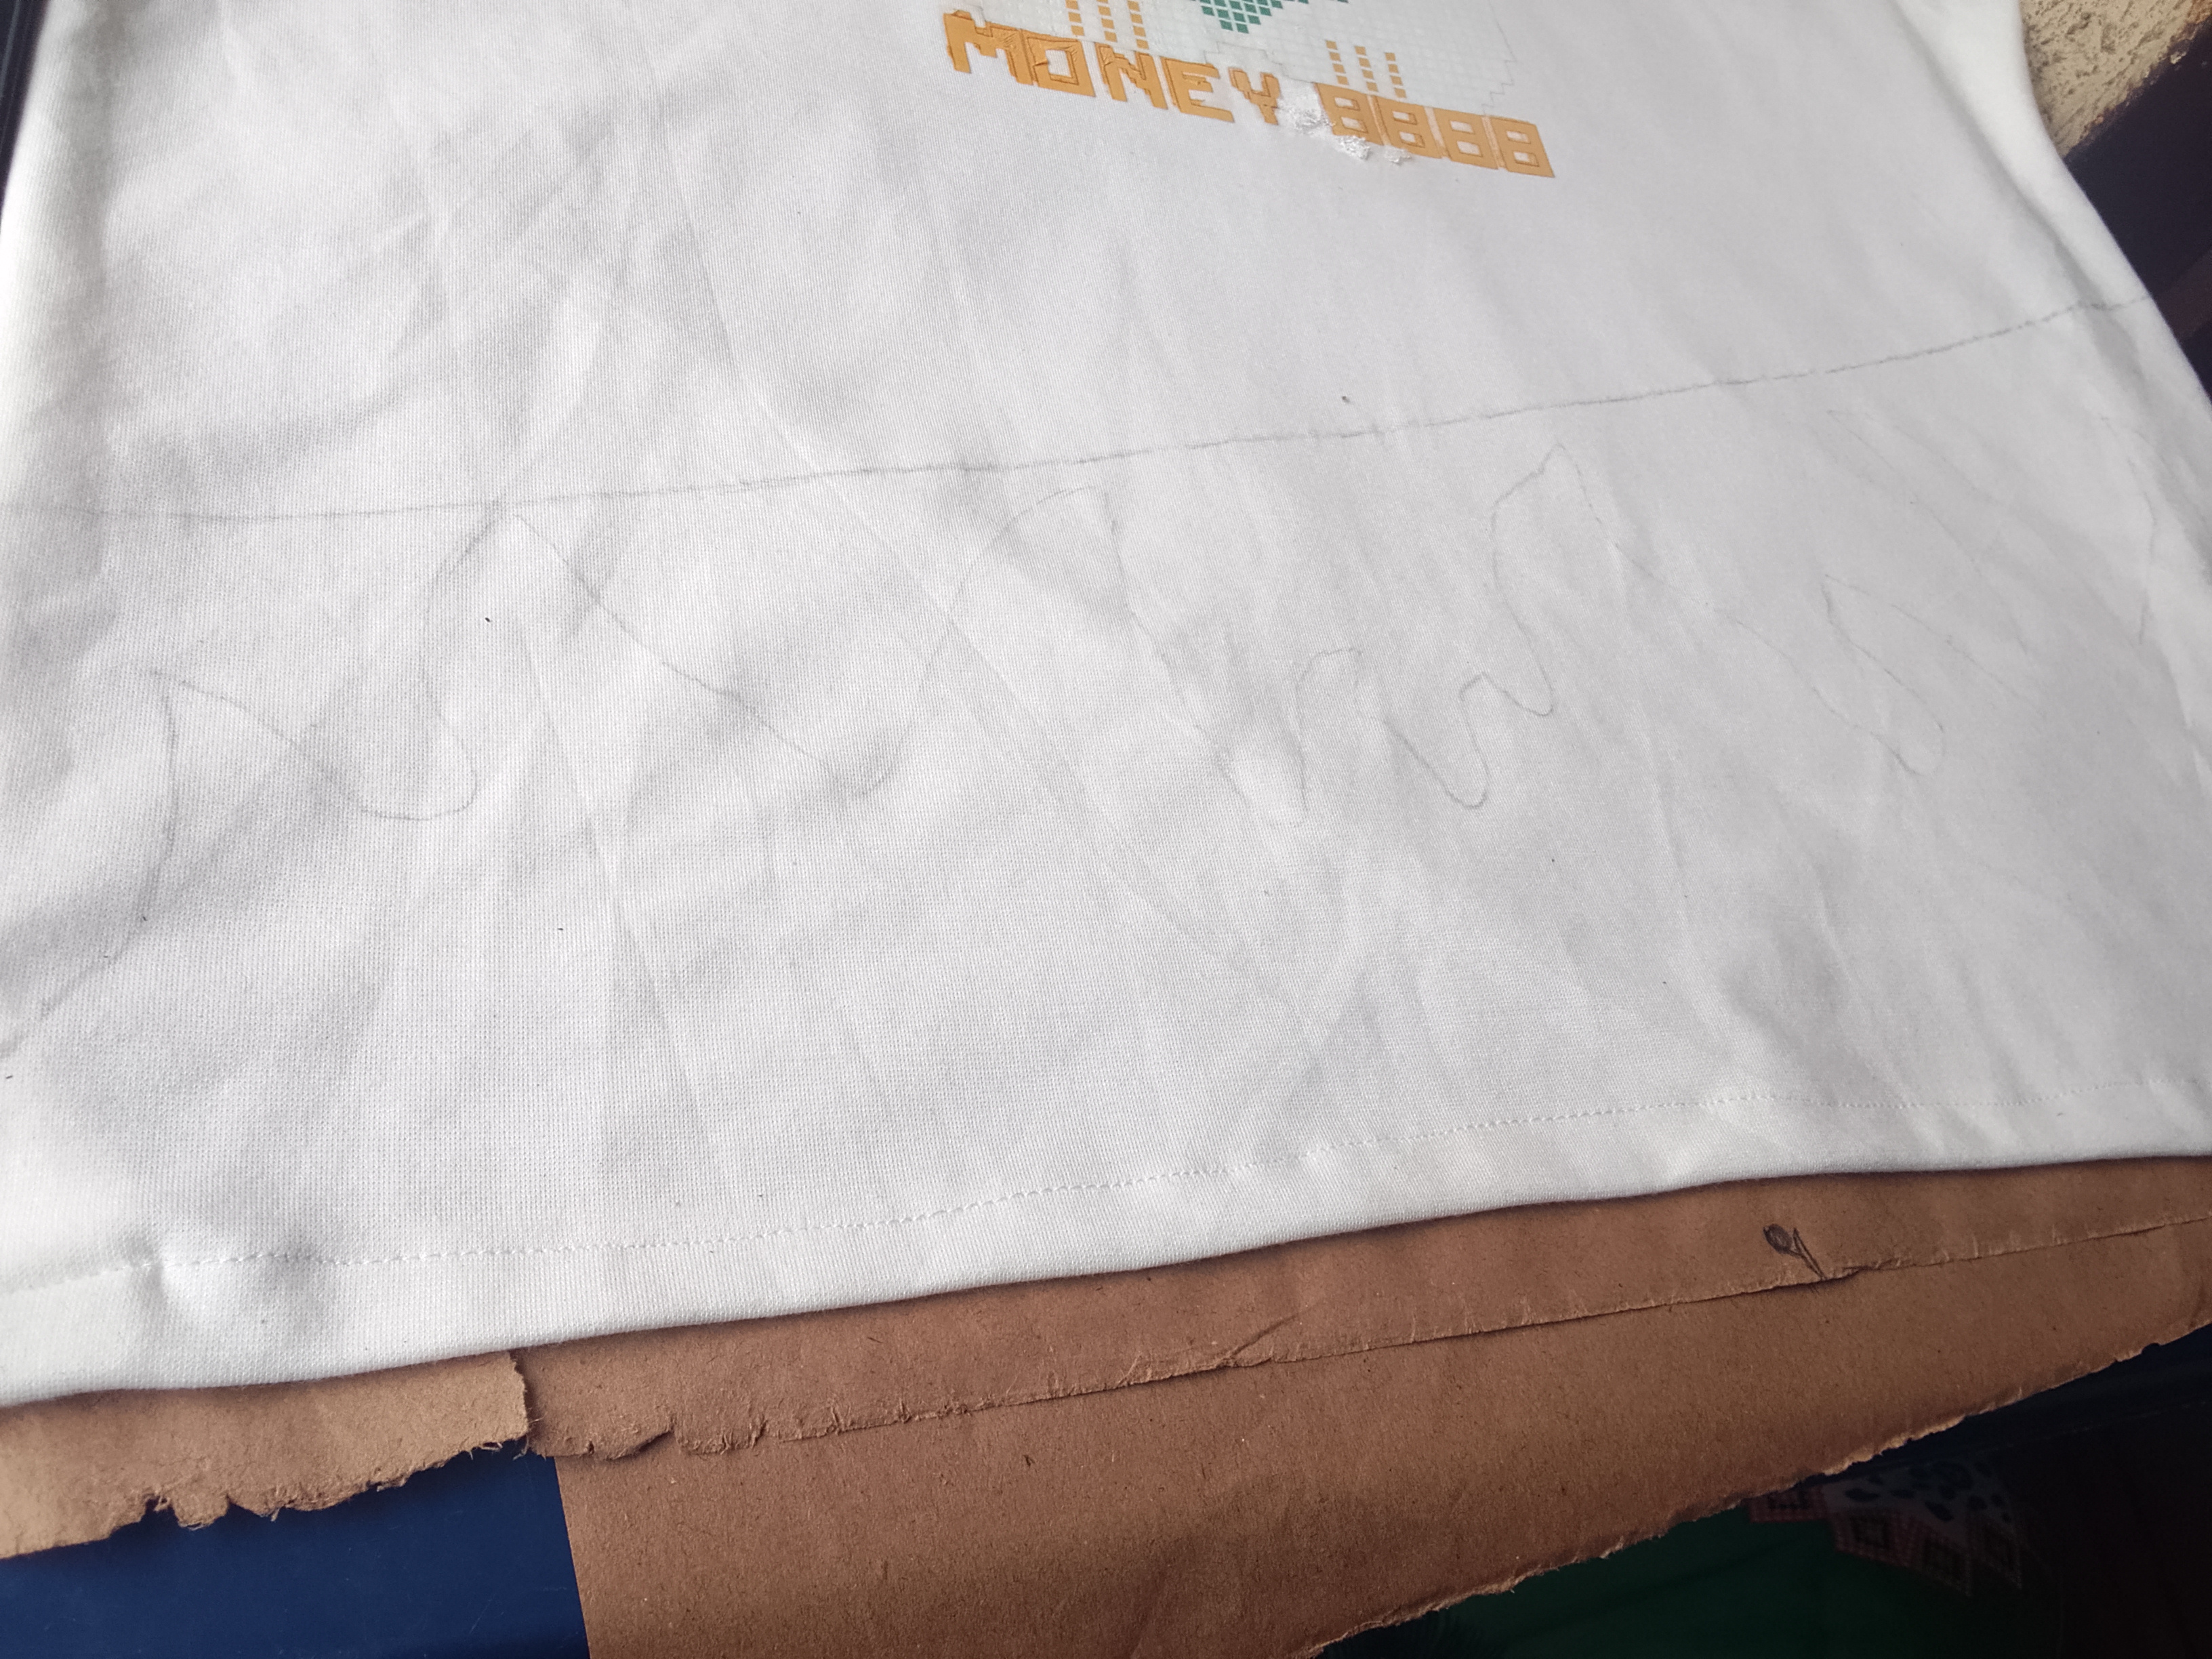
Choose the colors you want to paint with and pour out some in the palette
Out a cardboard inside the T shirt so the paint doesn't leak to the back and stain it
First deep the brush in water then in the paint
Brush off excess paint on the brush and start painting in the sketch you've made
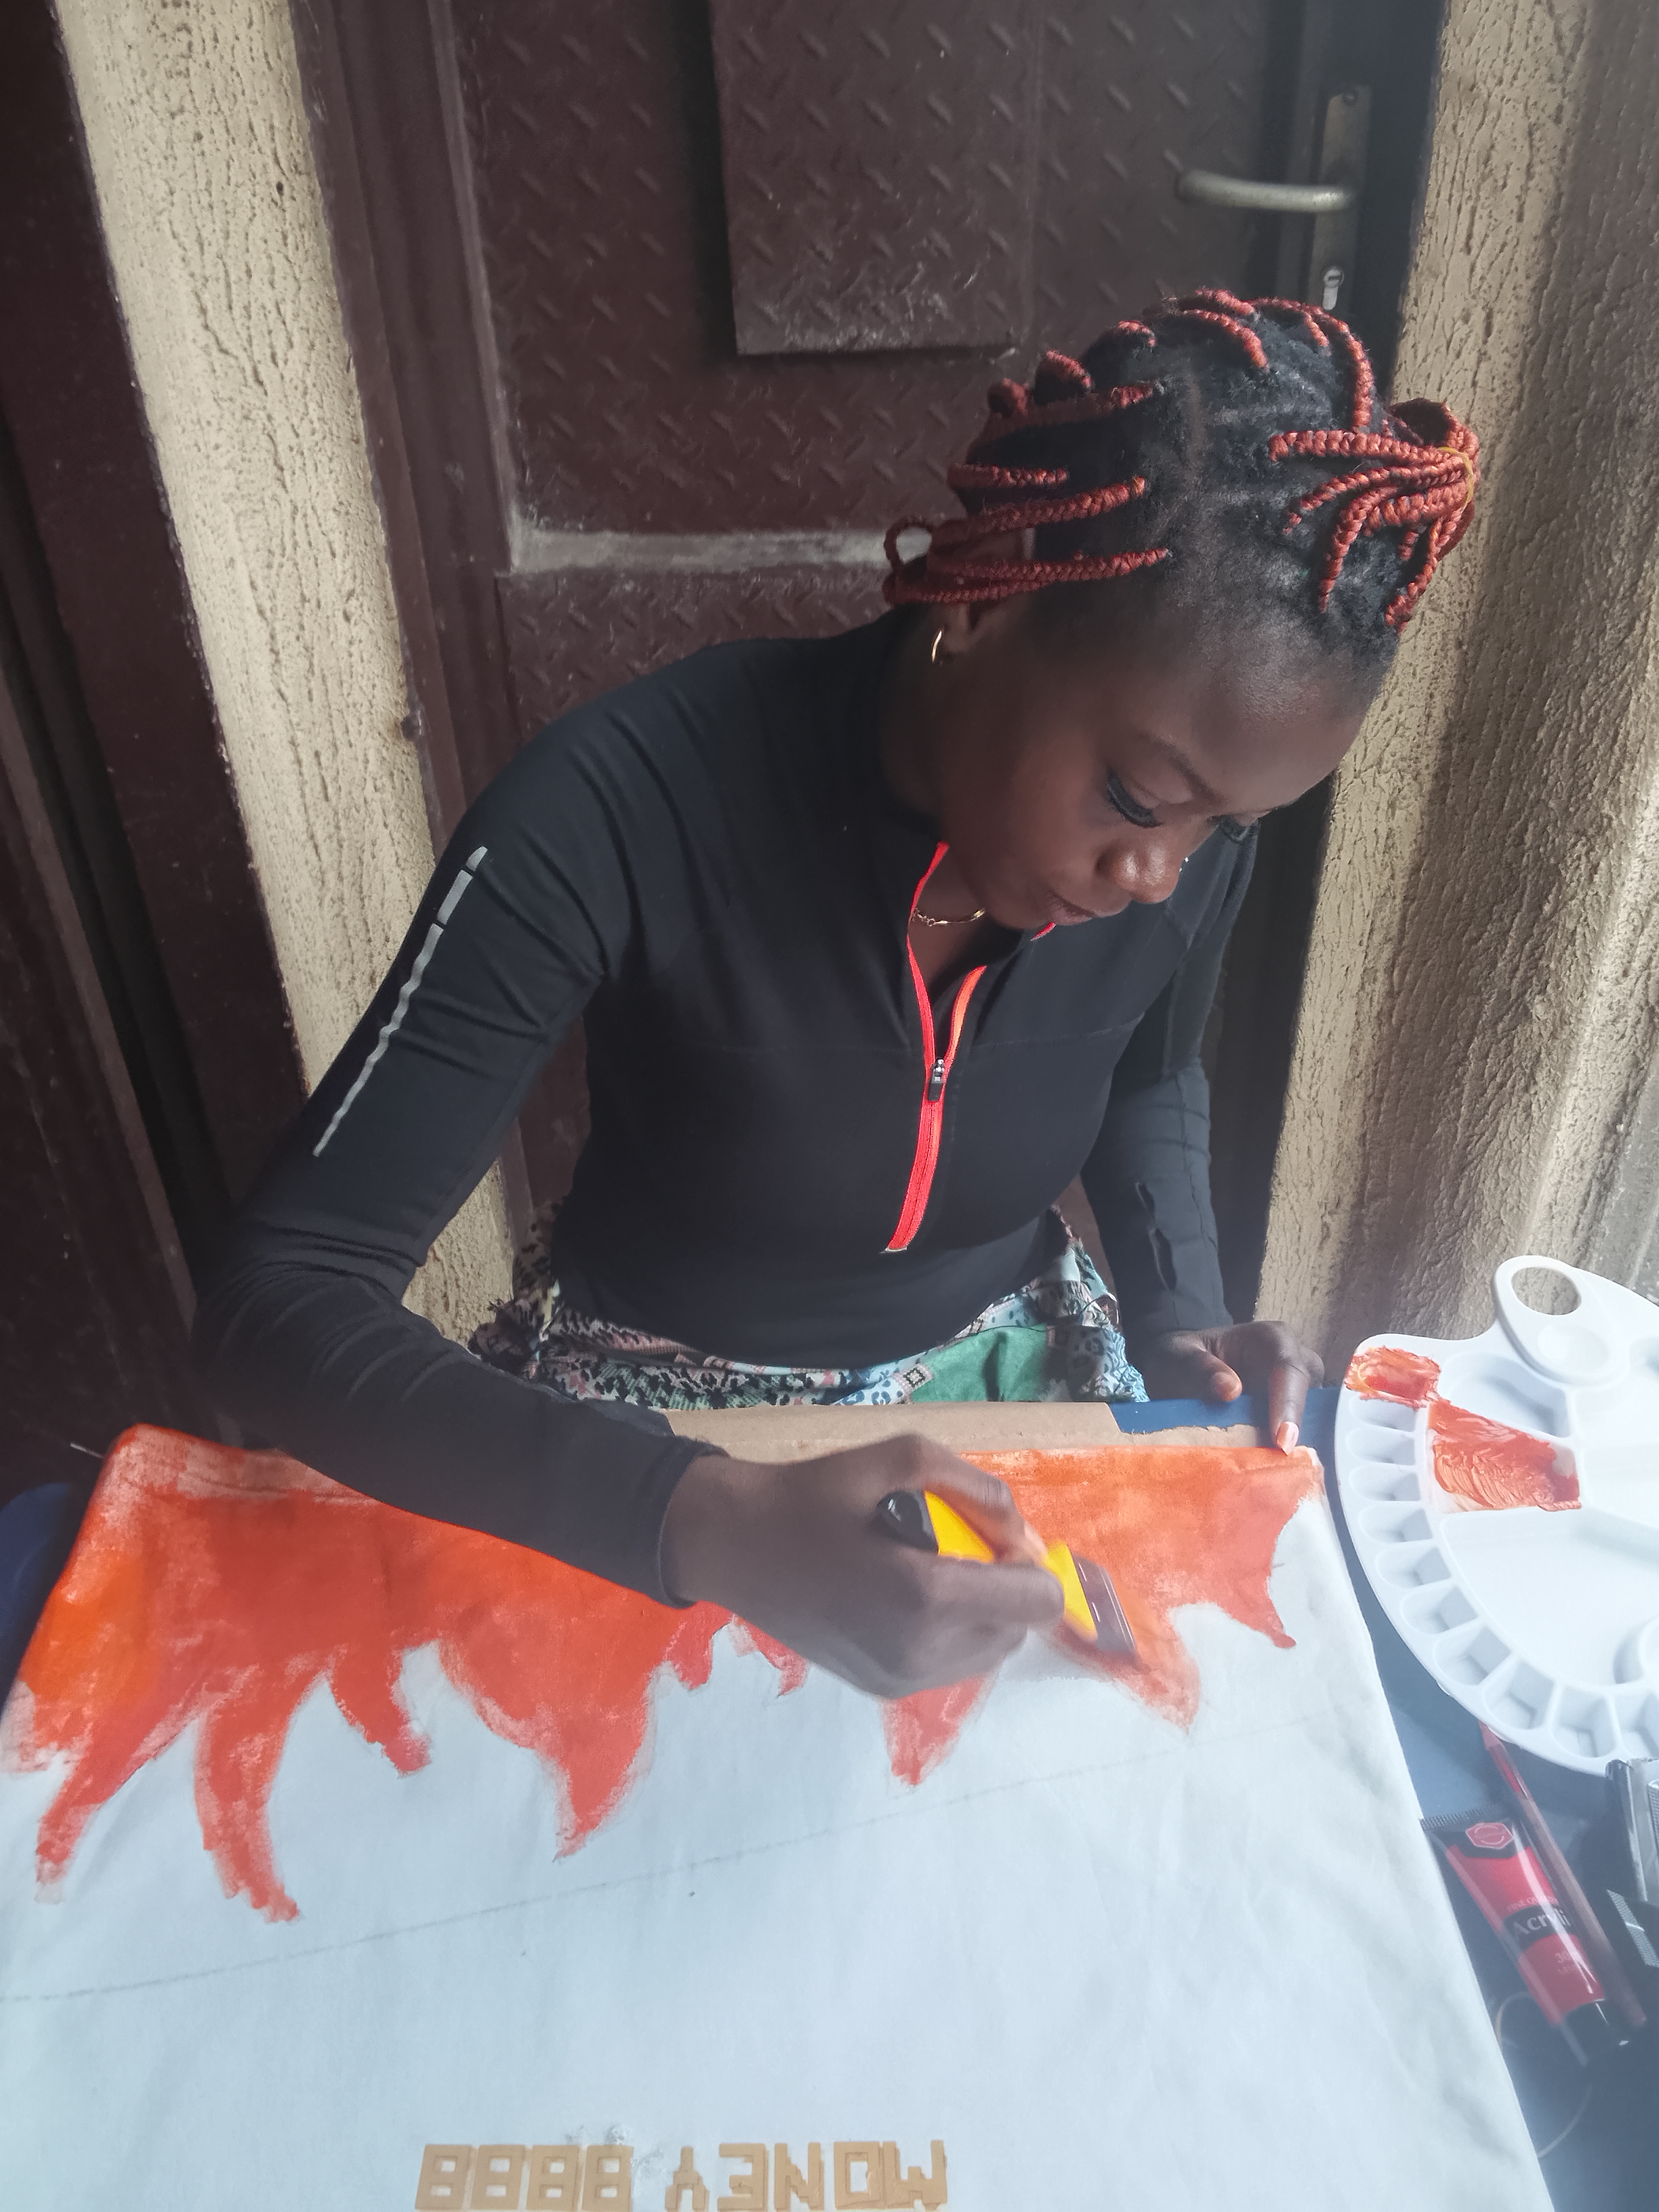
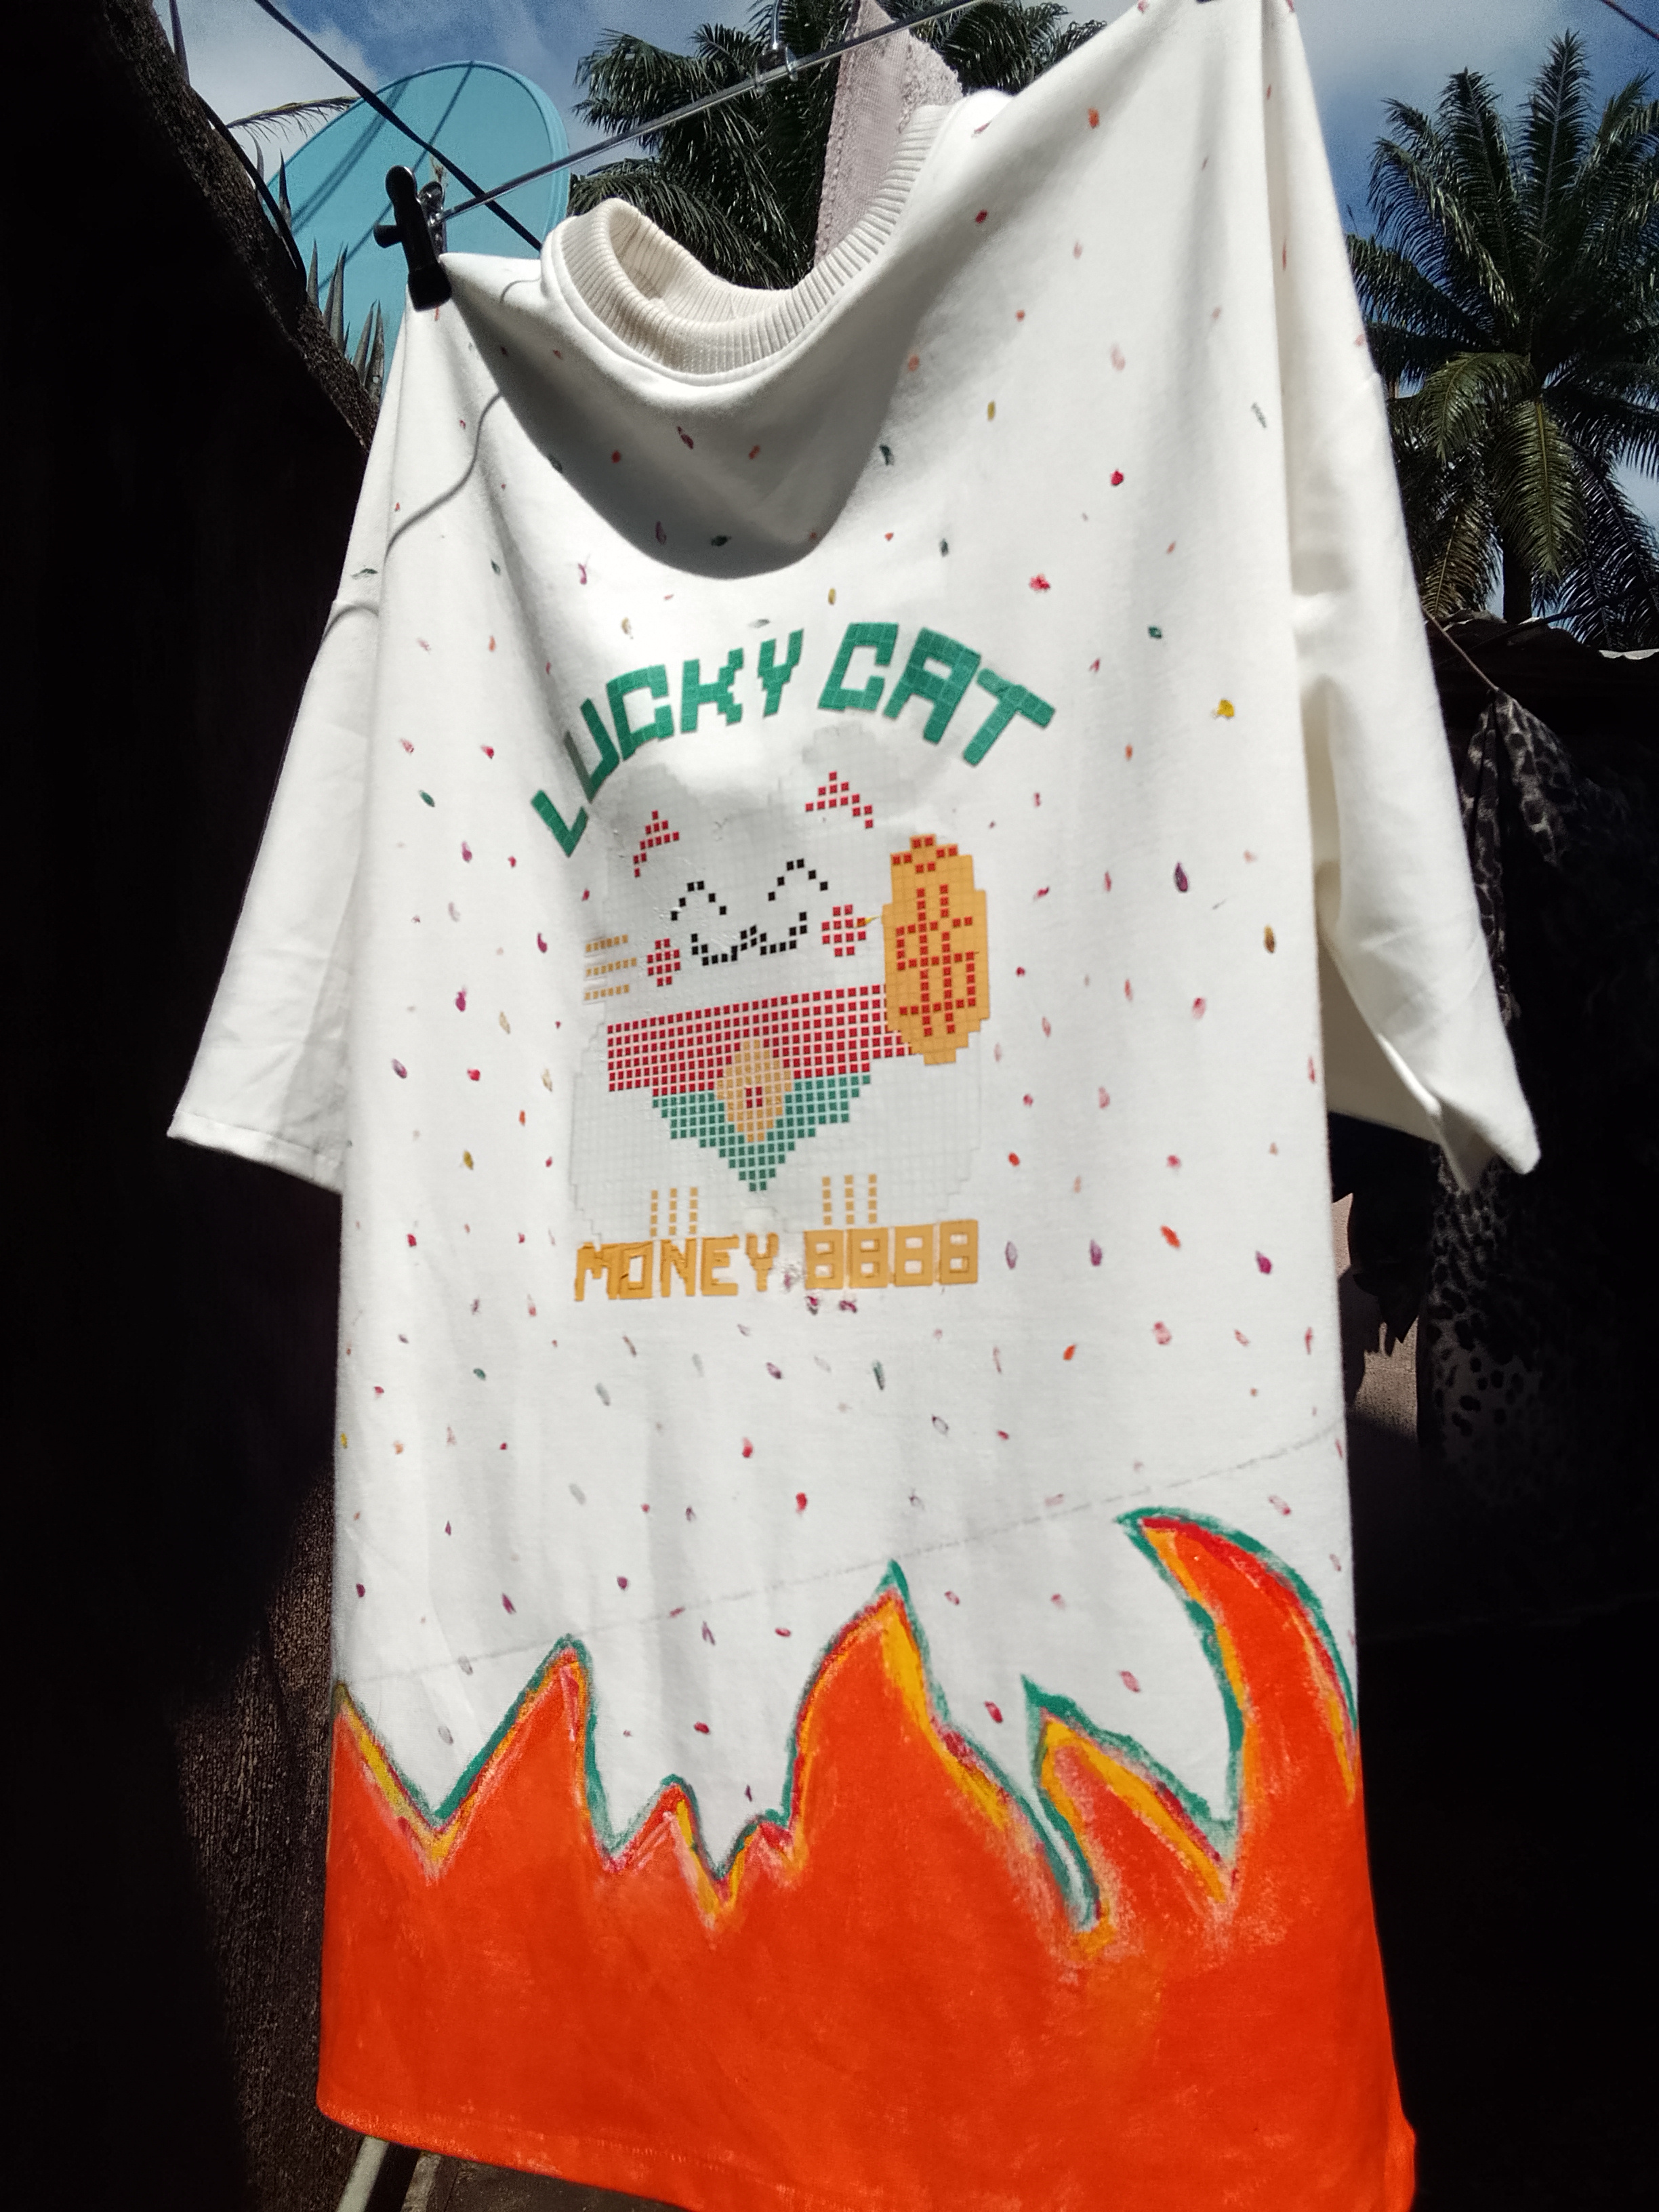
I wanted to make fire patterns on the T-shirt and I'm happy my first try was realitively good and I'll keep improving. I used the brush to highlight the edges and to add the colors that will still look good with the print.
After painting it's best to let it dry properly so that the paint will become part of the fabric.
I took it out in the sun to dry properly, I left it for almost a day under the sun
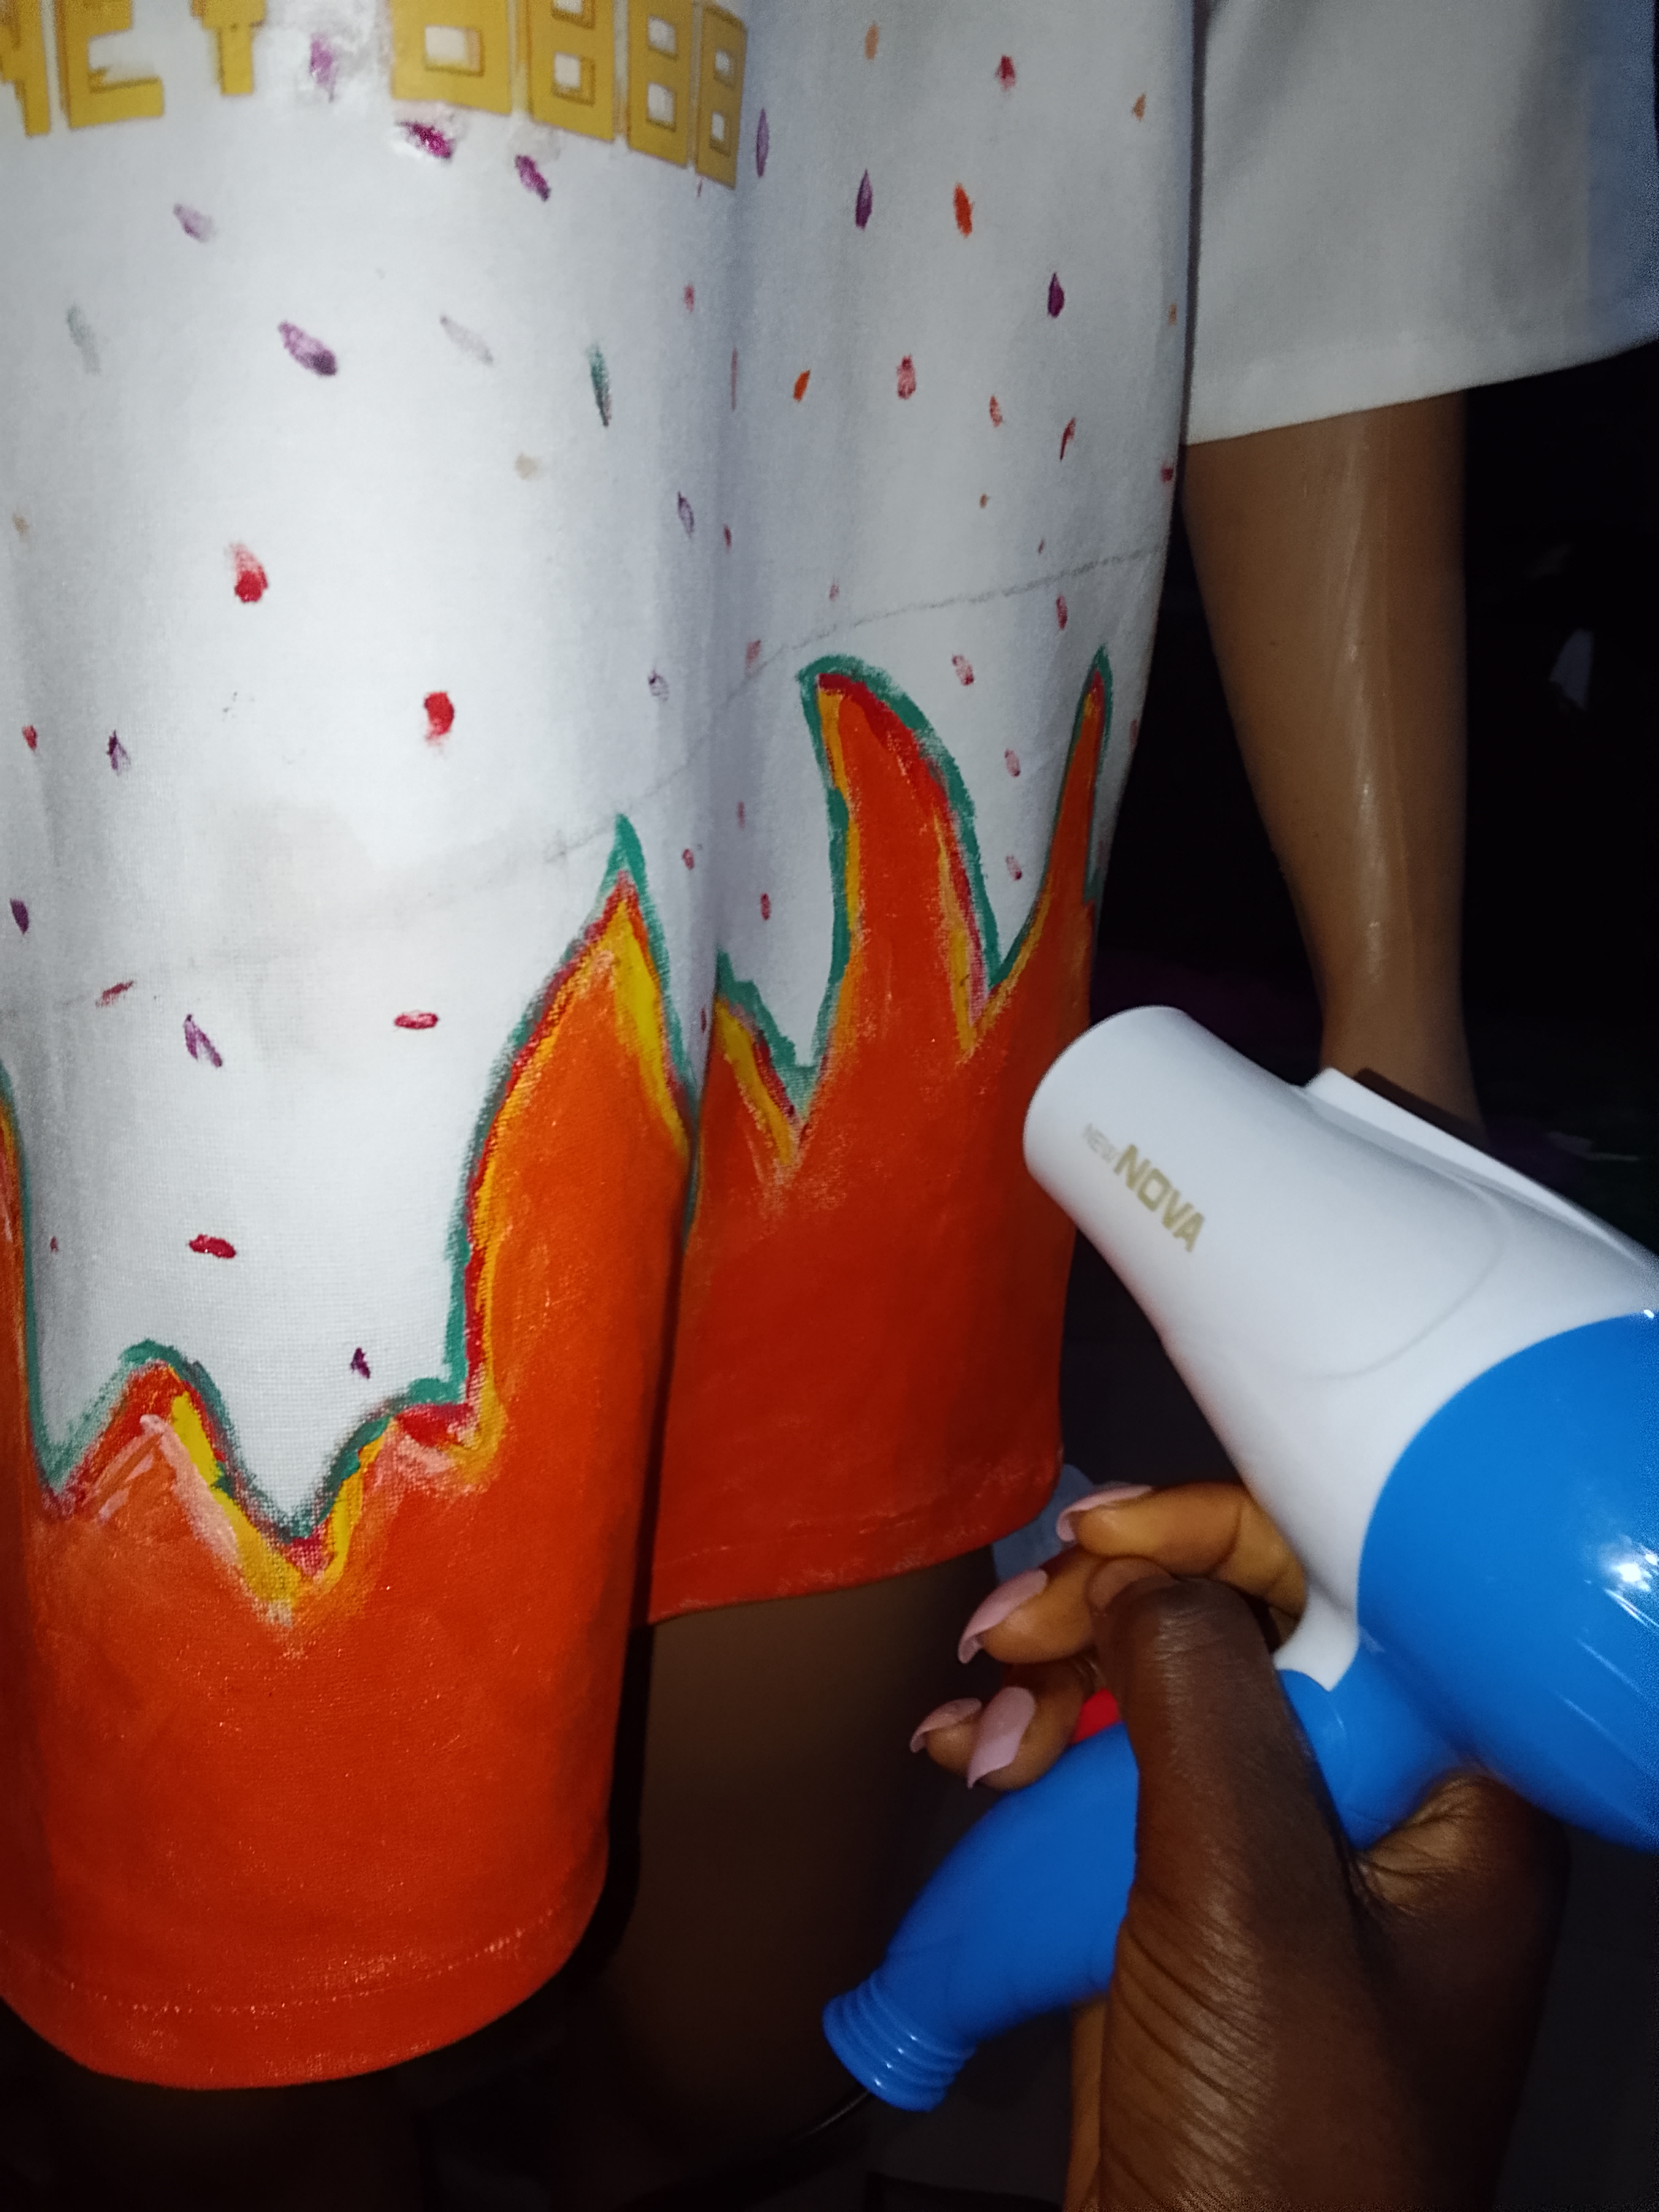
After that it was dry, after getting it in I also used the hair dryer on it to be sure
After a few days, I washed the T-shirt to see if the paint will go off. Below in the video you can see me hand washing it
After washing the painting was intact and I spread it out again to dry
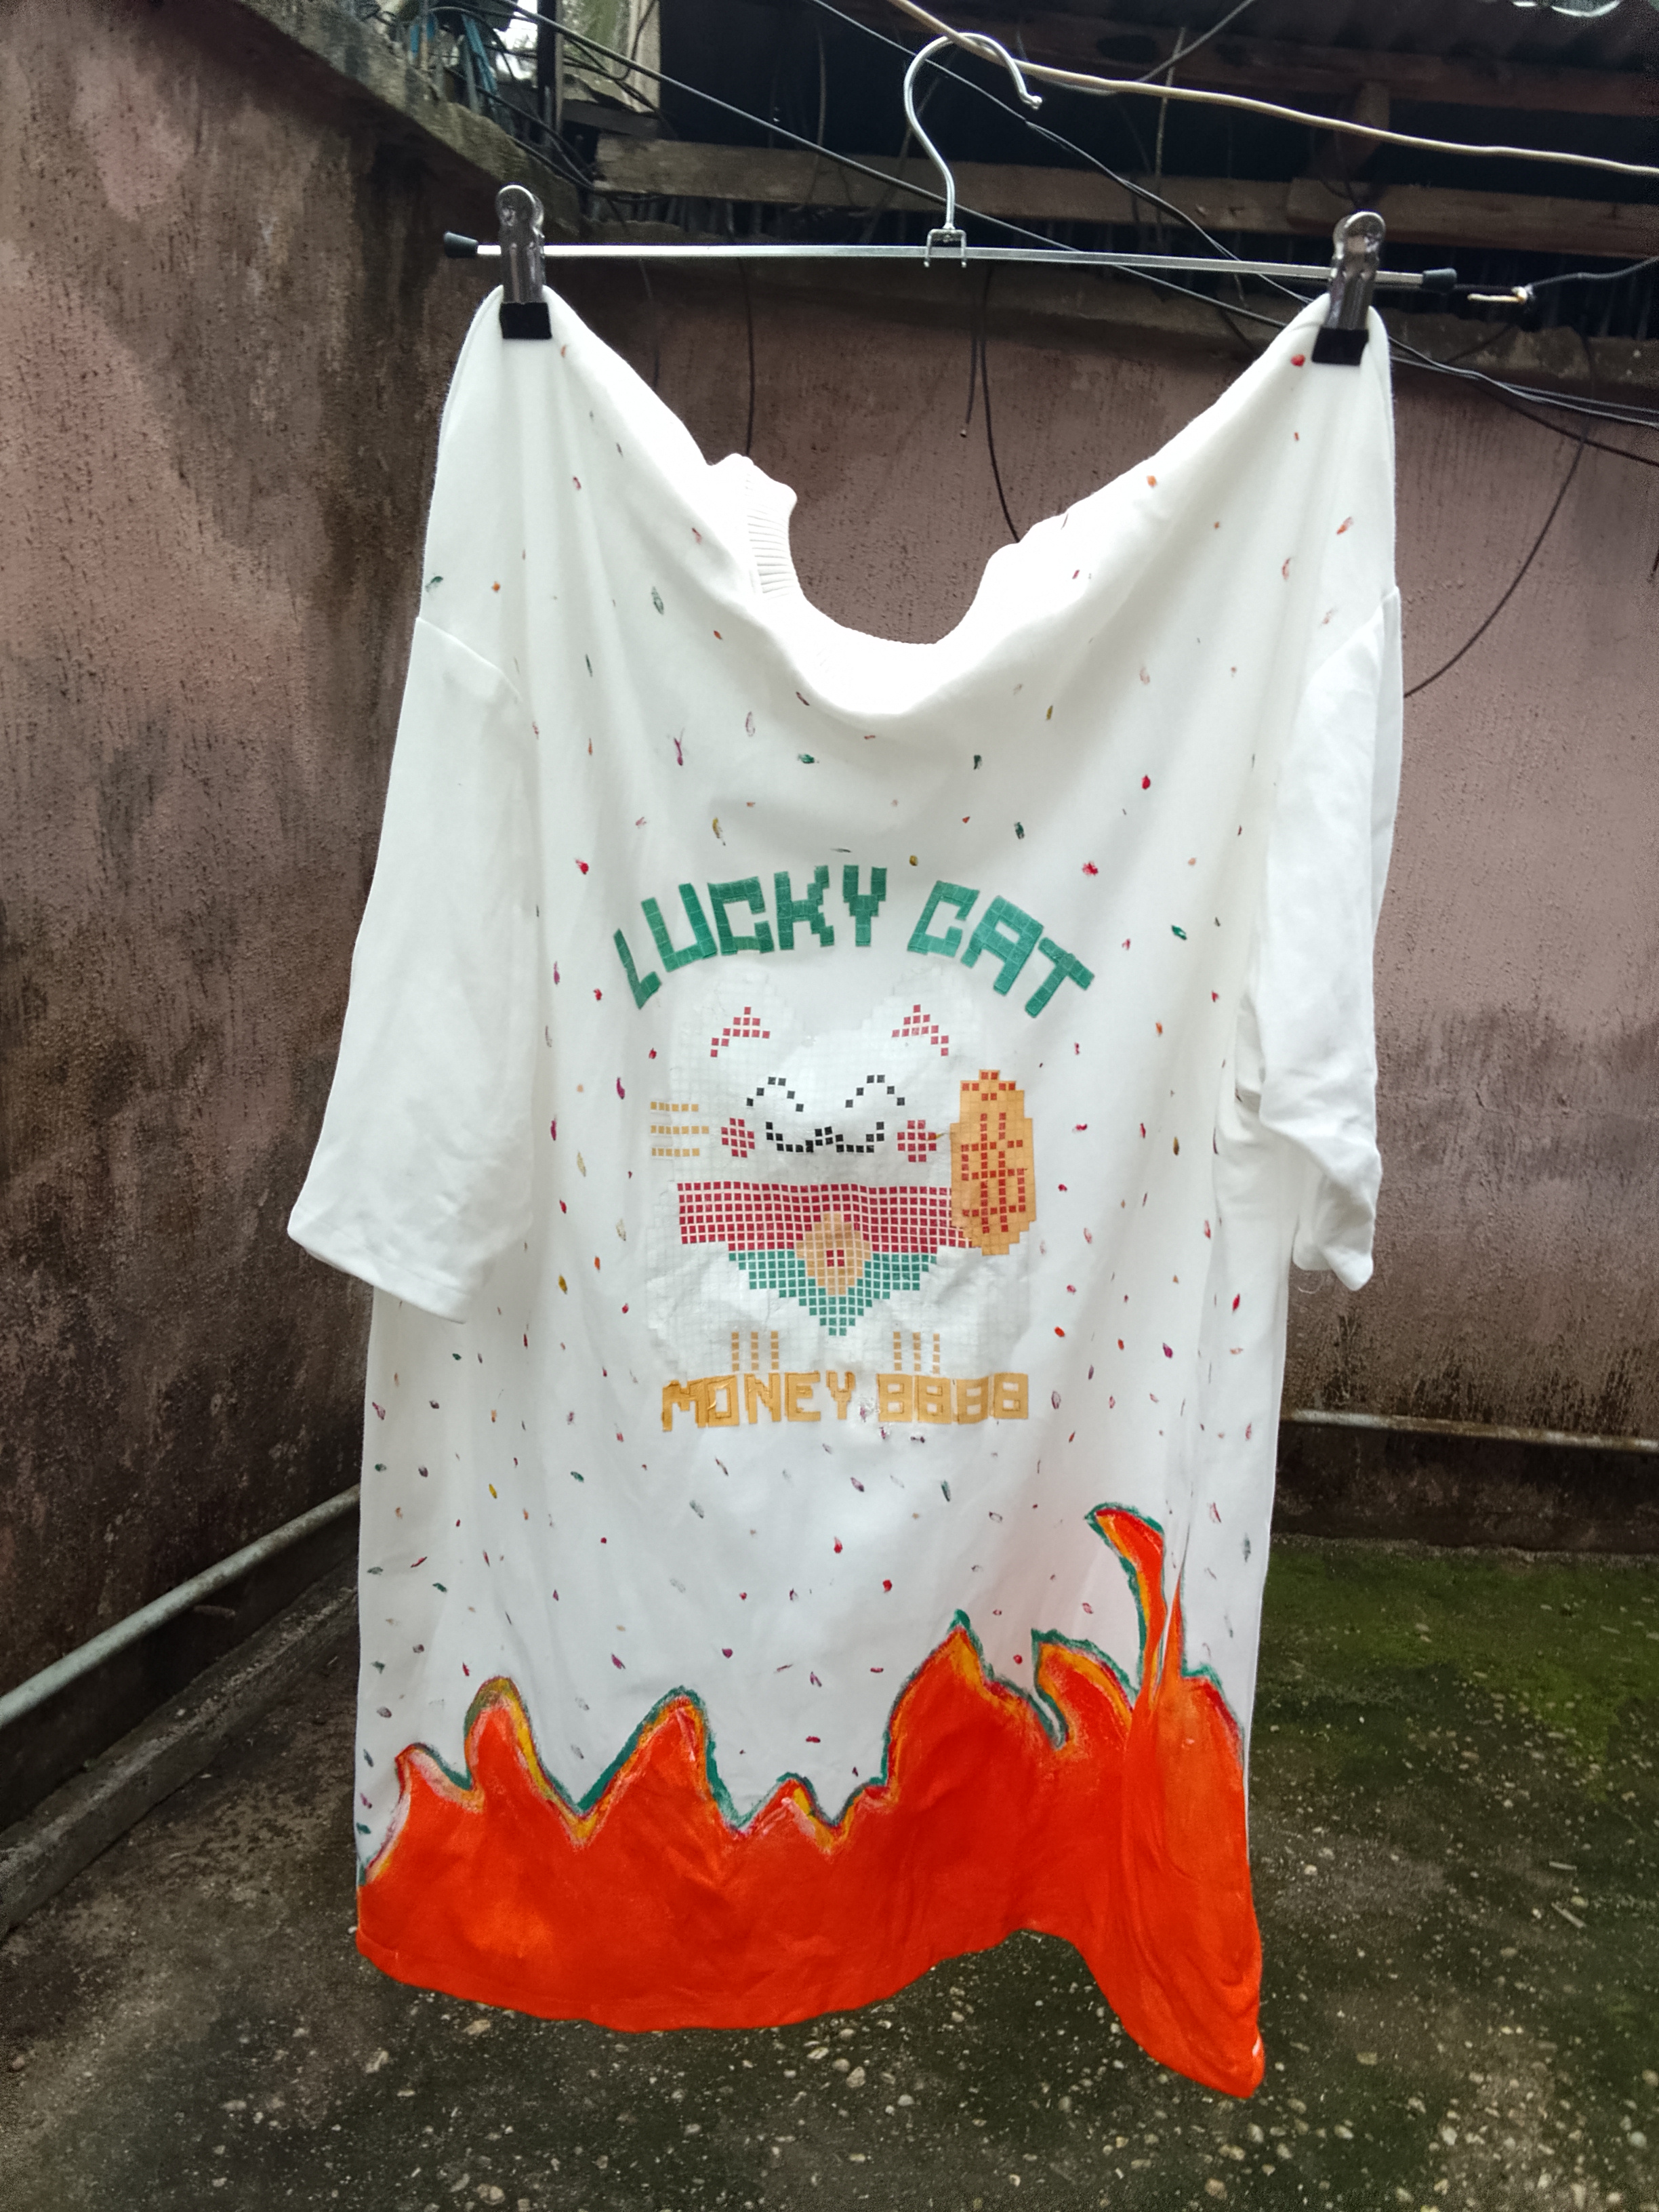
After it was dry I was happy to wear my handmade T-shirt.


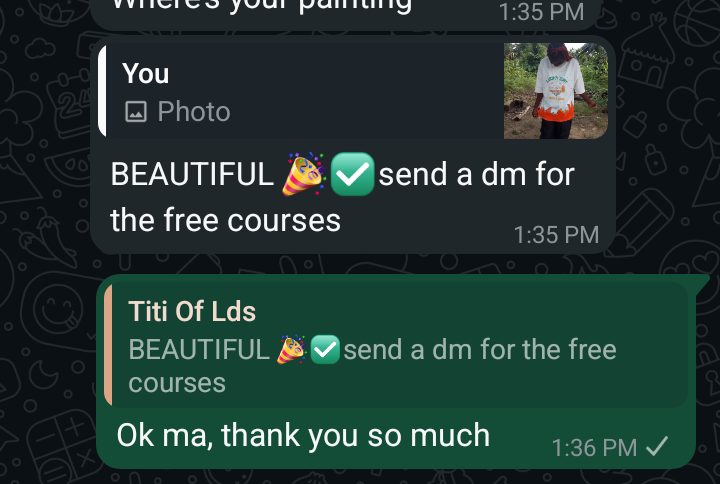
The design is not much but I'm happy it's something I did with my hands and I can wear it out, it's a unique design. I felt good making it, and when I did submit it to the class group this is the message I got from the teacher:
I thank you all for your time here, and to everyone who has supported me in this journey, let's keep growing and creating together.

Wow, the shirt is really cool👍
que hermoso trabajo, quedo genial!
what a beautiful job, it looked great!
Congratulations @madilyn02! You have completed the following achievement on the Hive blockchain And have been rewarded with New badge(s)
Your next target is to reach 22000 upvotes.
You can view your badges on your board and compare yourself to others in the Ranking
If you no longer want to receive notifications, reply to this comment with the word
STOPWOW! The final result is awesome. It is elegant and beautiful. It looks pretty good. You did a wonderful in your t-shirt. Well done!
selected by @rezoanulvibes