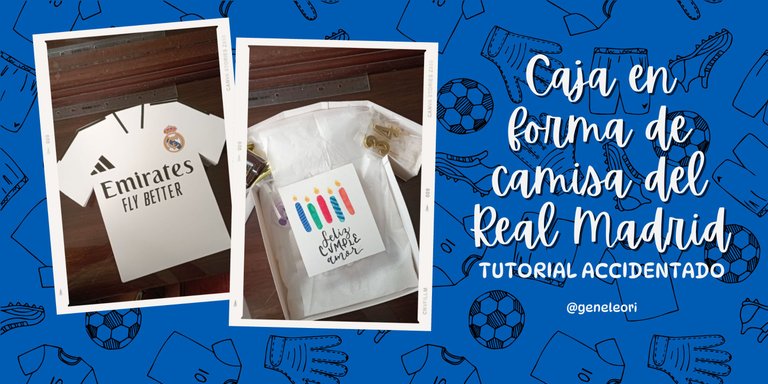
Real Madrid shirt-shaped box: TUTORIAL ACCIDENT / Caja en forma de camisa del Real Madrid: TUTORIAL ACCIDENTADO (ESP-ENG)
¡Hola hivers!💜
Espero que se encuentren bien, felices y que hayan recibido un muy feliz año nuevo, queridos crafters. Volví con un tutorial accidentado. Sí, leyeron bien, accidentado. Estaba tentada a no subirlo, pero cuando eres crafter sabes que muchas veces todo será experimentación antes de llegar a la versión definitiva. El cuento es el siguiente: mi amorcito cumplía años y me antoje de hacer una caja con forma de camisa del Real Madrid, casi nada dado que nunca había hecho una caja que no fuera cuadrada y esta no es exactamente cuadrada.
Entre a la página del Real Madrid y busque la camisa actual para no equivocarme, e inicie con este proceso “accidentado”:

MATERIALES
Cartulina sulfatada blanca (elegí ese color porque era el color de la camisa)
Cartulina de reciclaje
Lápiz
Goma
Regla
Tijera
Silicone frio o caliente
Marcador de pintura acrílica
Papel fotografico autoadhesivo
PASO A PASO
PASO 1
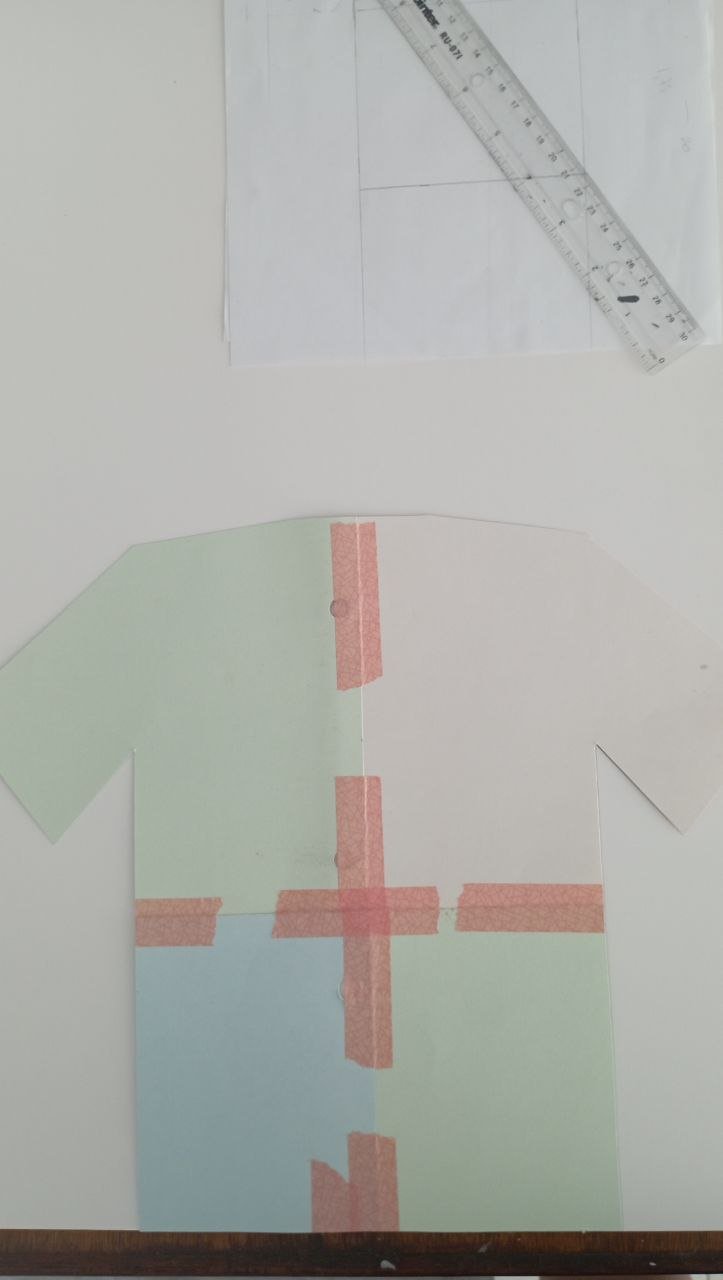
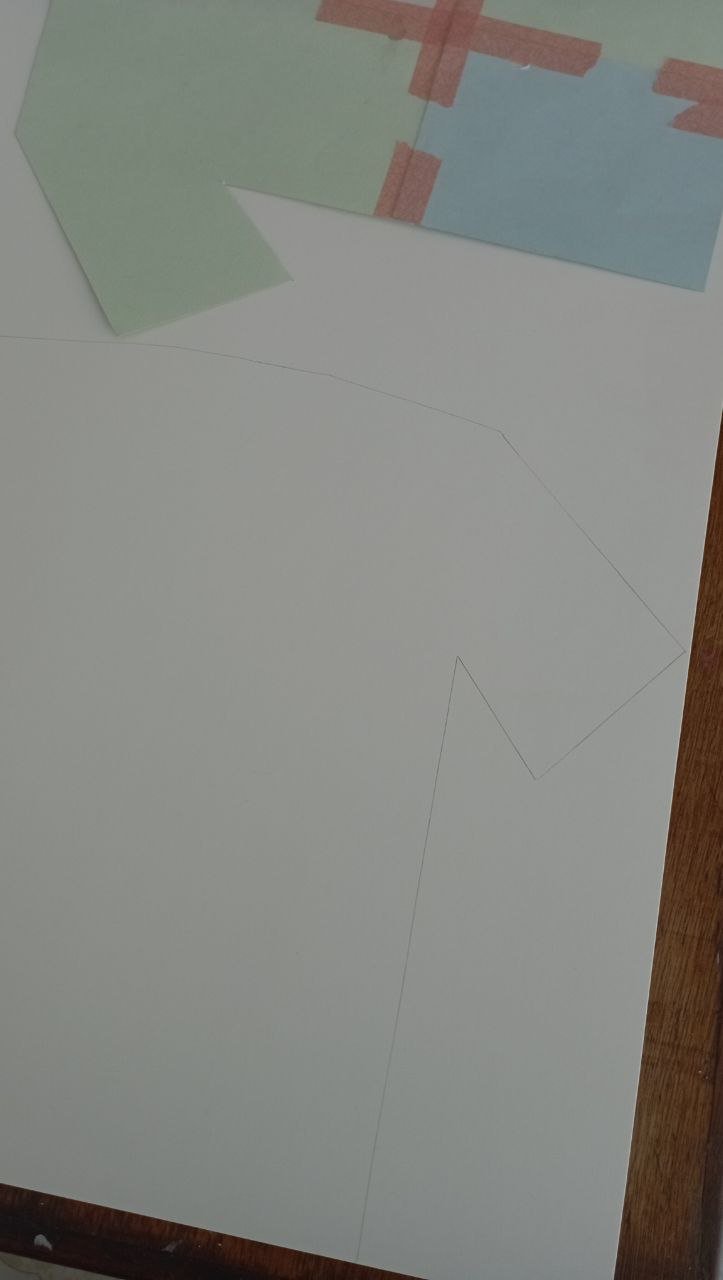
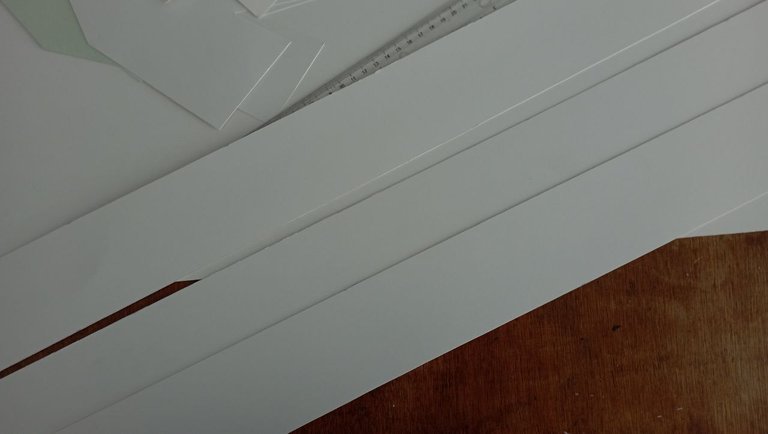
Primero, hacer el molde, porque no quería una caja pequeña, necesitaba que fuera de 30 o 40 cm para que entrara el regalo, así que con cartulina vieja, lápiz, goma y regla empecé a hacerlo. Empecé haciendo un rectángulo de 40 cm de alto y 30 cm de ancho (los 30 cm serían el ancho de la parte de abajo de la camisa, para las mangas si llega a los 40 cm). Seré honesta, mi lado perfeccionista me hizo borrar muchas veces y cuadrar que ambas mangas fueran similares me costó, pero se logró amigos. Aun así, aconsejo hacerla más pequeña para que sea más sencillo. Una vez listo, recorte el molde de la base de la caja y de la tapa.
 |  |
|---|
PASO 2
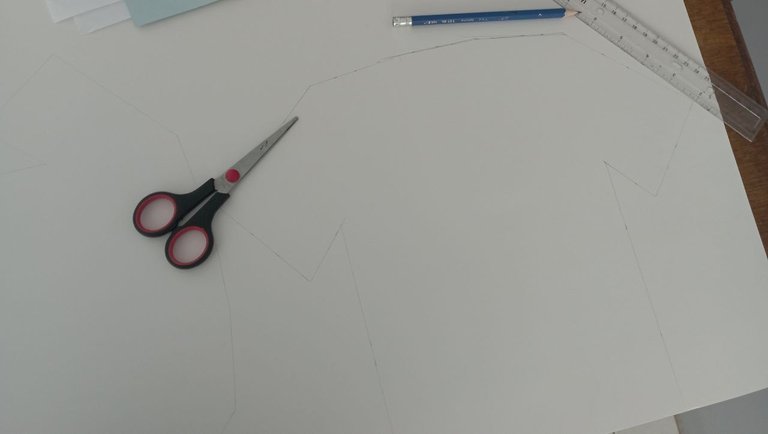
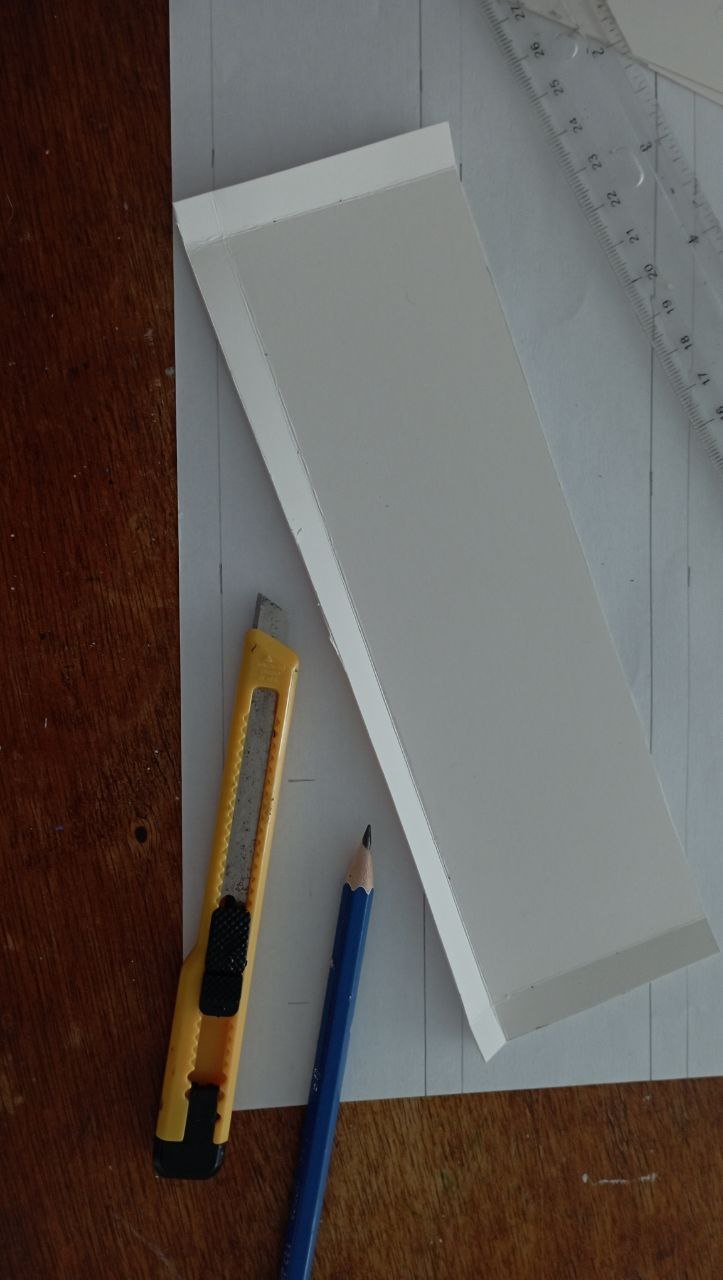
Con los moldes listos, solo tuve que repasarlos en la cartulina sulfatada blanca. Esta cartulina tiene la característica que viene de 1 metro x 70 cm y tiene el gramaje parecido a una cartulina doble faz pero es blanca por ambos lados. Una vez marcados los moldes de la tapa y de la base los recorte con ayuda de la tijera.
PASO 3
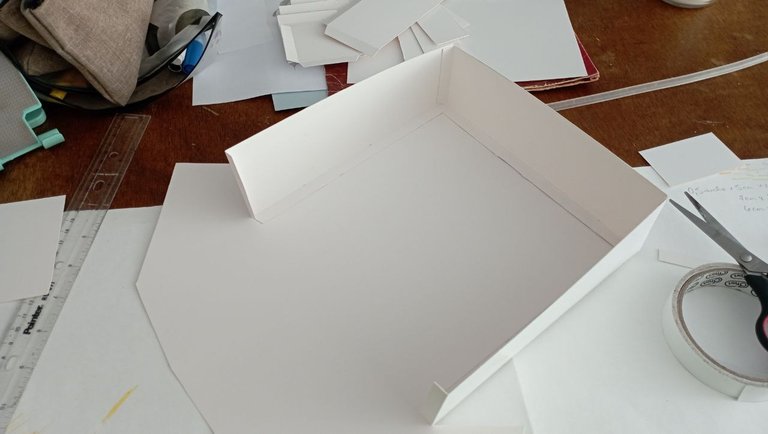
Debido a que no es una caja cuadrada, decidí que los lados de la caja y de la tapa los haría aparte. Para esto hice franjas. En el caso de la base las hice de 6 cm de alto y diferentes anchos (como todo lo hice experimentando, media cada uno de los lados y a cada medida le agregue 2 cm para las solapas de pega. Lo mismo con la altura, la medida real era 5cm de alto, pero agregue uno más para la solapa que pagaría.
Para las franjas de la tapa, estas tuvieron una altura de 3 cm (de igual forma, 2cm de alto + 1 cm para la solapa de pega) y de ancho medí cada lado y les agregue 2cm a cada medida para la solapa de pegamento.
PASO 4
Con las franjas cortadas, tenía que hacer las marcas de las solapas de pegamento. En búsqueda de que fuera lo más impecable posible, hice las marcas con ayuda de la regla y usando el borde circular de la tijera (también he visto que usan un lapicero sin tinta pero me dio miedo hacerlo así), con esto queda marcada la línea más no dibujada. Luego solo tuve que hacer el doblez y listos para pegar.
 |  |
|---|
PASO 5
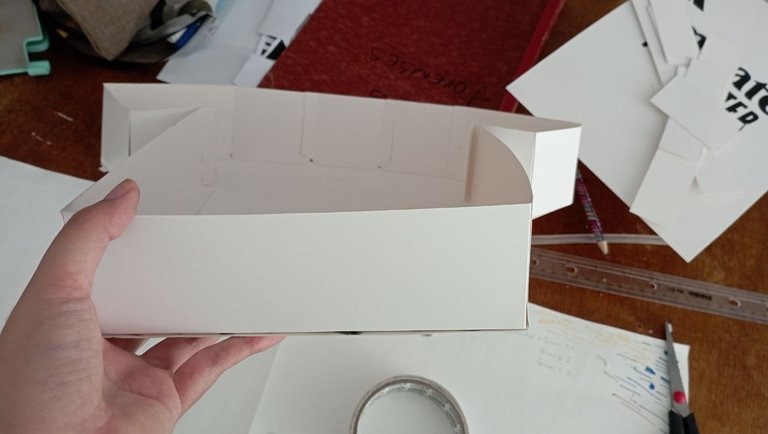
Hora de pegar la base: para esto use silicone caliente (pero también funciona el frío). Fui pegando franja por franja, primero la solapa a la base y luego entre franjas y poco a poco la caja fue agarrando forma. En ese momento me sentía como una ganadora.
Aquí tendremos un paréntesis: la parte accidentada empezó con la tapa. Mi plan A fue dibujar a mano con mis marcadores de pintura acrílica todas letras y símbolos que tiene la camisa. Este plan tuvo sus fallas, así que fue cuando entró en vigencia el plan B.
 |  |
|---|
PASO 6. PLAN A
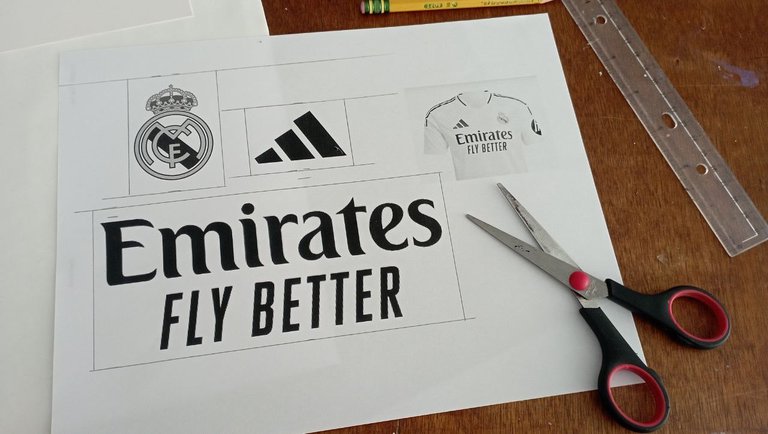
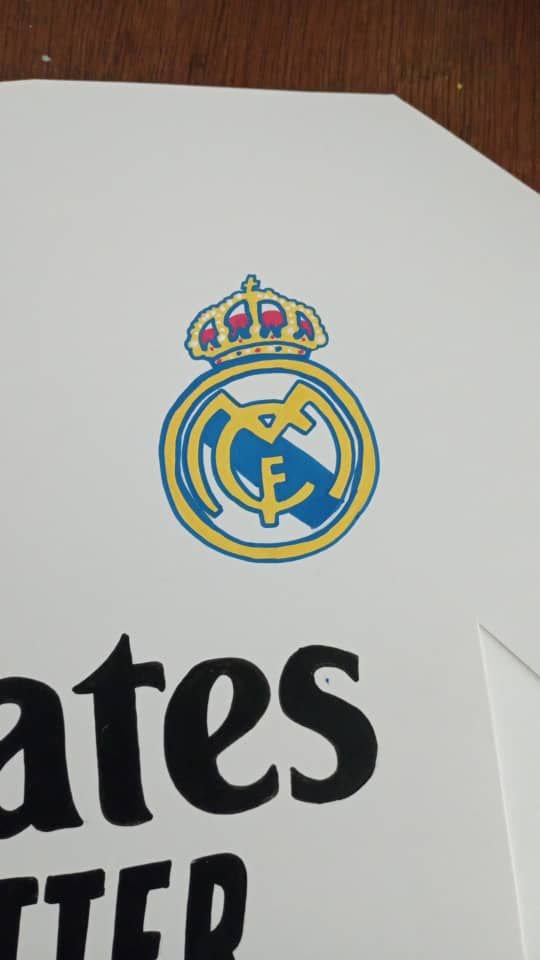
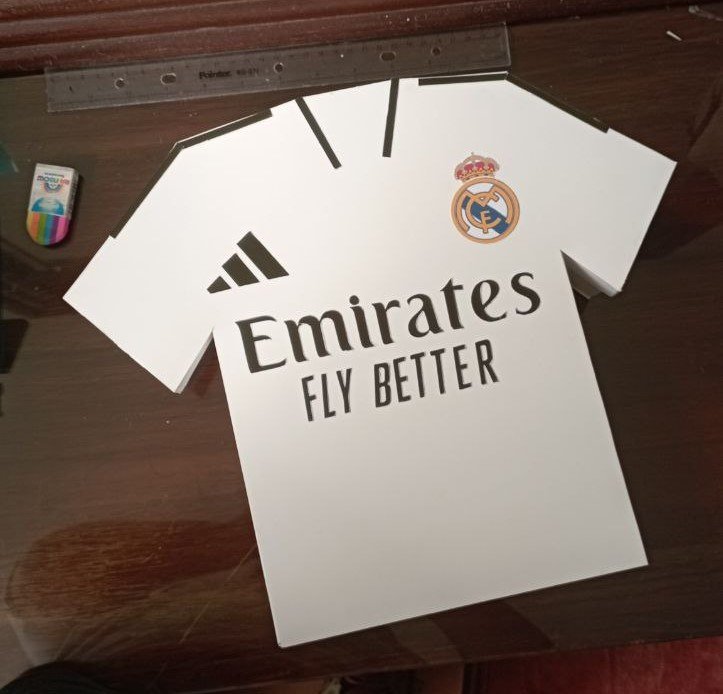
Okey, la camisa del Real Madrid tiene unas letras que dice “EMIRATES FLY BETTER”, el logo de adidas y el logo del real madrid. Soy buena con las letras a mano pero para ser más exacta imprimi los logos en proporción a la caja. El de adidas media 5 cm de ancho, el “EMIRATES FLY BETTER” 22cm de ancho y el del Real Madrid 7cm de alto y ese fue el problema, quedó más grande pero si lo hacía más pequeño no iba a poder dibujar todos los detalles.
 |  |
|---|
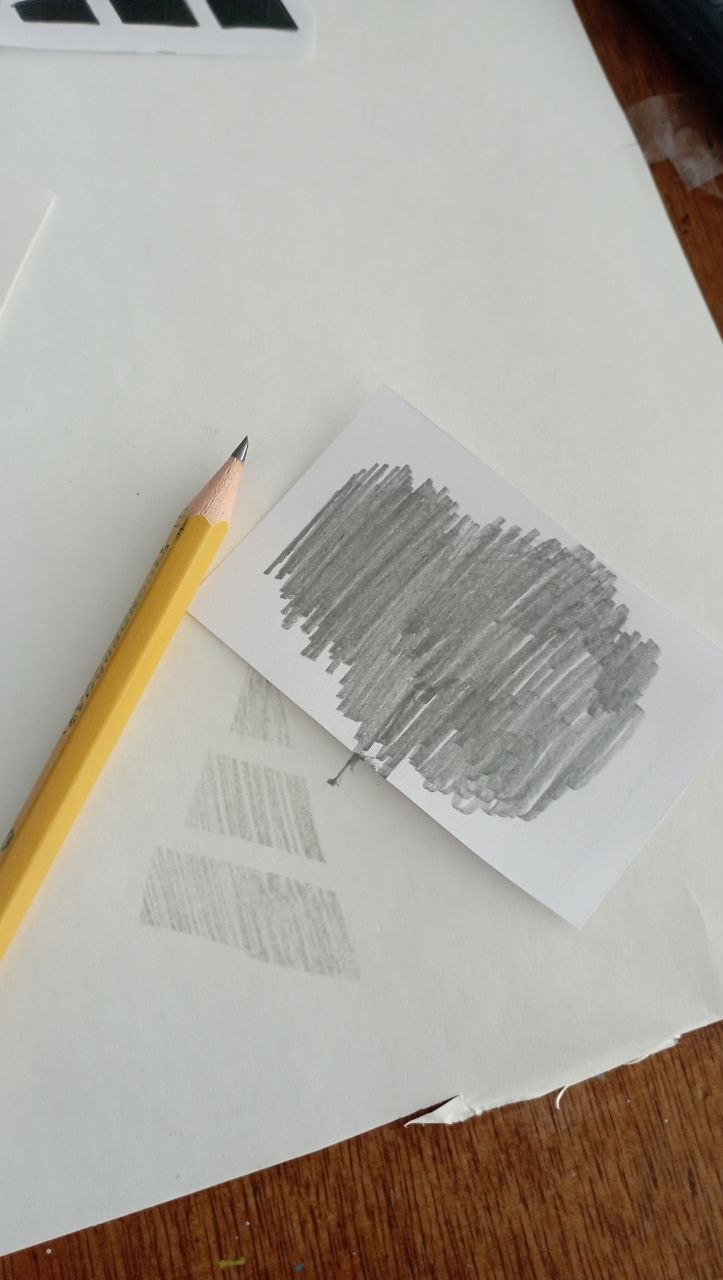
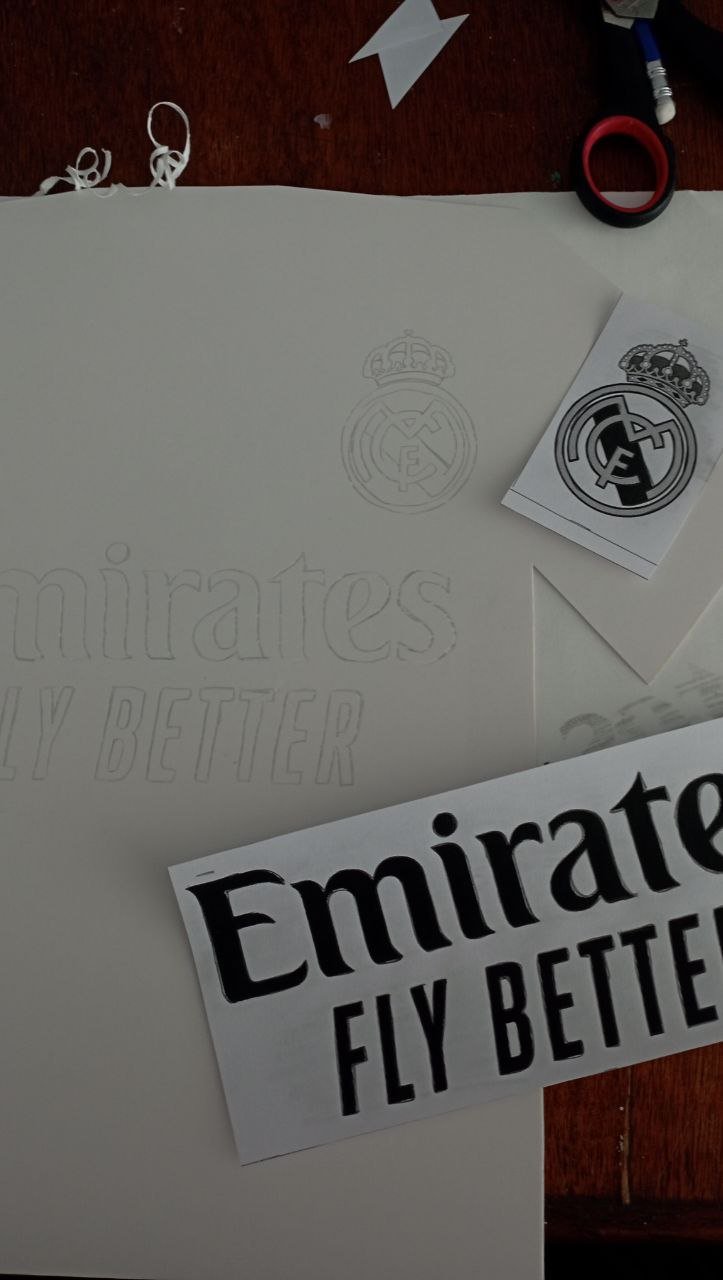
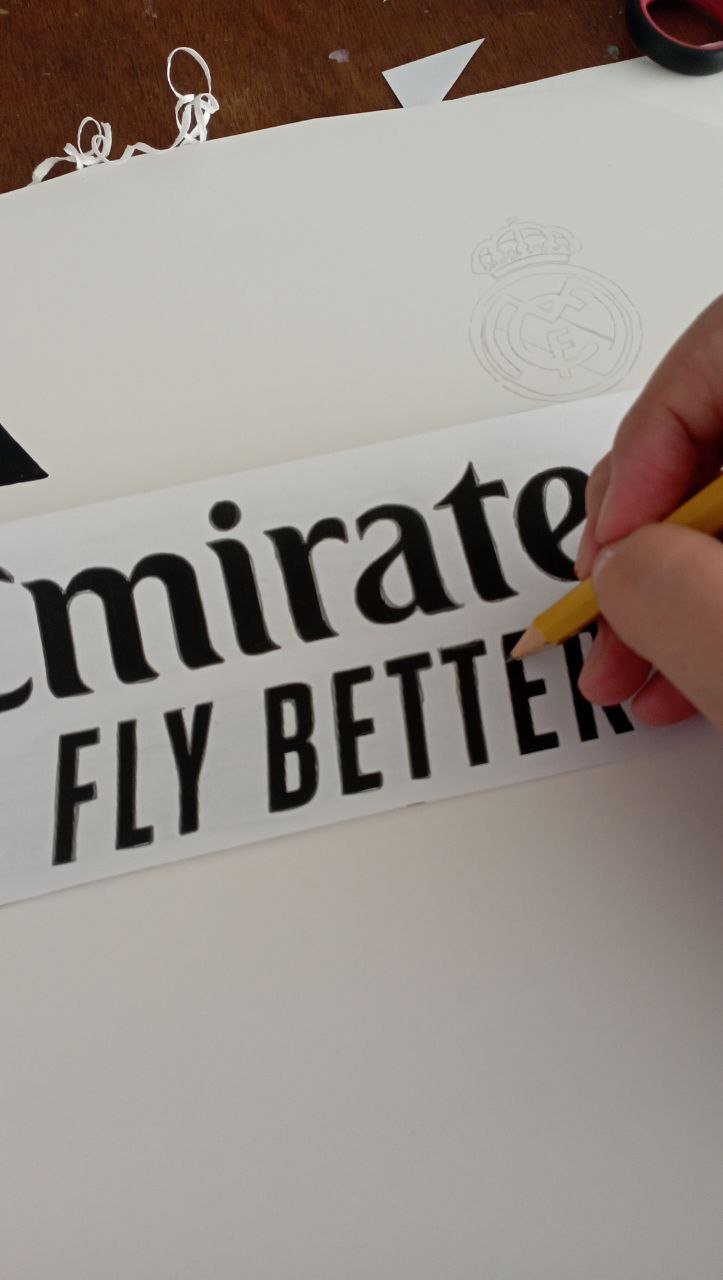
Recorte cada parte por separado, raye con grafito detrás de la hoja y luego la fije encima de la cartulina con ayuda de un washi tape para poder repasar cada logo. El logo de Emirates y Adidas fue sencillo y me gustó mucho como quedó. Ahora, el del Real Madrid, digamos que se nota que lo hice con amor jajaja. Para ser hecho a mano no quedó tan mal, pero sin duda quería otro acabado. Aquí inicia el PLAN B.
 |  |
|---|
 |  |
|---|
PASO 7. PLAN B
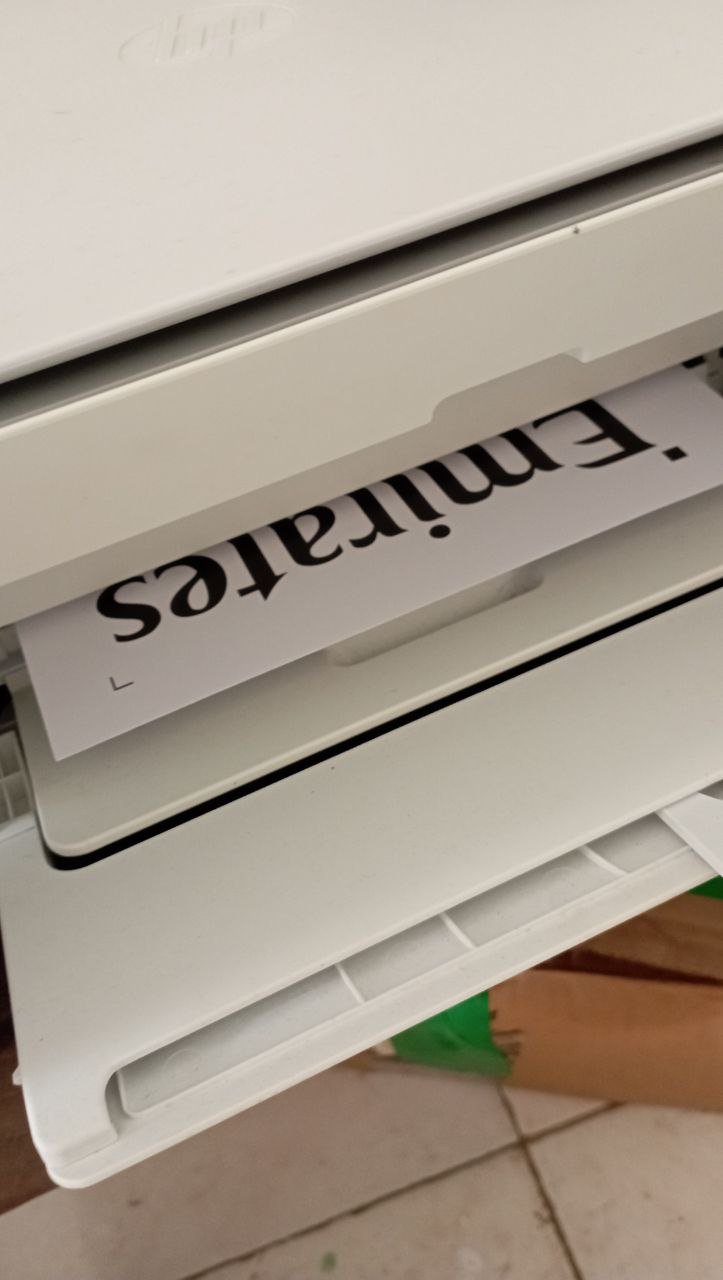
Justamente tenía papel fotográfico autoadhesivo y una amiga dispuesta a salvarme con una máquina de corte como la cameo. Este proceso lo hizo mi amiga: en el programa de la cameo se encargó de montar los logos y sacar un archivo PDF con las marcas de corte para que yo me encargara de imprimirlo en la hoja de papel fotográfico autoadhesivo usando una configuración de papel brillante y tinta óptima para que quedara lo mejor posible.
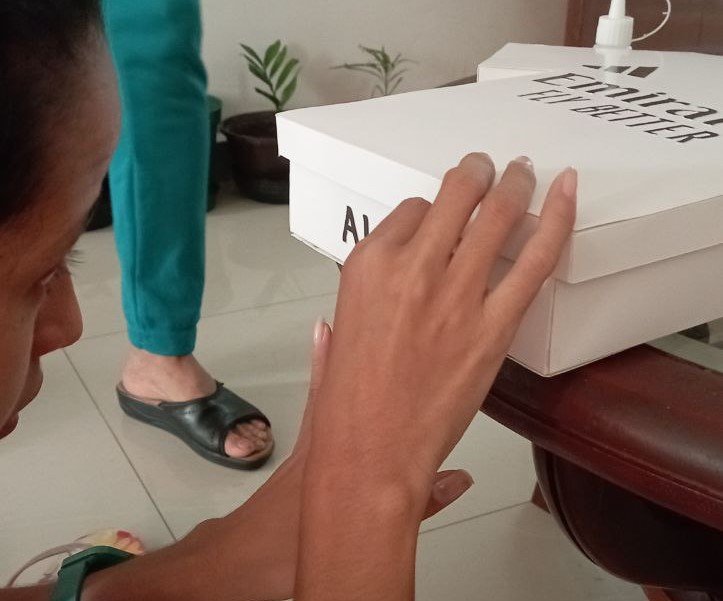
Luego con ayuda de la máquina de corte cada pieza fue cortada y mi amiga, que tiene experiencia en esto, me ayudó a pegarlas en la tapa.
PASO 8. ACCIDENTE SUPERADO
Ya superado el decorado de la tapa, me quedaba armar sus lados con ayuda del silicone. Primero pegando la solapa de la tapa y luego entre las franjas.
PASO 9
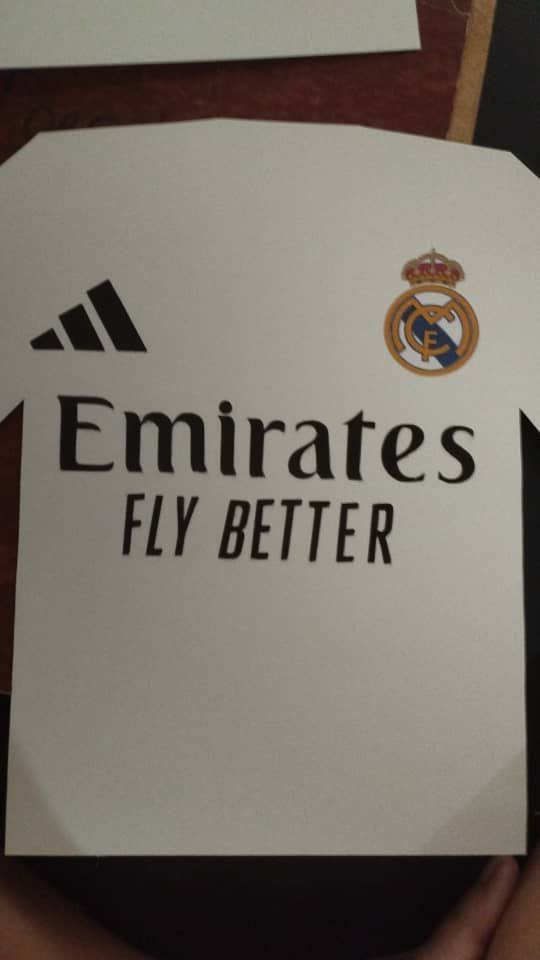
¡Caja de la camisa del Real Madrid lista para ser rellenada y entregada!
 | |
|---|
Me gustan los retos y aunque esta caja fue uno que no se si repita: ame el resultado, y se que mi amorcito lo amo y la tiene exhibida en su habitación. Es una caja única que tal vez con algo más de práctica pudiera replicar, así que iremos viendo. Espero les guste este tutorial y espero aprender de los errores que cometí para seguir creciendo y creando.
Gracias por leerme
Con cariño, G.
Hi hivers! 💜
I hope you are well, happy and have received a very happy new year, dear crafters. I'm back with a bumpy tutorial. Yes, you read that right, bumpy. I was tempted not to upload it, but when you are a crafter you know that many times everything will be experimentation before reaching the final version. The story is as follows: my sweetheart had a birthday and I wanted to make a box in the shape of a Real Madrid shirt, almost nothing since I had never made a box that was not square and this one is not exactly square.
I went to the Real Madrid website and looked for the actual shirt so as not to make a mistake, and started with this “accidental” process:
MATERIALS
White greaseproof cardboard (I chose that color because it was the color of the shirt)
Recycled cardboard
Pencil
Eraser
Ruler
Scissors
Hot or cold glue
Acrylic paint marker
Self-adhesive photographic paper
STEP BY STEP
STEP 1
First, make the mold, because I didn't want a small box, I needed it to be 30 or 40 cm to fit the gift, so with old cardboard, pencil, eraser and ruler I started to make it. I started by making a rectangle 40 cm high and 30 cm wide (the 30 cm would be the width of the bottom of the shirt, for the sleeves if it reaches 40 cm). I'll be honest, my perfectionist side made me erase many times and squaring that both sleeves were similar cost me, but it was achieved friends. Still, I advise making it smaller to make it easier. Once ready, cut out the mold for the base of the box and the lid.
| |
|---|
STEP 2
With the molds ready, I only had to go over them on the white sulfated cardboard. This cardboard is 1 meter x 70 cm and has the same weight as a double-sided cardboard but it is white on both sides. Once the molds of the lid and the base are marked, cut them out with the help of the scissors.
STEP 3
Because it is not a square box, I decided that I would make the sides of the box and lid separately. For this I made stripes. In the case of the base I made them 6 cm high and different widths (as I did everything experimenting, I measured each of the sides and added 2 cm to each measurement for the glue flaps. The same with the height, the real measurement was 5cm high, but I added one more for the flap that would pay.
For the cover stripes, these were 3cm high (same way, 2cm high + 1cm for the glue flap) and in width I measured each side and added 2cm to each measurement for the glue flap.
STEP 4
With the stripes cut, I had to make the marks for the glue flaps. In order to make it as impeccable as possible, I made the marks with the help of the ruler and using the circular edge of the scissors (I have also seen that they use a pencil without ink but I was afraid to do it this way), with this the line is marked but not drawn. Then I just had to make the fold and ready to glue.
| |
|---|
STEP 5
Time to glue the base: for this I used hot silicone (but cold silicone also works). I glued stripe by stripe, first the flap to the base and then between the strips and little by little the box took shape. At that point I felt like a winner.
Here we will have a parenthesis: the rough part started with the lid. My plan A was to hand draw with my acrylic paint markers all the letters and symbols on the shirt. This plan had its flaws, so that's when plan B came into effect.
| |
|---|
STEP 6. PLAN A
Ok, the Real Madrid shirt has lettering that says “EMIRATES FLY BETTER”, the adidas logo and the Real Madrid logo. I'm good with hand lettering but to be more accurate I printed the logos in proportion to the box. The adidas logo is 5 cm wide, the “EMIRATES FLY BETTER” is 22cm wide and the Real Madrid logo is 7cm high and that was the problem, it was bigger but if I made it smaller I would not be able to draw all the details.
| |
|---|
Cut out each part separately, scratch with graphite behind the sheet and then fix it on the cardboard with the help of a washi tape to be able to go over each logo. The Emirates and Adidas logo was simple and I really liked how it turned out. Now, the Real Madrid logo, let's say that I did it with love hahaha. For a handmade logo it wasn't too bad, but I definitely wanted a different finish. Here begins PLAN B.
| |
|---|
| |
|---|
STEP 7. PLAN B
I just happened to have self adhesive photo paper and a friend willing to save me with a cutting machine like the cameo. This process was done by my friend: in the cameo's program she took care of assembling the logos and making a PDF file with the cutting marks so that I could print it on the self-adhesive photo paper using a glossy paper and optimal ink configuration to make it look the best possible.
Then with the help of the cutting machine each piece was cut out and my friend, who is experienced in this, helped me glue them onto the cover.
STEP 8. ACCIDENT OVERCOME
Once I had finished decorating the lid, I had to assemble its sides with the help of the silicone. First gluing the flap of the lid and then between the stripes.
STEP 9
Real Madrid shirt box ready to be filled and delivered!
| |
|---|
I like challenges and although this box was one that I don't know if I will repeat: I loved the result, and I know that my sweetheart loves it and has it displayed in her room. It is a unique box that maybe with a little more practice I could replicate, so we'll see. I hope you like this tutorial and I hope to learn from the mistakes I made to continue growing and creating.
Thank you for reading me
With love, G..
FUENTE
Fotos: tomadas por mi desde mi redmi 10
Traducción: Deepl
SOURCE
Photos: taken by me from my redmi 10
Translation: Deepl

♦️ You got 0.01 FELT for sharing high vibes on Hive.
📋♦️ FELT Info