Box-Letter for San Valetín: #tutorial / Caja-Carta para San Valetín (ESP-ENG)
¡Hola hivers!💜
Espero que se encuentren bien y felices. Tiempo sin pasar por aquí, pero eso no quiere decir que haya dejado de crear, por aqui les mostrare como hice una caja-carta, que como su nombre lo indica es una caja que al abrirse se convierte en una carta. Es una opción bonita y fácil para este san valentín. Les cuento como fue el proceso:

MATERIALES
Cartulina sulfatada blanca
Cartulina azul
Lápiz
Goma
Regla
Exacto
Silicone frio o caliente
Marcadores
Cinta de raso
PASO A PASO
 |  |
|---|
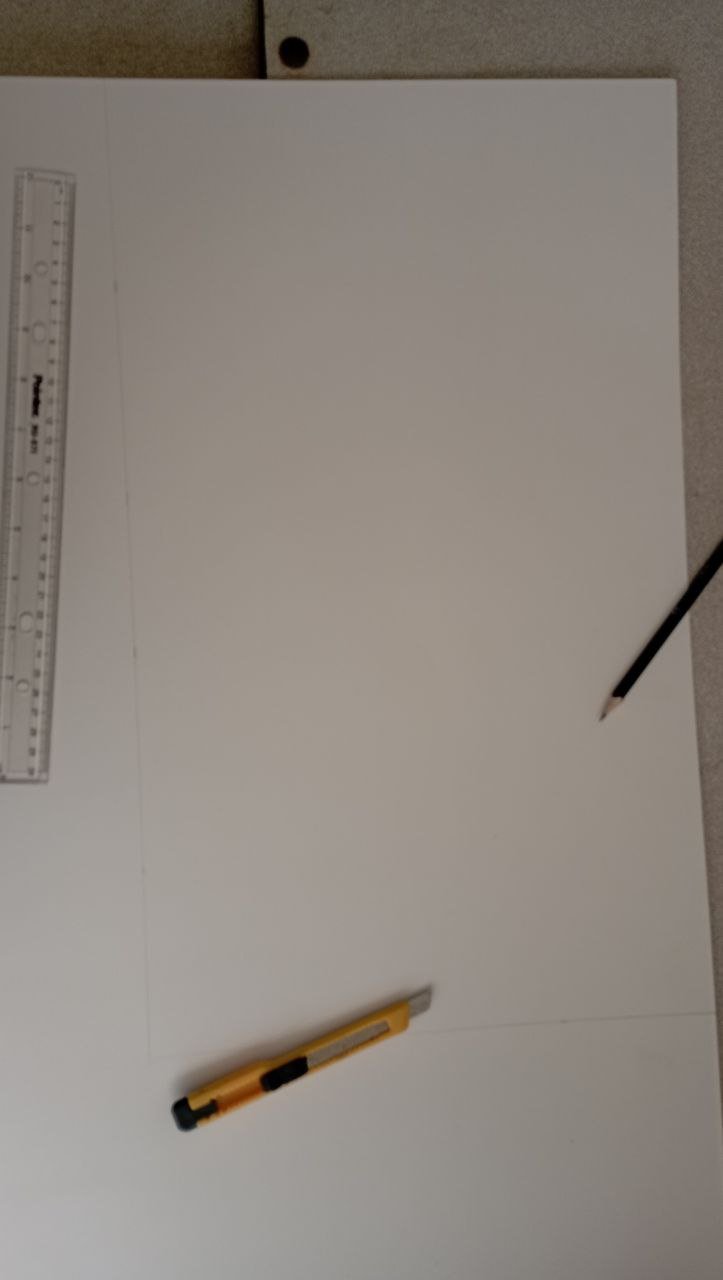
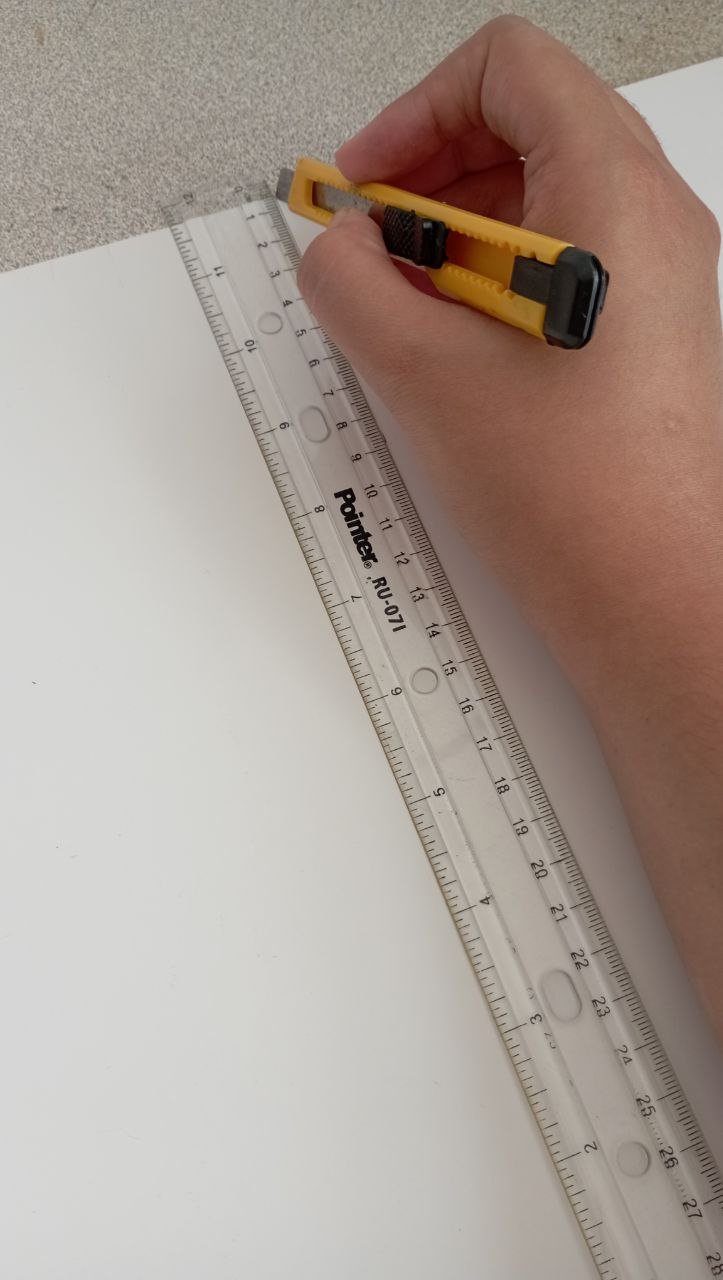
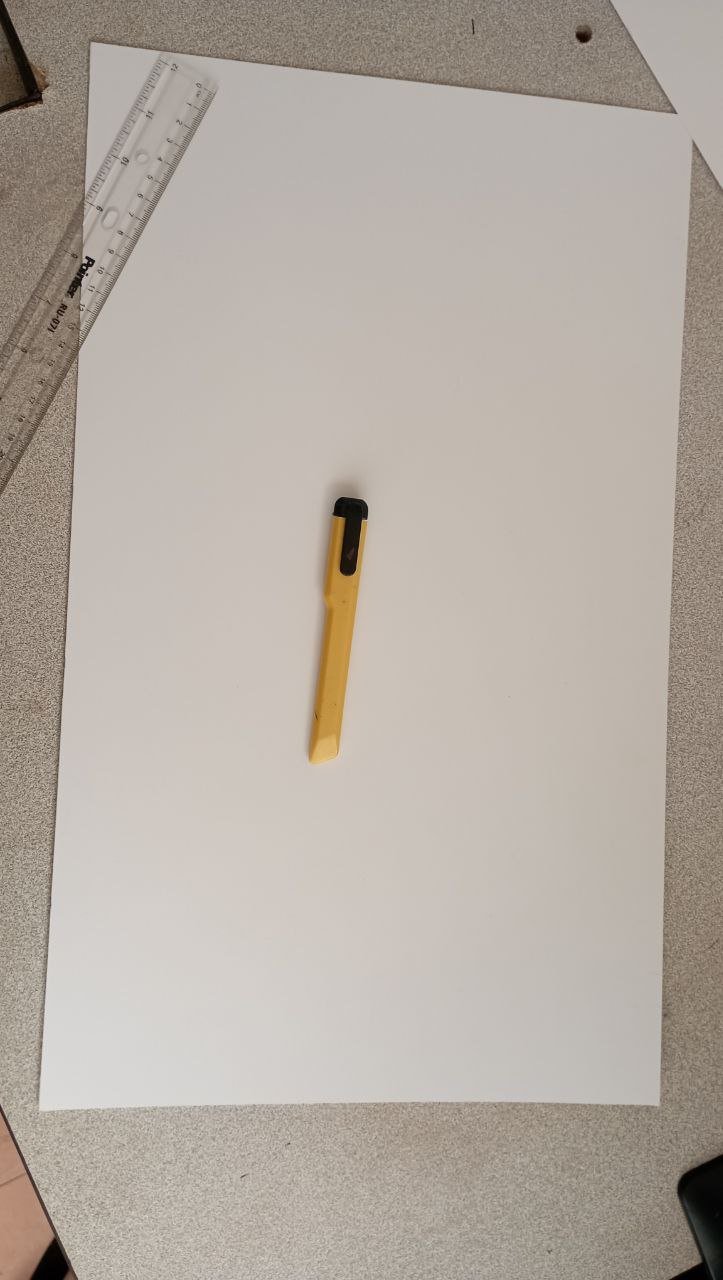
PASO 1
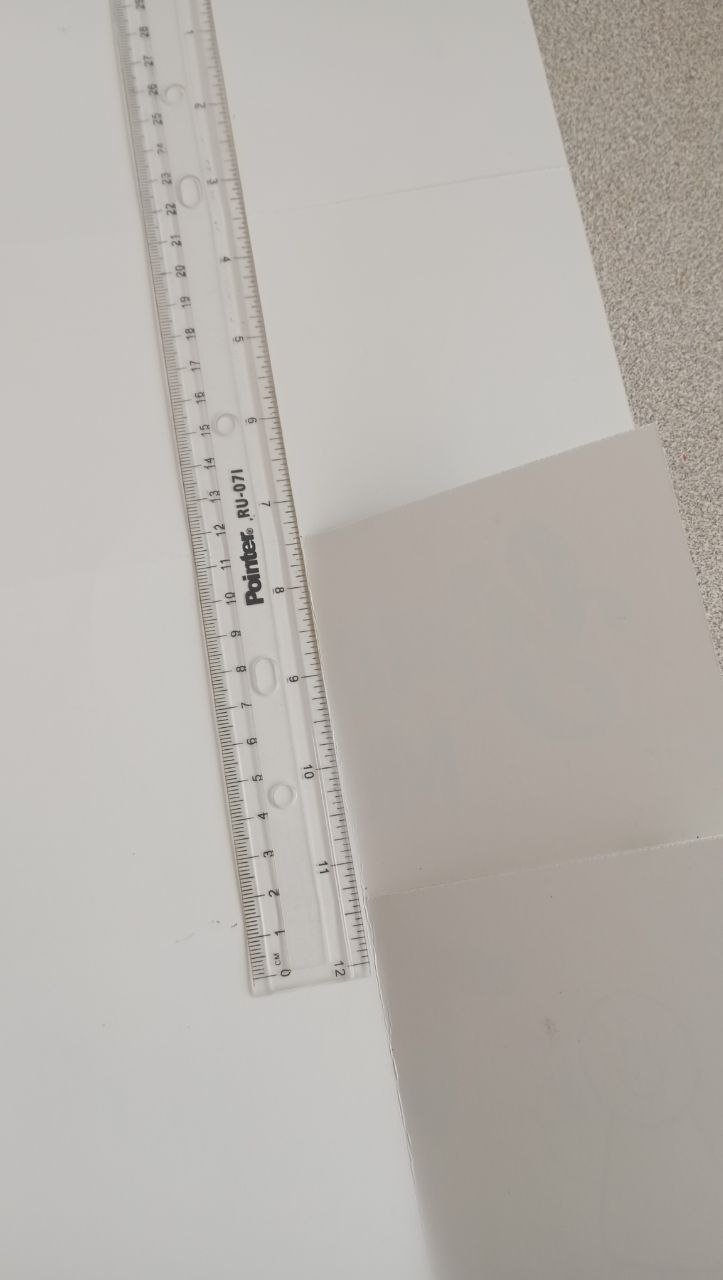
Primero tuve que decidir las medidas de la caja y la carta. Para la base use la cartulina blanca sulfatada. Como la caja es cuadrada, cada uno de los lados decidí que fueran de 10x10 cm, así que medi 30 cm de ancho ya que esto serian los 3 lados de la caja: dos laterales y la base y de largo medí 50 cm (puede hacerlo de 30 o 40 e iba a quedar bien pero el mensaje era largo). Corte con ayuda de la regla y el exacto.
 |  |
|---|
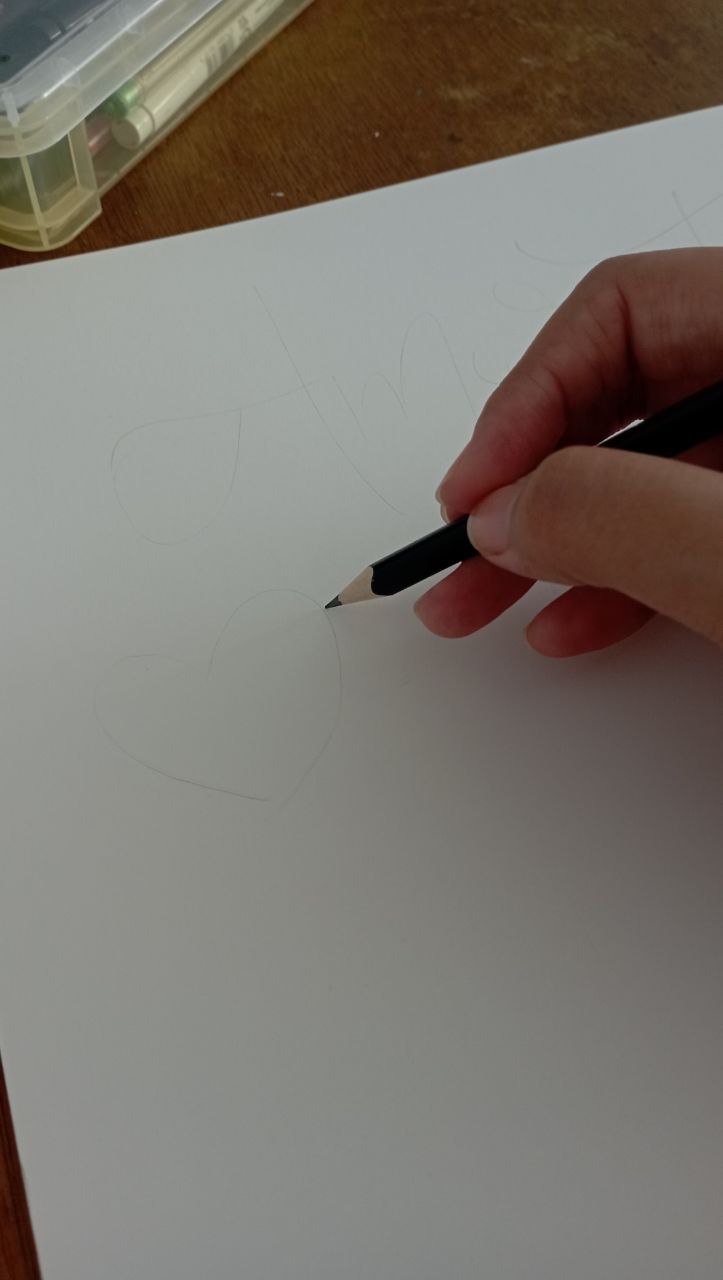
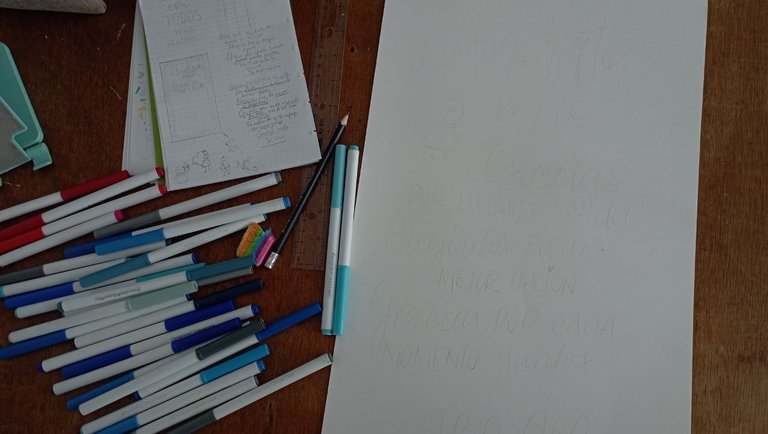
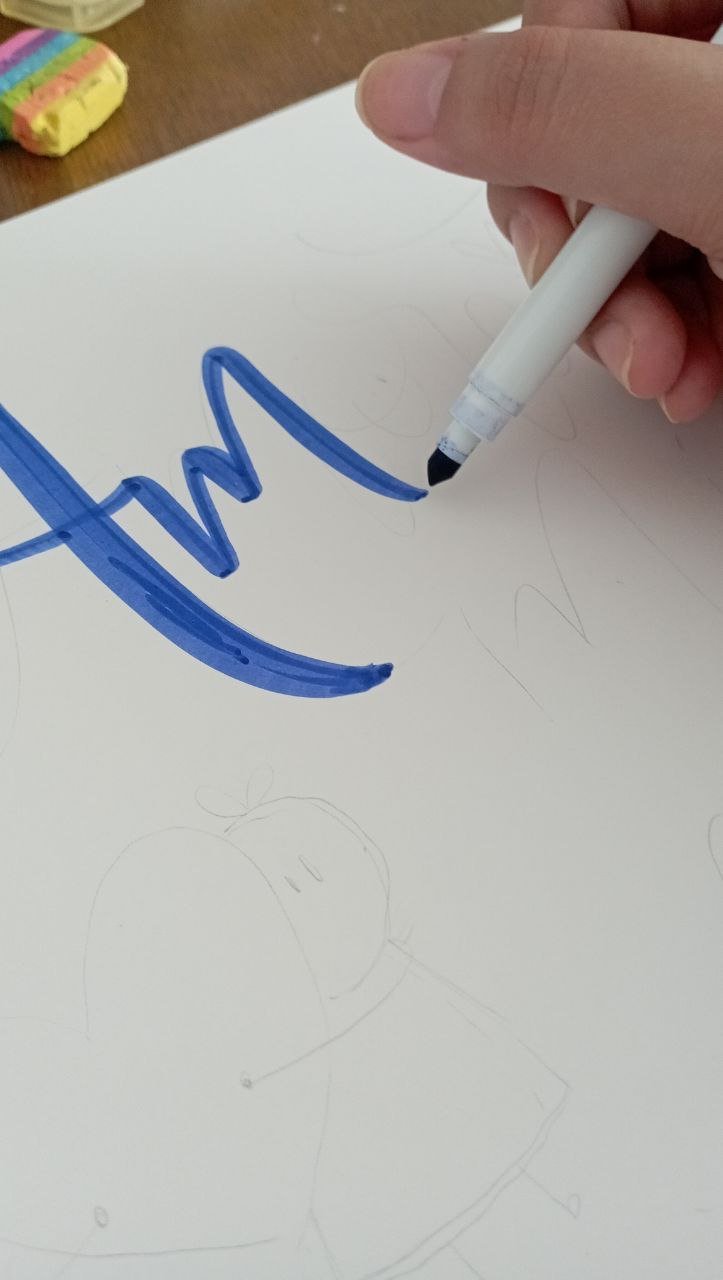
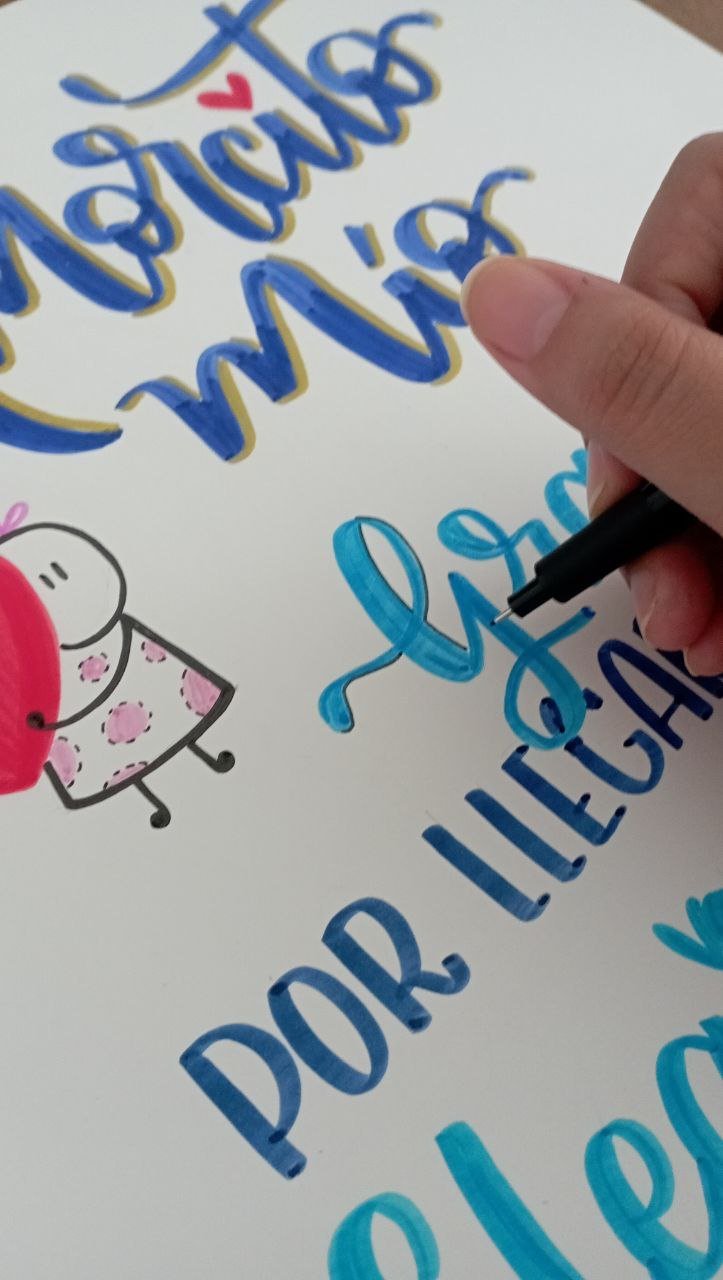
PASO 2
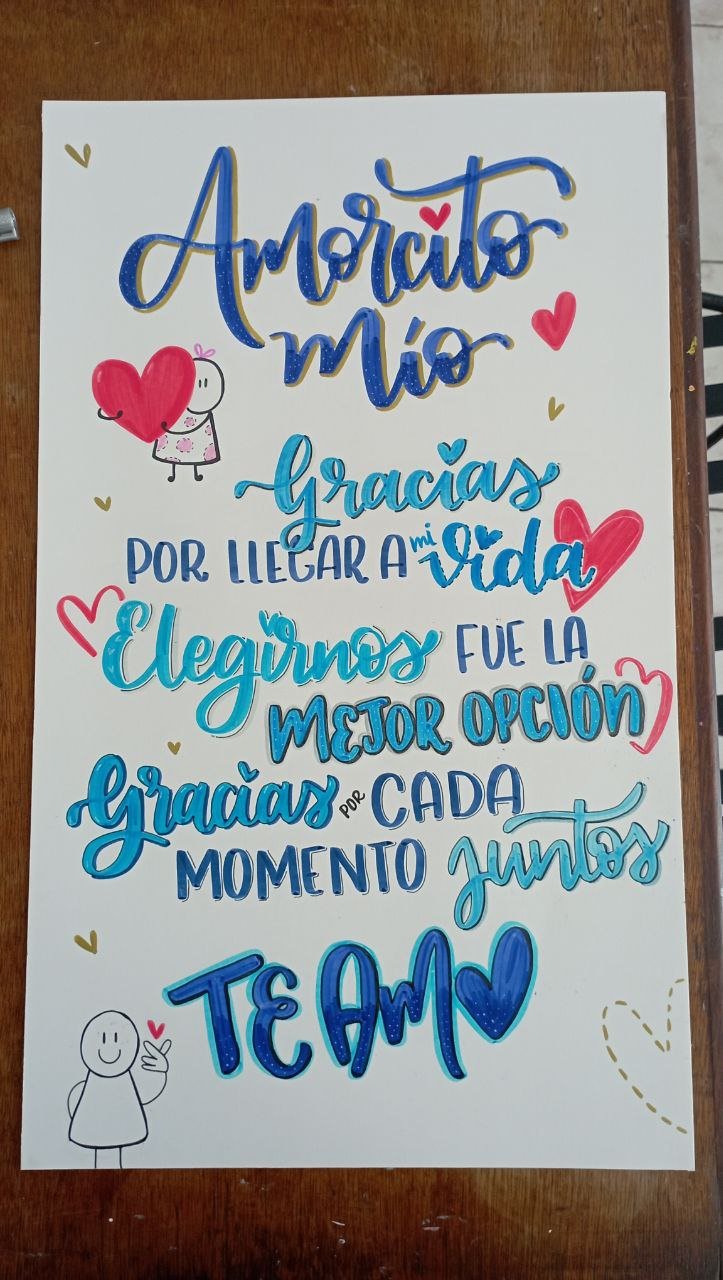
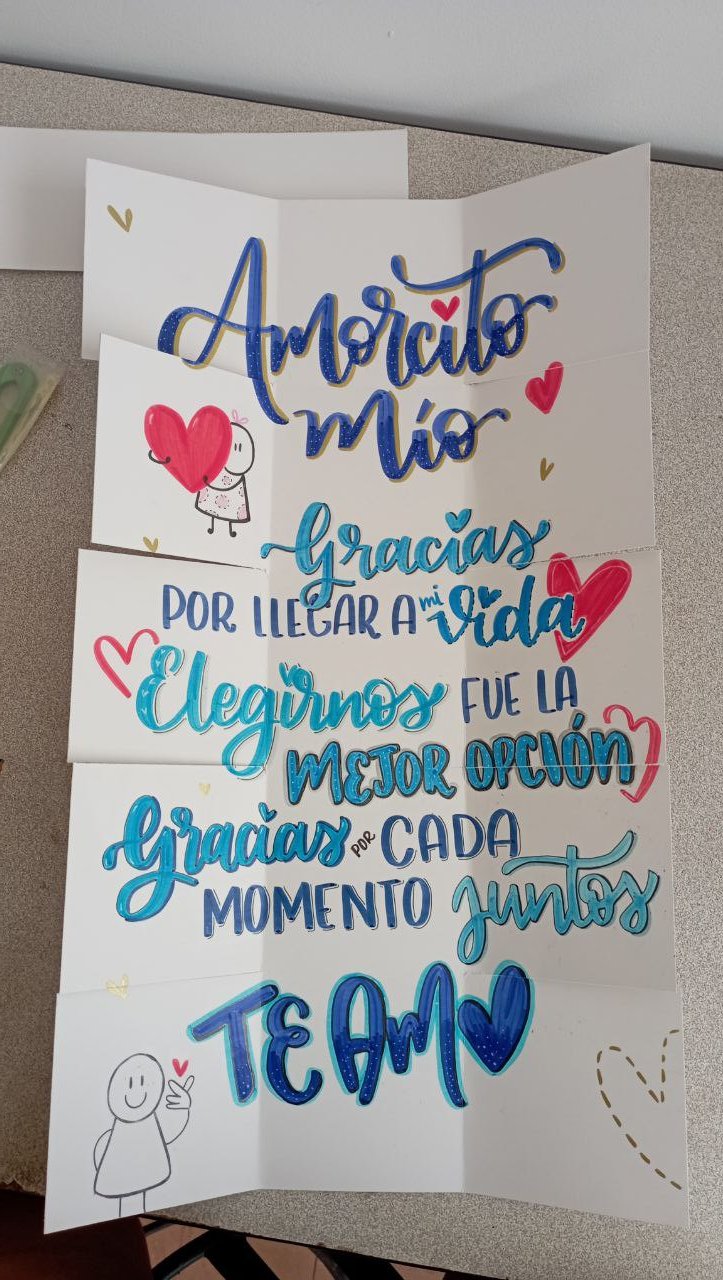
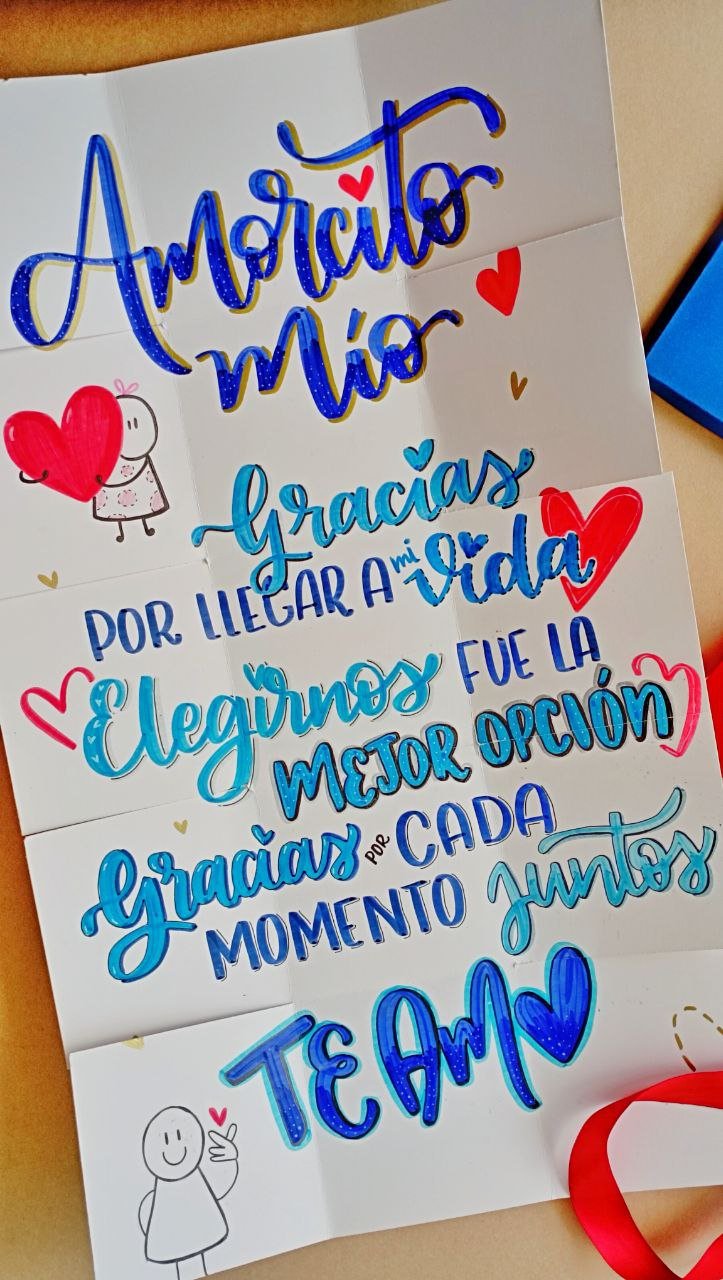
Con la base lista, llegó la hora de hacer la carta. Hice un boceto previo y con ayuda de lápiz y goma lo pase a la cartulina. Para darle color a las letras use marcadores de agua, mis amados crayola super tips. Son mis marcadores favoritos ya que pigmentan muy bien. Puedes usar los marcadores o colores que quieras. Yo me enfoque en utilizar lettering para hacer mis letras. Use estilos cursivos y sans serif, que hice destacar con sombras, degradados y delineados. Esta parte fue la más divertida. También incluí algunos doodles sencillos de muñequitos con corazones. Mi favorito fue el último que tenía la seña de corazón que hacen con los dedos en muchos k-dramas.
 |  |
|---|
PASO 3
Con la carta lista, viene la parte de hacer los cortes para poder armar la caja. Para esto me ayudé de un lápiz, regla y exacto. No marque las líneas completas, hice puntos sutiles que con ayuda de la regla uni y pude pasar el exacto. Los cortes son a lo largo, ya que son 50 centímetros, se hacen 4 cortes de cada lado de 10 cm contando desde el borde (creo que en la imagen quedará mejor explicado).
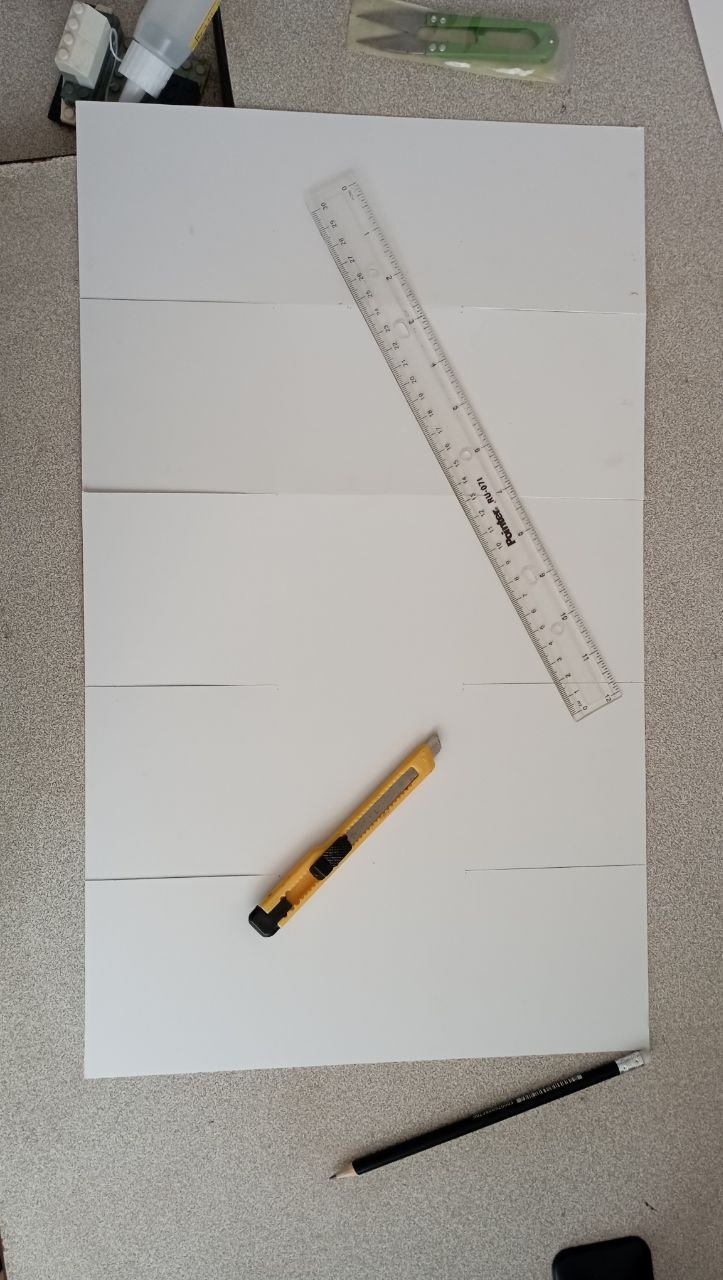
Una vez las franjas están cortadas, con ayuda de la regla se marcan los dobles que separan los laterales de la caja y la base. Esto ayudará a que sea más fácil doblarla para convertirla en caja
 |  |
|---|
PASO 4
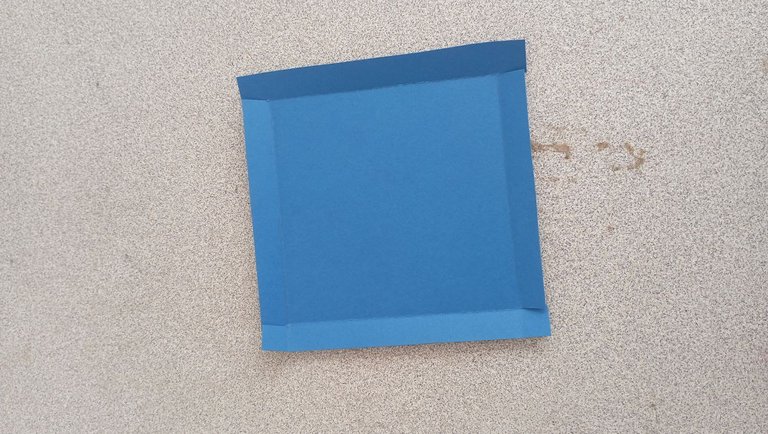
Toca hacer la tapa. Para esto use una cartulina azul con medidas de 12.5x12.5 cm, donde 10.5 cm pertenecen a la tapa y los laterales son de 1 cm. Con ayuda del exacto corte los laterales y con el silicone frio los pegue.
 |  |
|---|
PASO 5
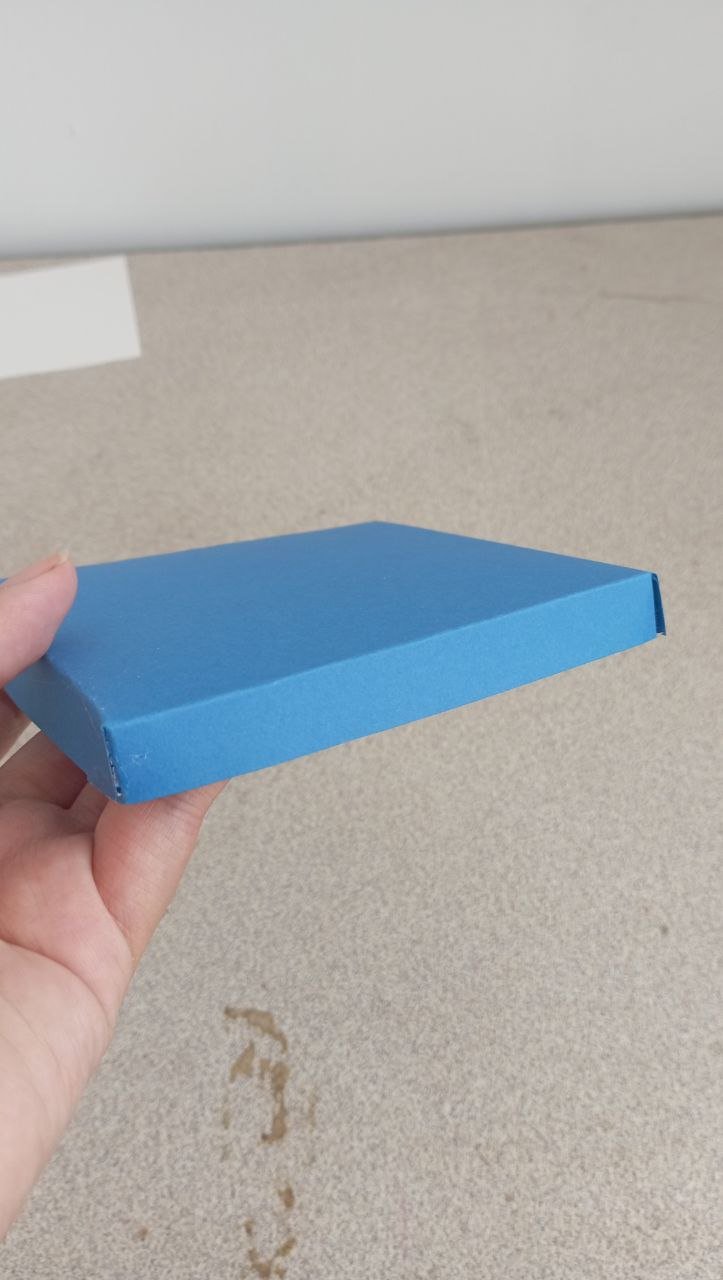
Es hora de armar la caja. Tomamos la carta y vamos a doblar cada lateral e ir enrollando la carta sobre sí misma hasta darle la forma de caja. Aconsejo empezar por el final, ya que al abrirla quedará el comienzo de primero y se verá más bonito. Una vez esté doblada, le puse la tapa y la adorne con un lazo hecho con una cinta.
PASO 6.
¡Caja-carta lista para ser entregada!
 |  |
|---|
Este tutorial es sencillo y es una forma muy bonita de decirle a otro cuánto lo quieres y lo aprecias. De por sí que un regalo hecho a mano vale mucho. Creo que lo que da más trabajo es dibujar la carta, ya que los cortes son sencillos cuando ves la imagen. Intente poner un gif con como se abre la caja, pero falle estrepitosamente, así que si un alma caritativa me ayuda en los comentarios se lo agradecere💜 Espero que lo intentes y te quede bonito.
Gracias por leerme
Con cariño, G.

Hi hivers! 💜
I hope you are well and happy. Time without stopping by, but that does not mean that I have stopped creating, here I will show you how I made a box-letter, which as its name suggests is a box that when opened becomes a letter. It is a nice and easy option for this valentine. I'll tell you how the process went:
MATERIALS
White sulfated cardboard
Blue cardboard
Pencil
Eraser
Ruler
Exact
Hot or cold silicone
Markers
Satin ribbon
STEP BY STEP
| |
|---|
STEP 1
First I had to decide the measurements of the box and the card. For the base, I used the white cardboard. As the box is square, I decided that each of the sides should be 10x10 cm, so I measured 30 cm wide as this would be the 3 sides of the box: two sides and the base and I measured 50 cm long (you can make it 30 or 40 and it would be fine but the message was long). Cut with the help of the ruler and the exact.
| |
|---|
STEP 2
With the base ready, it was time to make the card. I made a preliminary sketch and with the help of pencil and eraser I transferred it to the cardboard. To color the letters I used water markers, my beloved crayola super tips. They are my favorite markers because they pigment very well. You can use whatever markers or colors you want. I focused on using lettering to make my letters. I used cursive and sans serif styles, which I made stand out with shadows, gradients and outlines. This part was the most fun. I also included some simple doodles of little dolls with hearts. My favorite was the last one that had the heart sign that they do with their fingers in many k-dramas.
| |
|---|
STEP 3
With the card ready, comes the part of making the cuts to be able to assemble the box. For this I used a pencil, a ruler and an exacto. I didn't mark the complete lines, I made subtle points that with the help of the ruler I joined and I could pass the exact. The cuts are lengthwise, since there are 50 centimeters, 4 cuts are made on each side of 10 cm counting from the edge (I think the image will be better explained).
Once the strips are cut, with the help of the ruler mark the doubles that separate the sides of the box and the base. This will help to make it easier to fold it to turn it into a box.
| |
|---|
STEP 4
It's time to make the lid. For this I used a blue cardboard measuring 12.5x12.5 cm, where 10.5 cm belong to the lid and the sides are 1 cm. With the help of the exacto cut the sides and with the cold silicone glue them.
| |
|---|
STEP 5
It's time to assemble the box. We take the card and we are going to fold each side and roll the card on itself until we give it the shape of a box. I advise to start at the end, because when we open it, it will be the beginning first and it will look nicer. Once it is folded, I put the lid on it and decorate it with a ribbon bow.
| |
|---|
STEP 6
Box-letter ready to be delivered!
This tutorial is simple and a very nice way to tell someone how much you love and appreciate them. In itself a handmade gift is worth a lot. I think what gives more work is to draw the letter, as the cuts are simple when you see the image. I tried to put a gif with how to open the box, but I failed miserably, so if a charitable soul helps me in the comments I will be grateful💜. I hope you try it and it looks nice.
Thank you for reading me
With love, G..
FUENTE
Fotos: tomadas por mi desde mi redmi 10
Traducción: Deepl
SOURCE
Photos: taken by me from my redmi 10
Translation: Deepl

¡Felicidades! Esta publicación obtuvo upvote y fue compartido por @la-colmena, un proyecto de Curación Manual para la comunidad hispana de Hive que cuenta con el respaldo de @curie.
Si te gusta el trabajo que hacemos, te invitamos a darle tu voto a este comentario y a votar como testigo por La Colmena.
Si quieres saber más sobre nuestro proyecto, te invitamos a acompañarnos en nuestro servidor de Discord.