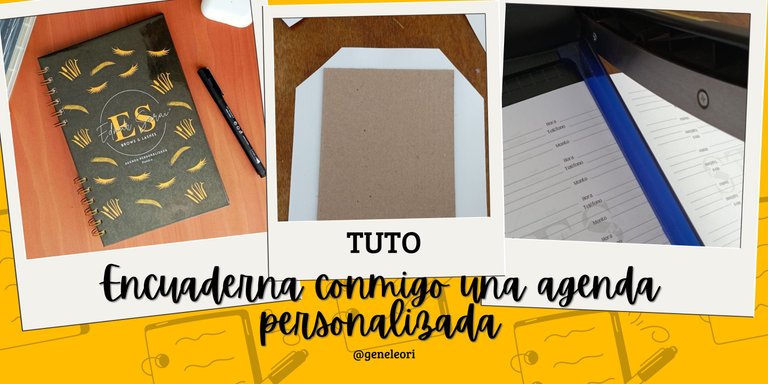
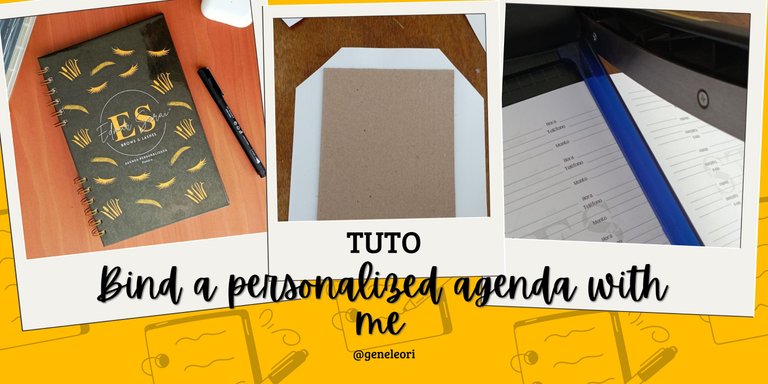
Bind a personalized agenda with me #tuto / Encuaderna conmigo una agenda personalizada (ESP-ENG)
¡Hola hivers!💜
Espero que se encuentren bien y felices. Ya tengo más de 1 año haciendo planners y agendas personalizadas en mi emprendimiento Poética. Esto es algo que me encanta, ser capaz de diseñar el contenido de una agenda que se ajuste a la necesidad de cada uno es algo que me parece especial. Siempre me quejo de las agendas con hojas que no aprovechó, así que hacerlas yo es algo que me funciona y en el proceso ayudó a otros a organizarse. En esta oportunidad estuve haciendo una agenda personalizada para una lahista, le va a servir para agendar las citas de sus clientes especificando sus datos, servicios y precios. Les muestro como fue el proceso:

MATERIALES
Cartón
Papel contact
Papel autoadhesivo con el diseño elegido
Cartulina tamaño carta
Cinta doble faz
Hojas de contenido
Encuadernadora
Anilla metálica
PASO A PASO
 |  |
|---|
PASO 1
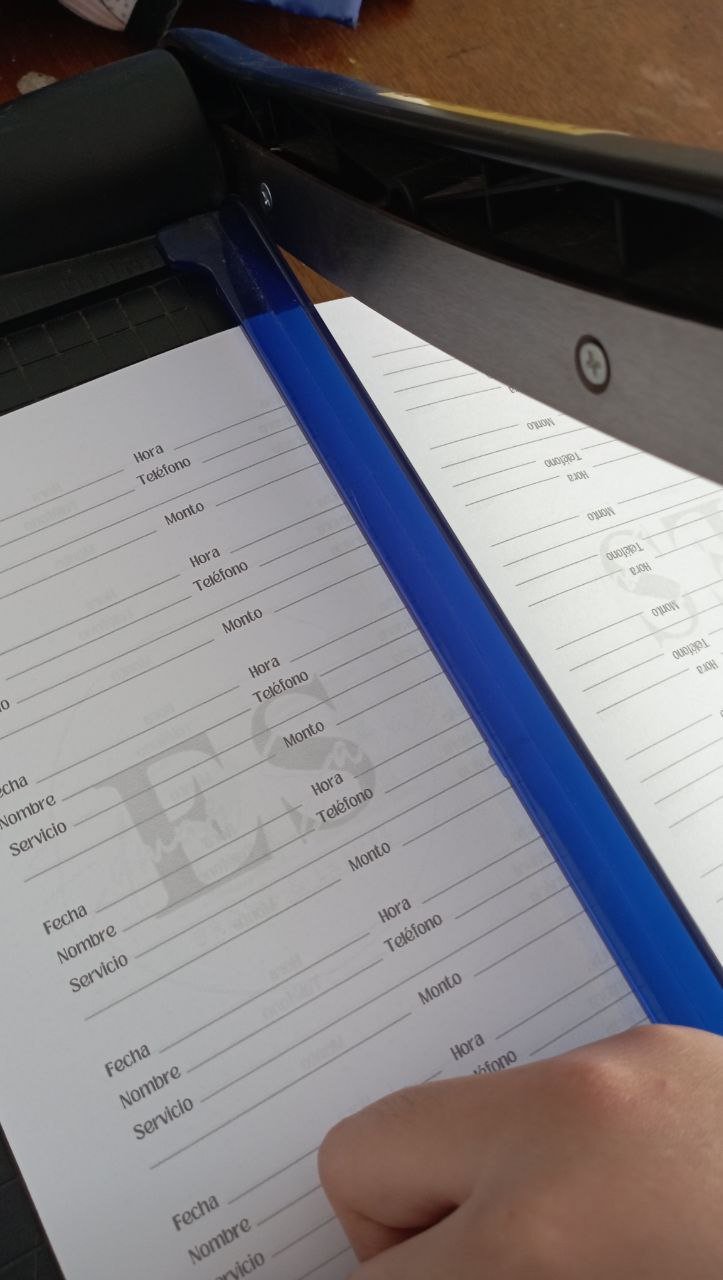
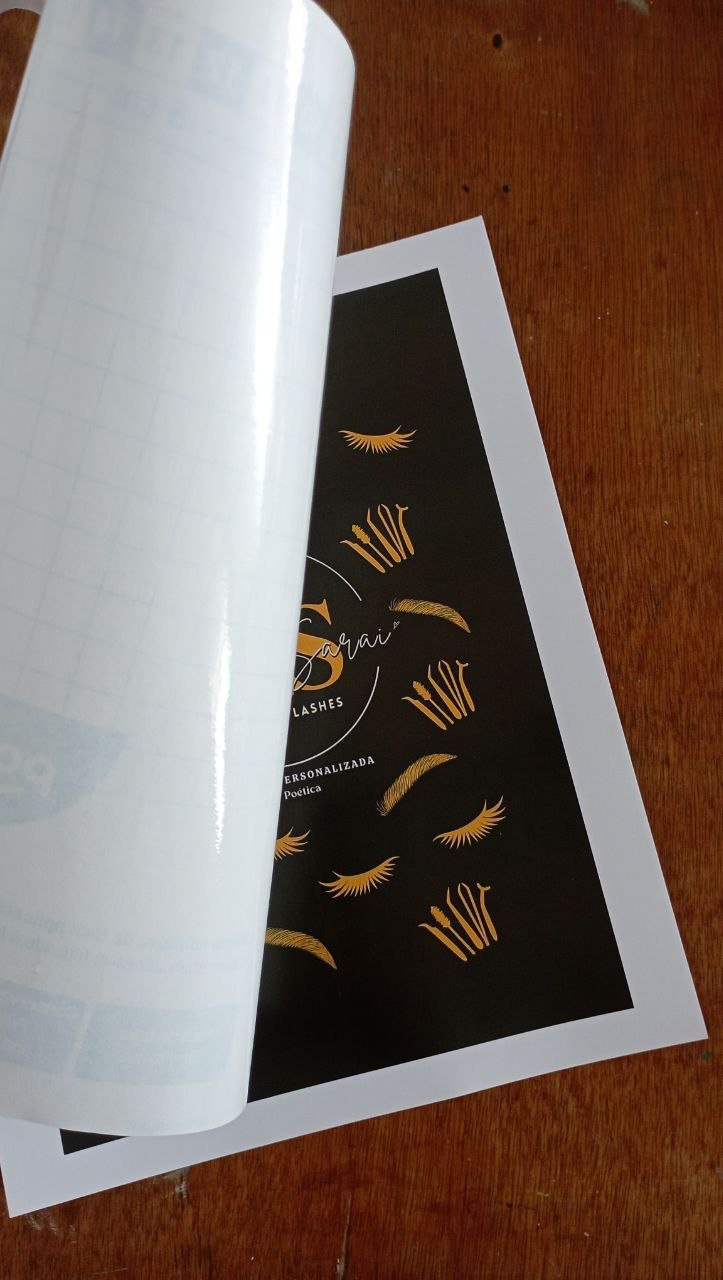
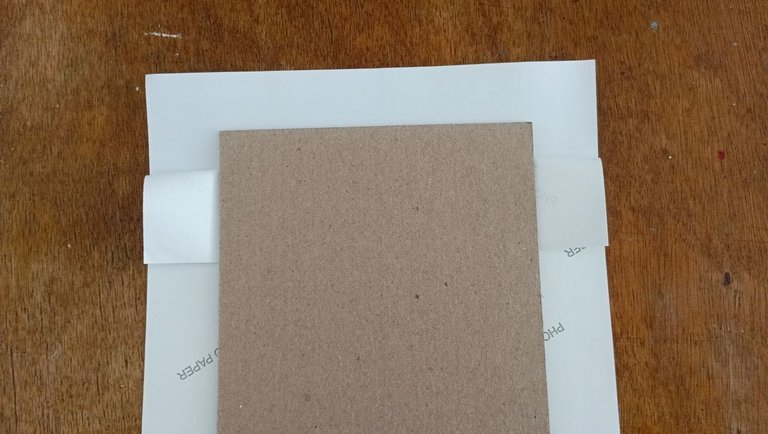
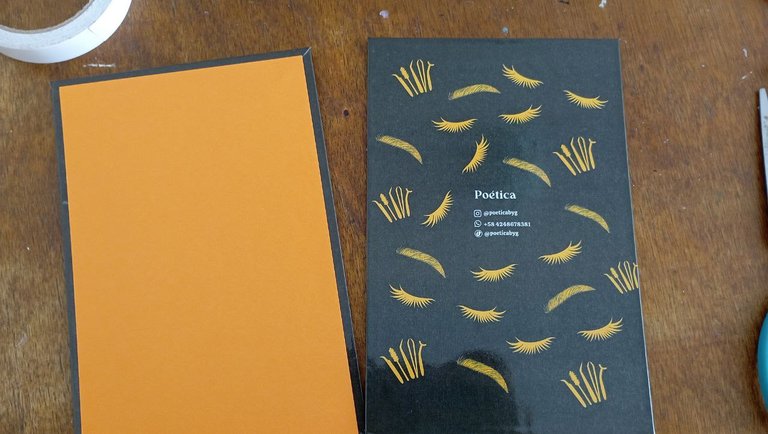
Lo primero que hice fue imprimir todo. Una vez acordado todo con la cliente imprimi el contenido de la agenda en papel bond tamaño carta (que luego fue cortado por la mitad con ayuda de una guillotina para que quedara tamaño media carta) y la portada y contraportada en papel autoadhesivo (que con ayuda del papel contac lo laminamos para protegerlo mejor).
 |  |
|---|
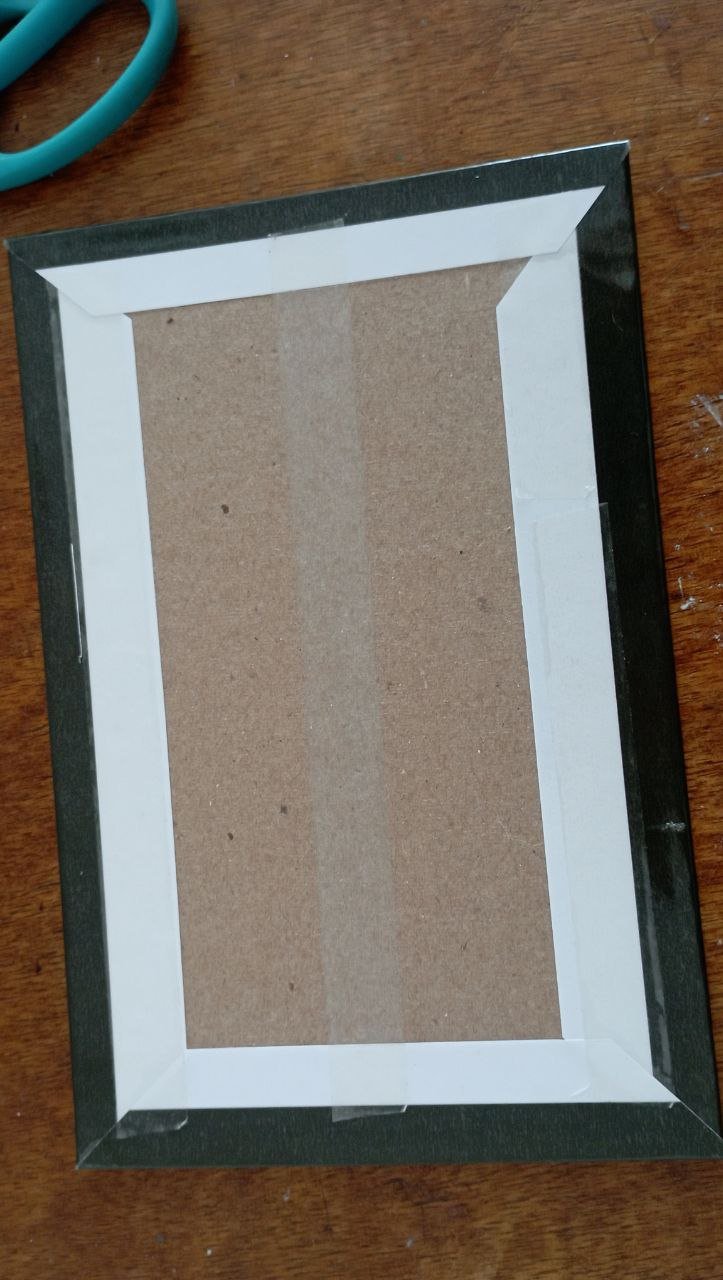
PASO 2
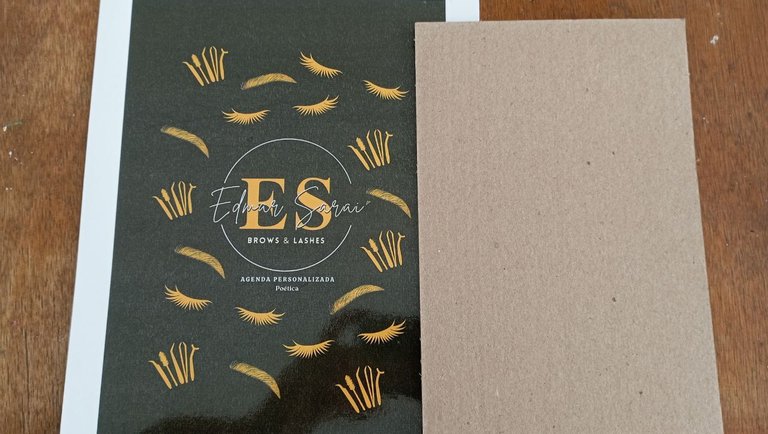
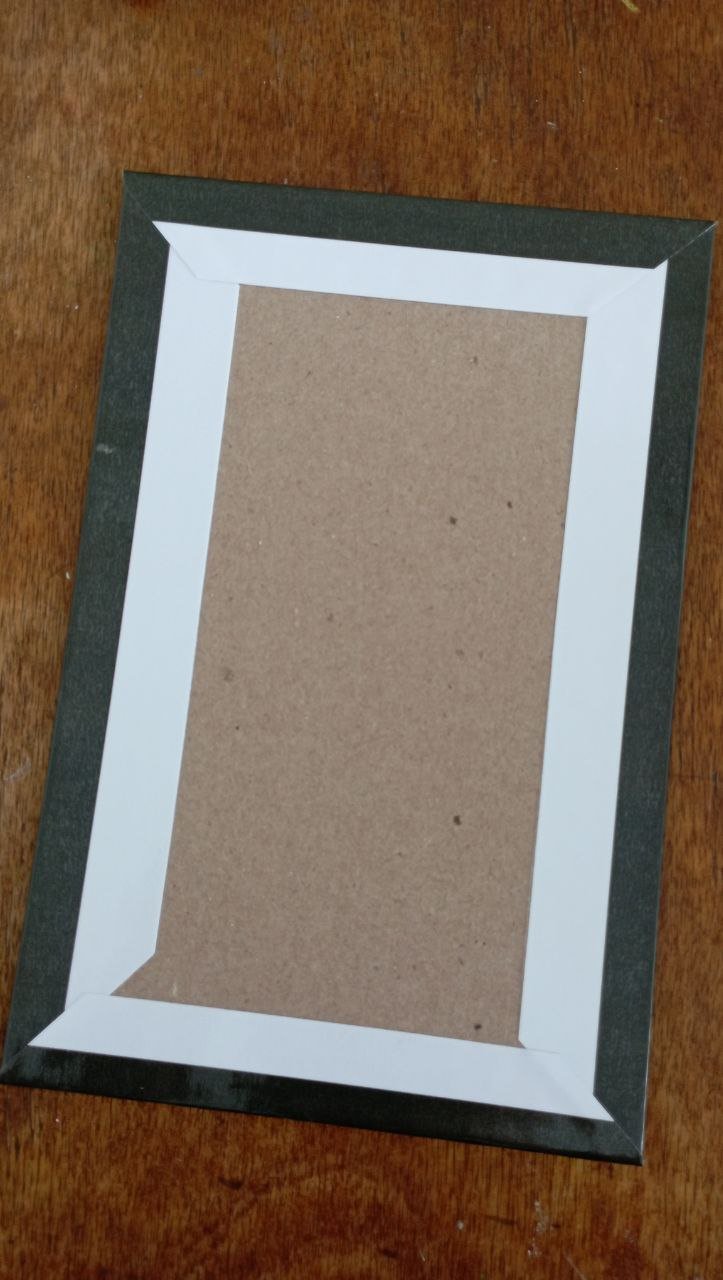
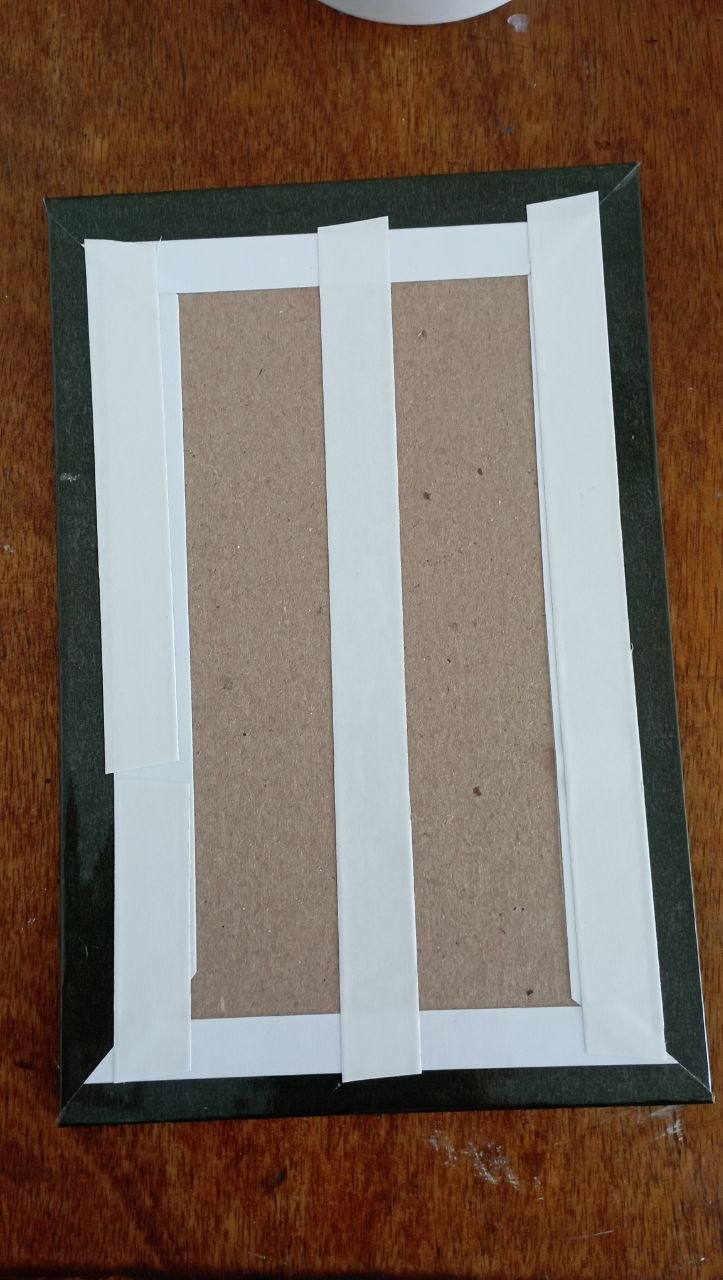
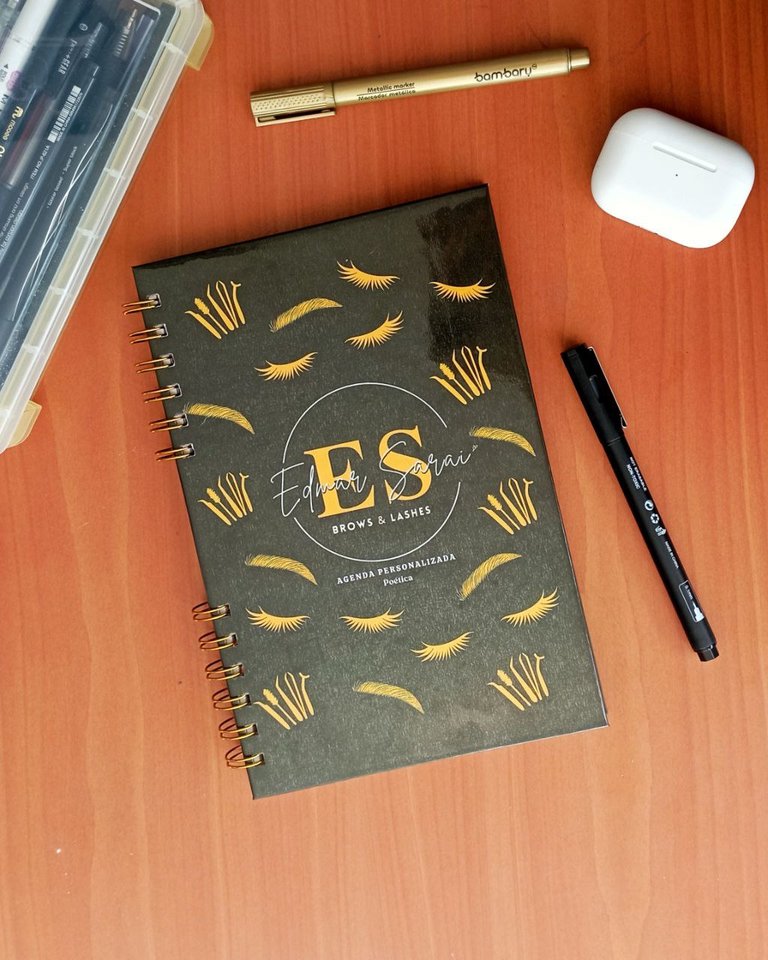
Ahora, toca empezar la portada. Para esto forre cada cartón con su portada y contraportada. Hago lo posible para que quede centrado, corto las puntas y pego el sobrante a la parte trasera. Uso un pequeño paño para que no le quede aire a la portada. Con ayuda de la cinta doble faz cubro la parte trasera con una cartulina tamaño carta cortada a la mitad. En este caso la paleta de colores era negro, dorado y naranja.
 |  |
|---|
 |  |
|---|
PASO 3
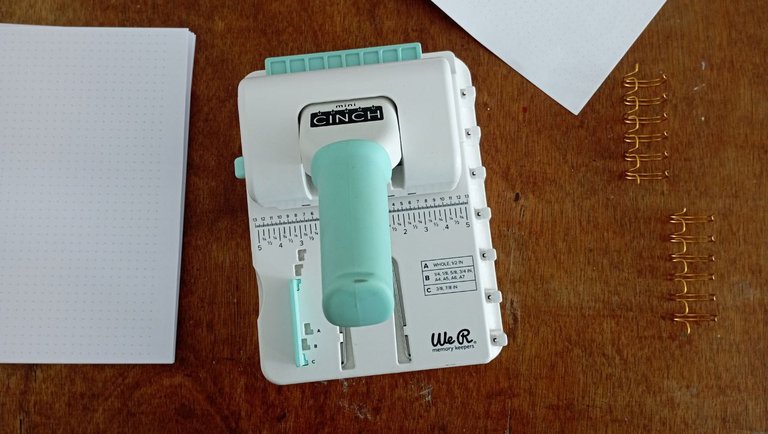
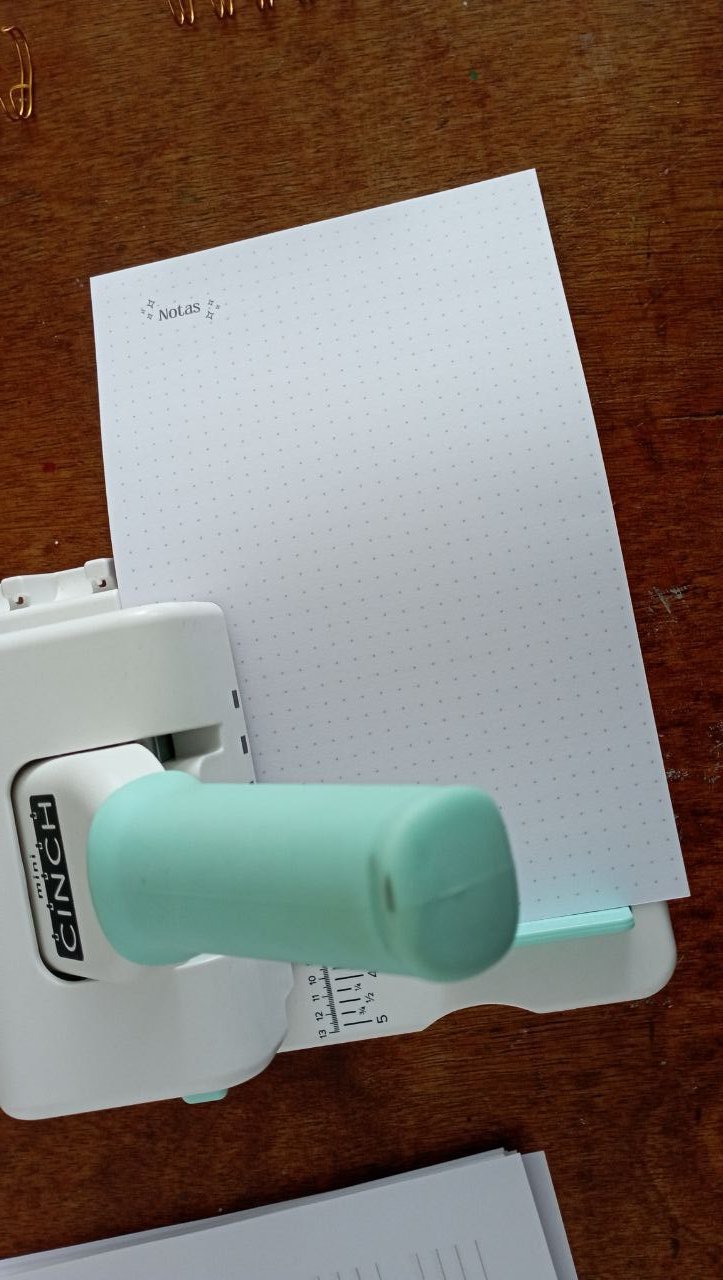
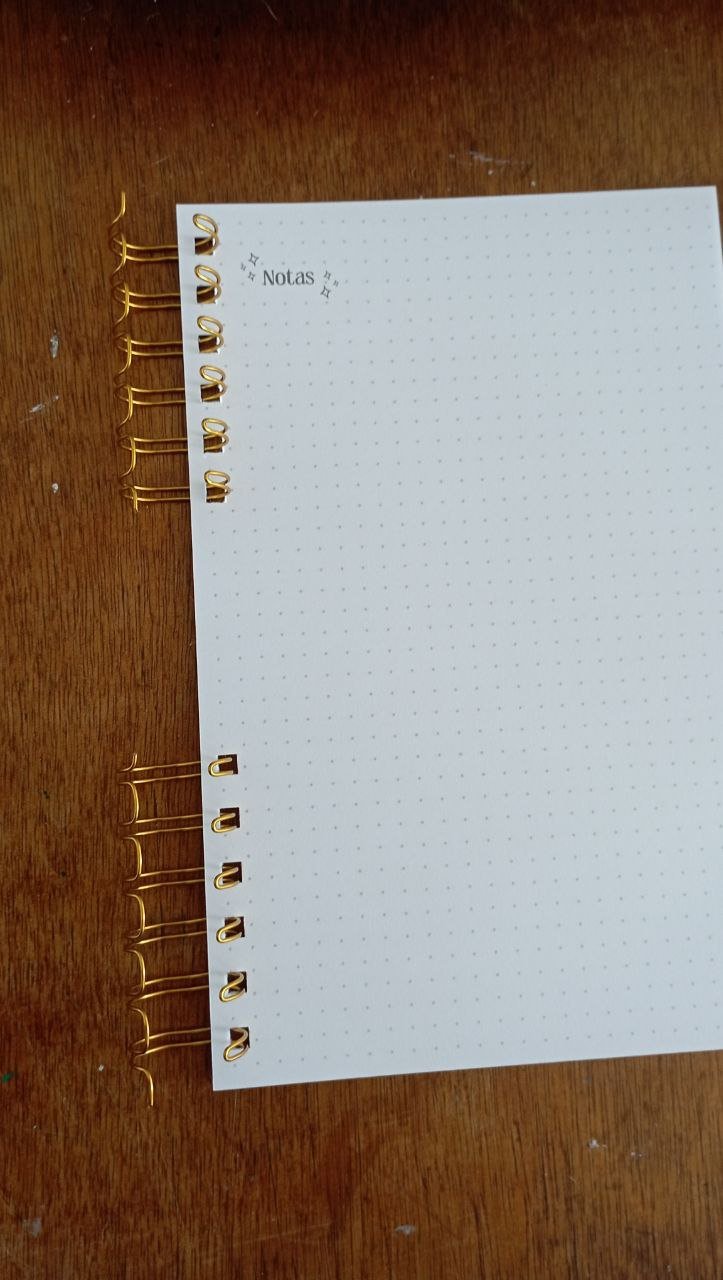
Con la portada y contraportadas listas, es momento de perforar las hojas. Me gusta primero cortar las anillas (necesito 2 lotes de 6) y luego con ayuda de mi mini cinch empecé a perforar las hojas y de una vez las fui insertando en las anillas, teniendo cuidado de empezar por el final de las hojas para que vayan quedando en el orden correspondiente. Esta parte es la que más toma tiempo, pero es la más divertida.
 |  |
|---|
PASO 4
Toca perforar las portadas y contraportada, para esto debo alinearlas bien y ejercer un poco más de fuerza por el cartón es mucho más grueso. Una vez estén perforadas, meto en las anillas la portada y luego la contraportada. Ya con todas las perforaciones listas, la parte de atrás de la mini cinch tiene un espacio perfecto para cerrar las anillas metálicas con delicadeza.
PASO 5
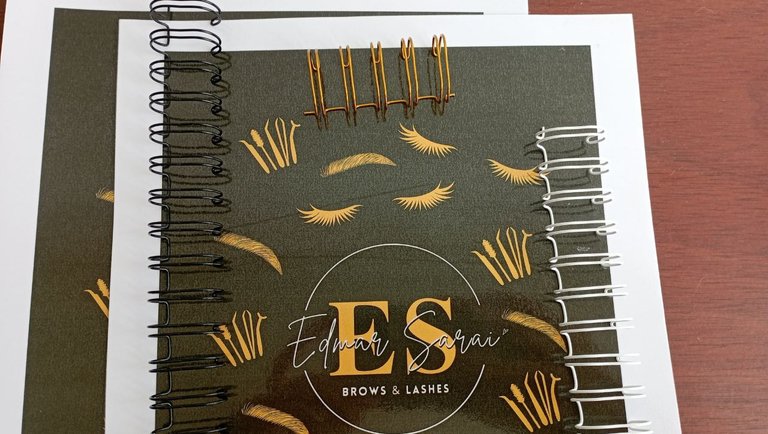
¡Agenda de pedidos lista!
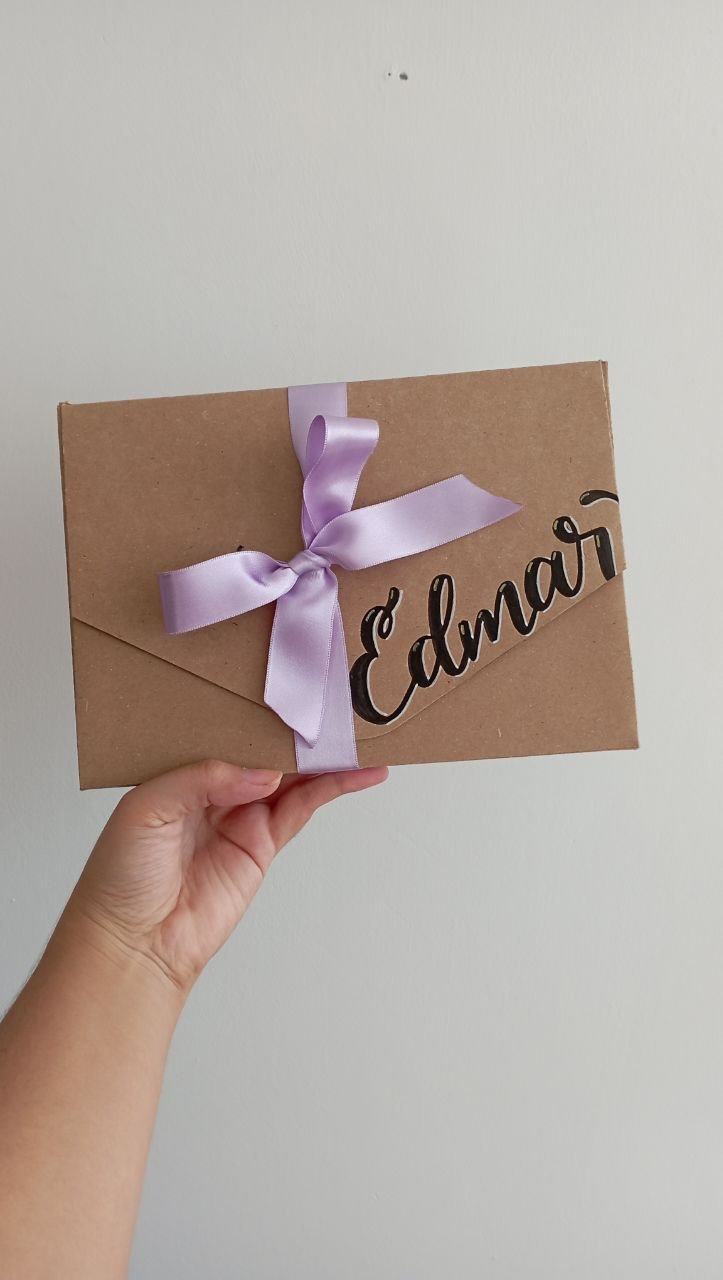
Hacer agendas y planners es algo que amo, ya que significa poder ayudar a otro a organizar sus pendientes y metas. El último toque que le doy es decorar una caja con el nombre de la persona usando lettering y envolviendola con un lazo. Siento que es el empaque perfecto. Espero te haya gustado este nuevo tutorial.
Gracias por leerme
Con cariño, G.
Hi hivers! 💜
I hope you are well and happy. I already have more than 1 year making planners and personalized agendas in my venture Poética. This is something that I love, being able to design the content of an agenda that fits the needs of each one is something that I find special. I always complain about diaries with pages that I don't use, so making them myself is something that works for me and in the process helped others to get organized. This time I was making a personalized agenda for a lahista, it will help her to schedule appointments for her clients specifying their data, services and prices. I show you how the process went:
MATERIALS
Cardboard
Contact paper
Self-adhesive paper with the chosen design
Letter size cardboard
Double-sided tape
Content sheets
Binding machine
Metal ring binder
STEP BY STEP
| |
|---|
STEP 1
The first thing I did was to print everything. Once everything was agreed with the client, I printed the contents of the agenda on letter size bond paper (which was then cut in half with the help of a guillotine to make it half letter size) and the front and back covers on self-adhesive paper (which we laminated with the help of the contac paper to protect it better).
| |
|---|
STEP 2
Now, it's time to start the front cover. To do this, I lined each cardboard with its front and back cover. I do my best to make it centered, cut the ends and glue the excess to the back. I use a small cloth so that there is no air left on the front cover. With the help of the double-sided tape I cover the back with a letter size cardboard cut in half. In this case the color palette was black, gold and orange.
| |
|---|
| |
|---|
STEP 3
With the front and back covers ready, it's time to punch the pages. I like to first cut the rings (I need 2 batches of 6) and then with the help of my mini cinch I started punching the sheets and inserting them into the rings all at once, being careful to start at the end of the sheets so that they are in the right order. This part takes the most time, but it is the most fun.
| |
|---|
STEP 4
It's time to punch the front and back covers, for this I have to align them well and exert a little more force because the cardboard is much thicker. Once they are perforated, I put the front cover and then the back cover into the rings. With all the perforations ready, the back of the mini cinch has a perfect space to close the metal rings delicately.
STEP 5
Order book ready!
Making agendas and planners is something I love, as it means being able to help someone else organize their to-do's and goals. The final touch I add is decorating a box with the person's name using lettering and wrapping it with a ribbon. I feel it is the perfect packaging. I hope you liked this new tutorial.
Thank you for reading me
With love, G..
FUENTE
Fotos: redmi 10
Traducción: Deepl
SOURCE
Photos: redmi 10
Translation: Deepl

Bonito trabajo , se adapta a tu vocación. Me gusta los materiales que utilizastes . Bien hecho
Graciaaas!💜
Hermoso trabajo! Nada más lindos que los detalles personalizados, me encantó esta agenda y espero que a su dueña también.
Saludos, que tengas un gran día!
A la dueña le encanto y le esta siendo muy útil. Saludos, gracias💜
Que genial ! Esta muy bella esa agenda, este tipo de proyectos siempre me ha llamado la atención, tu tutorial está súper bien explicado !
Muchas gracias!💜
Me encantó ver el proceso para crear esta agenda, además de que te ha quedado hermosa✨ muchas gracias por compartirlo☺️
Gracias a ti por apreciarlo y comentar💜