My experience using the buttonhole sewing machine foot

Un saludo mi querida comunidad @needleworkmonday y uno muy especial para todos los amantes del arte de la costura. Hoy quiero compartirle mi experiencia utilizando el pie de mi máquina de coser para realizar costura de ojal. Era algo que me sacaba las canas hacerlo de forma manual y teniendo está herramienta nunca le había dado uso a esta fabuloso accesorio y les cuento que es super fácil solo es cuestión de practicar hasta lograr el resultado deseado.
Greetings to my dear @needleworkmonday community, and a very special hello to all lovers of the art of sewing. Today I want to share my experience using my sewing machine foot to sew buttonholes. Doing it by hand used to drive me crazy, and even though I had this tool, I had never used this fabulous accessory. I can tell you that it's super easy; it's just a matter of practicing until you achieve the desired result.
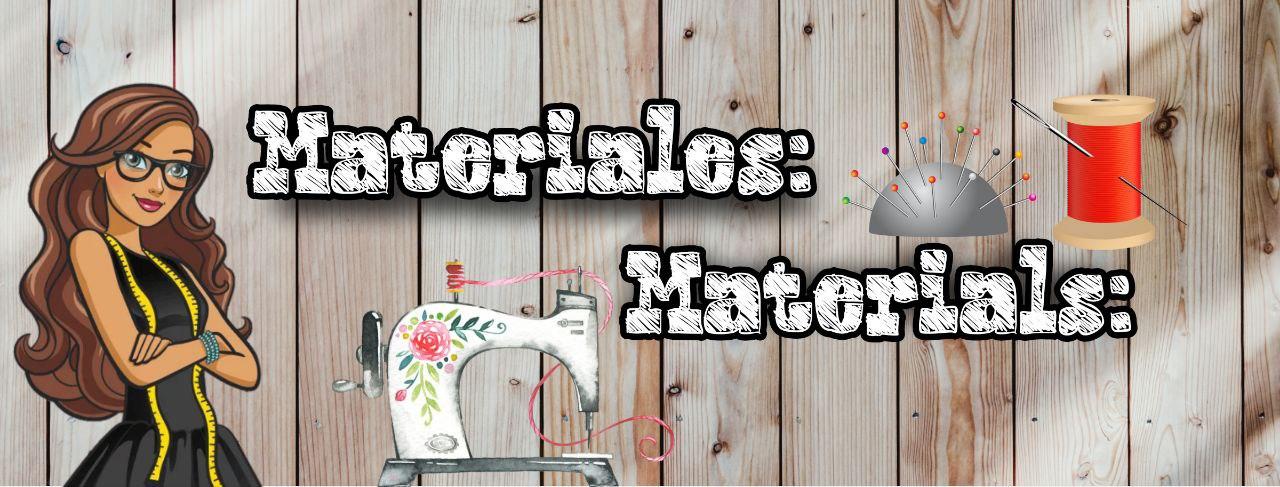
-Tela
-Hilo
-Pie para ojales
-Fabric
-Thread
-Buttonhole foot

En la costura todos los días aprendemos algo nuevo, sobre todo con estás herramientas que traen nuestras máquinas de coser, que muchas veces las echamos a un lado sin saber lo útil que pueden ser y que además nos facilitan el trabajo en este caso en la costura de ojales en nuestras prendas de vestir, algo a lo yo siempre le huia por el hecho de realizarlas a con costura a mano. Pero en realidad era un poco de flojera de mi parte, hasta que un día tome el manual de mi máquina de coser y me animé a practicar paso a paso la costura de ojales utilizando el pie que trae mi máquina especialmente para hacer eso y que además quedarán tan perfectos.
In sewing, we learn something new every day, especially with the tools that come with our sewing machines, which we often put aside without realizing how useful they can be. They also make our work easier, in this case when sewing buttonholes on our clothes, something I always avoided because I had to do it by hand. But in reality, it was a bit of laziness on my part, until one day I picked up the manual for my sewing machine and decided to practice sewing buttonholes step by step using the foot that comes with my machine specifically for that purpose, which also makes them look so perfect.

Antes de hacerlo en cualquier prenda de vestir lo practique varias veces hasta que logre dominarlo, incluso mi primer error me salió caro ya que coloque el pie prensa tela en la orientación incorrecta y rompí la aguja de mi máquina, este es una de las primeras cosas que debemos tomar en cuenta para que no les suceda.
Before doing this on any garment, practice several times until you master it. My first mistake was costly, as I placed the presser foot in the wrong direction and broke the needle on my machine. This is one of the first things to keep in mind so that it doesn't happen to you.

Primero tome un trozo de tela para realizar mis practicas y marque con una tiza la longitud del ojal, esto depende del tamaño del botón que vamos a utilizar en nuestra prenda de vestir. En el selector de puntadas nos vamos a ubicar el lugar correspondiente para realizar la parte superior del ojal se deben realizar de 5 a 6 puntadas luego debemos tener en cuenta que la aguja quede del lado izquierdo de las puntadas. Seguidamente cambiamos el selector a la otra posición que en mi maquina marca brother es la letra (b) y paso costura a lo largo de la linea de la tiza. Repito el primer paso para rematar la parte inferior del ojal y luego coloco el selector en la letra de (d) y posiciono la aguja en el lado derecho y coso hasta que la aguja llegue a las puntadas cosidas en el paso 1
First, take a piece of fabric to practice on and mark the length of the buttonhole with chalk. This will depend on the size of the button you are going to use on your garment. On the stitch selector, find the corresponding setting for the top of the buttonhole. You should sew 5 to 6 stitches, making sure that the needle is on the left side of the stitches. Next, change the selector to the other position, which on my Brother machine is marked with the letter (b), and sew along the chalk line. I repeat the first step to finish the bottom of the buttonhole, then set the selector to the letter (d), position the needle on the right side, and sew until the needle reaches the stitches sewn in step 1.


De esta manera les muestro como quedó el resultado final, después de varios intentos, así quedó la costura de los ojales en una camisa para pijama que muy pronto compartí con ustedes el paso a paso. Espero que sea de mucho provecho para ustedes y realicen la costura de ojales más fácil y rápida con este accesorio que traen la mayoría de las máquinas de coser. Saludos y bendiciones.
This is how the final result turned out after several attempts. This is how the buttonhole stitching looked on a pajama shirt, which I will share with you step by step very soon. I hope you find this useful and that you can sew buttonholes more easily and quickly with this accessory that comes with most sewing machines. Best wishes and blessings.

| Pueden seguirme en 💙: | You can follow me on 💙: |
|---|---|
| eveyese1312 | |
| Discord | eveyese1312#6211 |
Las fotos y el contenido son de mi autoria
Imágenes editadas en PowerPoint Canva y PicMonkey
Para la traducción usé el traductor: DeepL
The photos and content are my own.
Images edited in PowerPoint Canva and PicMonkey
For the translation, I used the translator: DeepL
Con la maquina y ese accesorio es súper fácil y divertido a mi me gustaba mucho hacerlo cuando cosía a maquina. Saludos!
Amiga, yo también tengo esa herramienta, pero hasta ahora no me he atrevido a usarla porque no sé cómo. Tendré que empezar a practicar, para cuando tenga que hacer ojales, ya que es un trabajo que requiere mucha dedicación, y con esta herramienta veo que es facilísimo y quedan muy bien.
Saludos @eveyese1312, gracias por compartir tu experiencia con el prensatelas de ojales, he usado el mío una vez y no terminé me da miedo que se rompa la aguja, intentaré nuevamente, parece sencillo y práctico de usar, los ojales se ven bien.
Feliz lunes!
Congratulations @eveyese1312! You have completed the following achievement on the Hive blockchain And have been rewarded with New badge(s)
Your next payout target is 26000 HP.
The unit is Hive Power equivalent because post and comment rewards can be split into HP and HBD
You can view your badges on your board and compare yourself to others in the Ranking
If you no longer want to receive notifications, reply to this comment with the word
STOP